标签:ip地址 vim empty 传输 链接 虚拟 var 名称 main
Nginx主配置文件/etc/nginx/nginx.conf是一个纯文本类型的文件,整个配置文件是以区块的形式组织的。一般,每个区块以一对大括号{}来表示开始与结束。
以下是配置文件详解
[root@web01 ~]# vim /etc/nginx/nginx.conf

############################################ 核心模块 ################################################
# nginx启动用户
user nginx;
# worker进程数
worker_processes auto;                      # auto 一般以你cpu核心数决定多少,也可以自定义
# 错误日志的路径 和 级别
error_log /var/log/nginx/error.log warn;
# pid文件的路径
pid /var/run/nginx.pid;

############################################ 事件驱动模块 ###########################################
events {
# 每一个worker进程允许连接数量
worker_connections 1024;
}

############################################  HTTP模块 ###############################################
http {
# 包含指定文件的内容,该文件是nginx浏览器允许访问的文件类型
include /etc/nginx/mime.types;
# 默认需要下载类型的格式
default_type application/octet-stream;
# 日志格式
log_format main ‘$remote_addr - $remote_user [$time_local] "$request" ‘
‘$status $body_bytes_sent "$http_referer" ‘
‘"$http_user_agent" "$http_x_forwarded_for"‘;
# 自定义格式
log_format zidingyi ‘zls - $remote_user [$time_local] "$request" ‘
‘$status $body_bytes_sent "$http_referer" ‘
‘"$http_user_agent" "$http_x_forwarded_for"‘;
# 日志路径
access_log /var/log/nginx/access.log main;
# 指定格式
access_log /var/log/nginx/zls_access.log zidingyi;
# 高效传输文件
sendfile on;
#tcp_nopush on;
# 长连接的超时时间
keepalive_timeout 65;
# 开启gzip压缩
#gzip on;
# 包含所有下面路径下conf结尾的文件
include /etc/nginx/conf.d/*.conf;
}


# 检测语法错误
[root@web01 /etc/nginx]# nginx -t
[root@web01 /etc/nginx]# vim /etc/nginx/conf.d/default.conf

server {                                                 # server标签
    listen       80;                                     # 监听80端口
    server_name  localhost;                              # 本地ip(可以设置域名)

    #charset koi8-r;                                     # 字符编码
    #access_log  /var/log/nginx/host.access.log  main;   # 日志存放默认路径及格式

    location / {                                         # 网站访问位置
        root   /usr/share/nginx/html;                    # root变量,网站访问的默认站点目录
        index  index.html index.htm;    # index变量,站点目录内默认寻找的前端页面index.html 或 index.htm
    }

    #error_page  404              /404.html;             # 404错误页面,在站点目录下

    # redirect server error pages to the static page /50x.html
    #
    error_page   500 502 503 504  /50x.html;   # 5XX默认错误页面所在位置
    location = /50x.html {
        root   /usr/share/nginx/html;          # 这
    }

######################################## nginx 结合 PHP ############################################
    # proxy the PHP scripts to Apache listening on 127.0.0.1:80
    #
    #location ~ \.php$ {
    #    proxy_pass   http://127.0.0.1;
    #}

    # pass the PHP scripts to FastCGI server listening on 127.0.0.1:9000
    #
    #location ~ \.php$ {
    #    root           html;
    #    fastcgi_pass   127.0.0.1:9000;
    #    fastcgi_index  index.php;
    #    fastcgi_param  SCRIPT_FILENAME  /scripts$fastcgi_script_name;
    #    include        fastcgi_params;
    #}

    # deny access to .htaccess files, if Apache‘s document root
    # concurs with nginx‘s one
    #
    #location ~ /\.ht {
    #    deny  all;
    #}
}
以上是默认的配置需要删除,自己创建站点目录
[root@web01 ~]# vim /etc/nginx/conf.d/yum.conf             # 名字随便
 server{                                                   # server标签
      listen  80;                                          # 80端口
      server_name www.zls.com;                             # 设置的域名
    access_log  /var/log/nginx/zls_access.log main;        # 日志路径,不用系统日志
     location / {                                          # location控制访问目录
           root  /code;                                    # 站点目录  root是定义的变量
           index  index.html;                              # 默认返回网站的文件是index.html
          }
  error_page  404              /404.html;                  # 404访问错误页面 (可以自定义写)
}

# 配置完退出后 nginx -t 检查配置
[root@web01 ~]# nginx -t
nginx: the configuration file /etc/nginx/nginx.conf syntax is ok
nginx: configuration file /etc/nginx/nginx.conf test is successful
# http{} 层下允许有多个Server{}层,一个Server{}层下又允许有多个Location
# http{} 标签主要用来解决用户的请求与响应。
# server{} 标签主要用来响应具体的某一个网站。
# location{} 标签主要用于匹配网站具体URL路径。
基于多IP方式,有两种方式
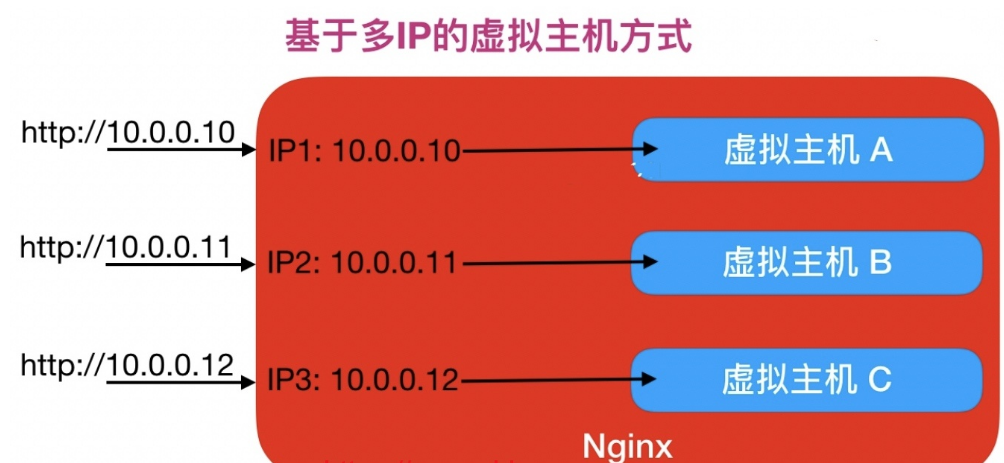
## 1. 多网卡多IP方式
# 绑定虚拟IP给eth0
[root@web01 ~]# ifconfig eth0:1 10.0.0.100/24            # :1和100随便写
[root@web01 ~]# ifconfig eth0:2 10.0.0.101/24
# 一个配置文件里写多个server标签
server {
    listen 80;
     server_name 10.0.0.100;
     root /code;
     index index.html;
}

server {
    listen 80;
     server_name 10.0.0.101;
     root /code;
     index index.html;
}


## 2.单网卡多IP方式
[root@web01 ~]# vim /etc/nginx/conf.d/yum1.conf
server {
    listen 80;
     server_name 10.0.0.100;
     root /code;
     index index.html;
}

[root@web01 ~]# vim /etc/nginx/conf.d/yum2.conf
server {
    listen 80;
     server_name 10.0.0.101;
     root /code;
     index index.html;
}
[root@web01 ~]# vim /etc/nginx/conf.d/yum1.conf
server {
listen 80;
server_name 10.0.0.100;
root /code;
index index.html;
}
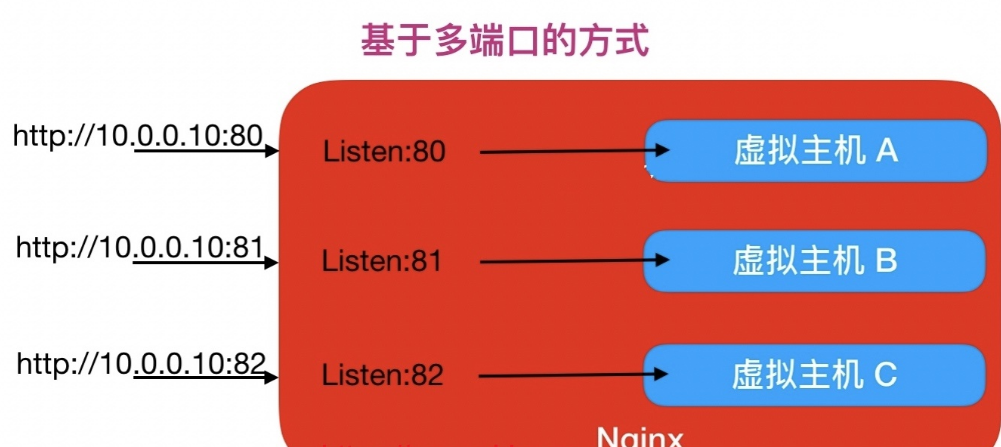
[root@web01 ~]# vim /etc/nginx/conf.d/yum2.conf
server {
listen 81;
...
...
...

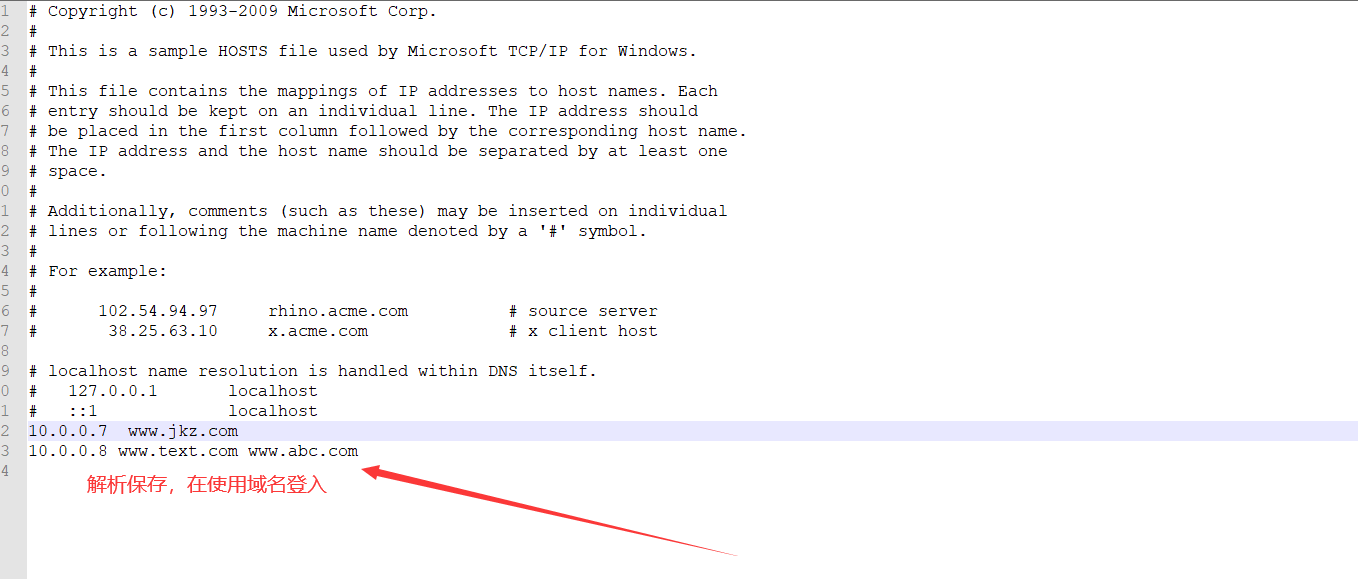
[root@web01 ~]# vim /etc/nginx/conf.d/yum1.conf
server {
    listen 80;
     server_name www.text.com;
     root /code/text;
     index index.html;
}

[root@web01 ~]# vim /etc/nginx/conf.d/yum2.conf
server {
    listen 80;
     server_name www.abc.com;
     root /code/abc;
     index index.html;
}
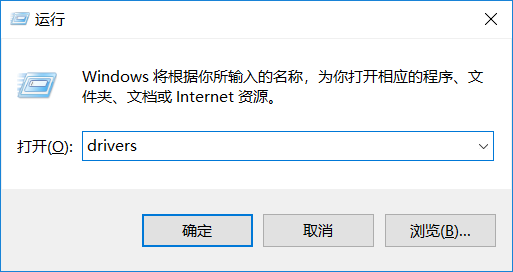
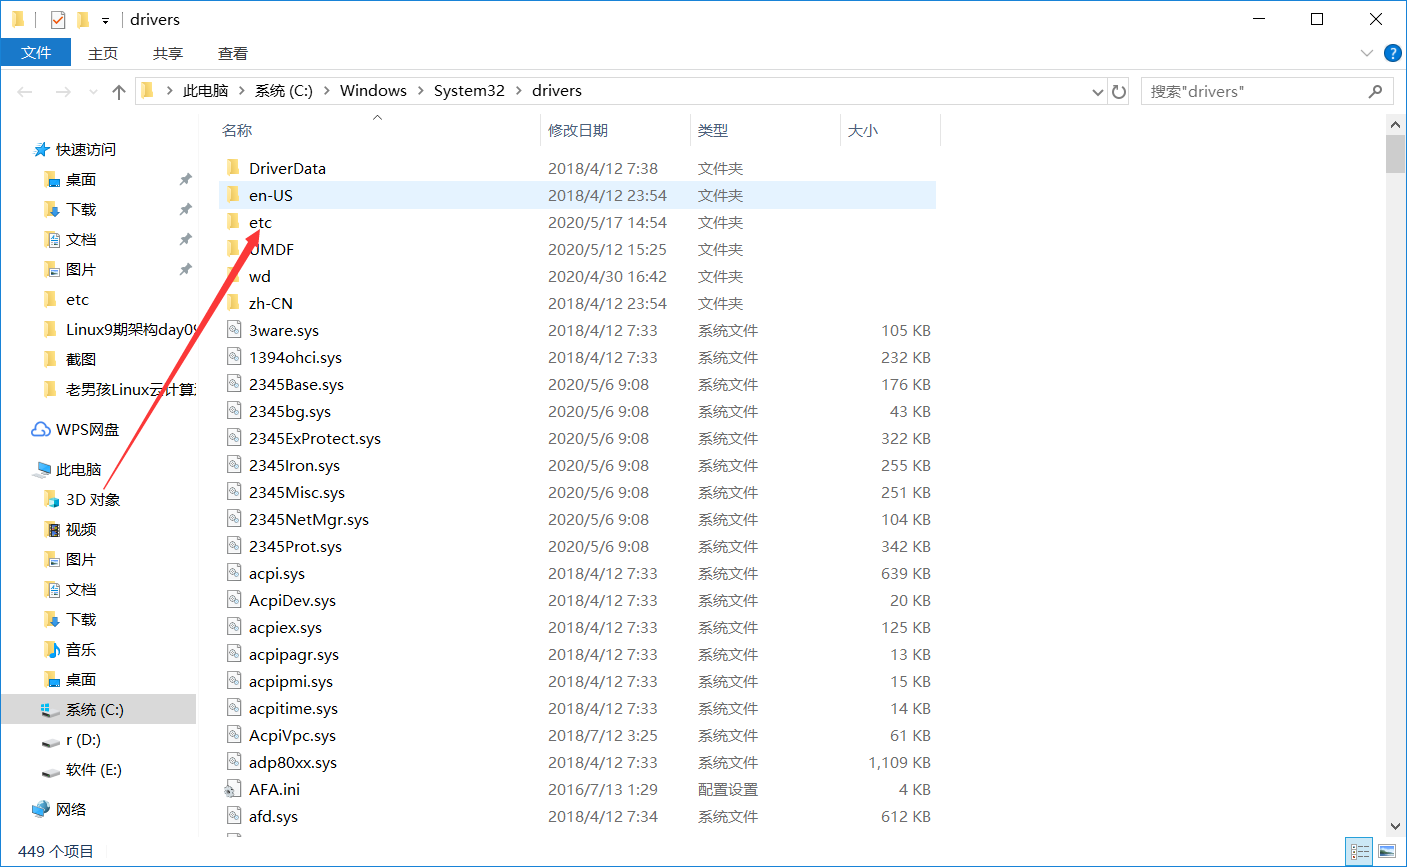
需要在hosts文件中解析
Nginx有非常灵活的日志记录模式,每个级别的配置可以有各自独立的访问日志。日志格式通过log_format命令定义格式
# 1.log_format的作用是定义日志格式语法
## 日志配置语法
Syntax: access_log path [format [buffer=size] [gzip[=level]] [flush=time] [if=condition]];
access_log off;
Default:
access_log logs/access.log combined;
Context: http, server, location, if in location, limit_except


# 2.nginx默认日志格式语法
log_format  main  ‘$remote_addr - $remote_user [$time_local] "$request" ‘
                      ‘$status $body_bytes_sent "$http_referer" ‘
                      ‘"$http_user_agent" "$http_x_forwarded_for"‘;
# log_format  设置日志的格式
# main         日志名称
# 剩下的        日志格式(内容)


# 3.Nginx日志格式允许包含的内置变量
$remote_addr        # 记录客户端IP地址
$remote_user        # 记录客户端用户名
$time_local         # 记录通用的本地时间
$time_iso8601       # 记录ISO8601标准格式下的本地时间
$request            # 记录请求的方法以及请求的http协议
$status             # 记录请求状态码(用于定位错误信息)
$body_bytes_sent    # 发送给客户端的资源字节数,不包括响应头的大小
$bytes_sent         # 发送给客户端的总字节数
$msec               # 日志写入时间。单位为秒,精度是毫秒。
$http_referer       # 记录从哪个页面链接访问过来的
$http_user_agent    # 记录客户端浏览器相关信息
$http_x_forwarded_for #记录客户端IP地址
$request_length     # 请求的长度(包括请求行, 请求头和请求正文)。
$request_time       # 请求花费的时间,单位为秒,精度毫秒
# 注:如果Nginx位于负载均衡器,nginx反向代理之后, web服务器无法直接获取到客 户端真实的IP地址。
# $remote_addr获取的是反向代理的IP地址。 反向代理服务器在转发请求的http头信息中,
# 增加X-Forwarded-For信息,用来记录客户端IP地址和客户端请求的服务器地址。
[root@web01 ~]# vim /etc/nginx/conf.d/yum.conf
 server{
      listen  80;
      server_name www.zls.com;
    access_log  /var/log/nginx/zls_access.log main;         # 日志调用,使用man格式
     location / {
           root  /code;
           index  index.html;
          }
}

# 这样进这个站点目录的日志就在   /var/log/nginx/zls_access.log 下,就不会在全局日志里
默认日志在/var/log/nginx/下面,系统有脚本切割和压缩
系统默认的日志切割脚本/etc/logrotate.d下
[root@web01 ~]# vim /etc/logrotate.d/nginx

vim /etc/logrotate.d/nginx
# 指定切割的日志,/var/log/nginx 目录下所有以log结尾的日志
/var/log/nginx/*.log {
# 按天切割
daily
# 忽略丢失日志
missingok
# 保留52天
rotate 52
# 日志文件压缩
compress
# 延迟压缩
delaycompress
# 忽略空日志
notifempty
# 创建日志的权限,和属主 属组
create 640 nginx adm
# 指定其他的脚本
sharedscripts
# 指定切割的命令
postrotate
if [ -f /var/run/nginx.pid ]; then
kill -USR1 `cat /var/run/nginx.pid`
fi
# 脚本结束
endscript
}


# 日志切割后的效果
[root@web01 ~]# ll /var/log/nginx/
total 4044
-rw-r----- 1 www adm  54438 Oct 12 03:28 access.log-20200516.gz
-rw-r----- 1 www adm  28657 Oct 13 03:48 access.log-20200516.gz
-rw-r----- 1 www adm  10135 Oct 12 03:28 error.log-20200516.gz
-rw-r----- 1 www adm   7452 Oct 13 03:48 error.log-20200516.gz
标签:ip地址 vim empty 传输 链接 虚拟 var 名称 main
原文地址:https://www.cnblogs.com/jkz1/p/13028268.html