标签:位置 art 初始化 文件 git lin div 通过命令 size
一、配置环境
1.安装git
二、配置本地博客
1.安装hexo
任意位置右键git bash输入(npm命令即可安装)
npm install -g hexo-cli
2.Hexo建立网站所需要的所有文件
创建一个文件夹,在文件夹内执行命令
hexo init
npm install
3.准备启动本地博客(可选)
继续执行命令
hexo s
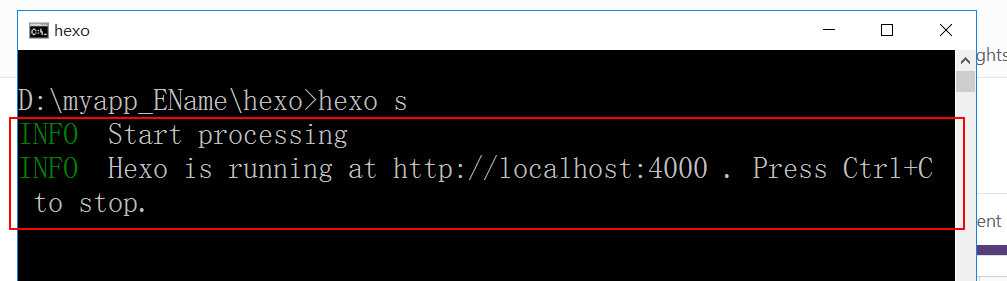
打开浏览器,在地址栏中输入 http://localhost:4000/ 就可以访问本地blog了
三、部署在github
1.github完成ssh授权
右键Git Bash,输入
ssh-keygen -t rsa
回车
打开C:\Users\Administrator.ssh目录,将id_rsa.pub的内容添加到GitHub上
2.创建用于上传博客的仓库
项目名称为:你的名字 + .github.io
3.部署
修改hexo的文件夹下的_config.yml文件 【注意:冒号后有空格】
deploy:
type: git
repository: github仓库地址
在hexo文件夹右键git bash输入
hexo g
hexo d
4.可启动博客
四、发布文章
hexo new ‘filename‘
标签:位置 art 初始化 文件 git lin div 通过命令 size
原文地址:https://www.cnblogs.com/wy0526/p/13042563.html