标签:pac log 仓库 describe 使用 ack pts info 版本
npm init
运行输入包名后一直回车,直到生成一个package.json,如下
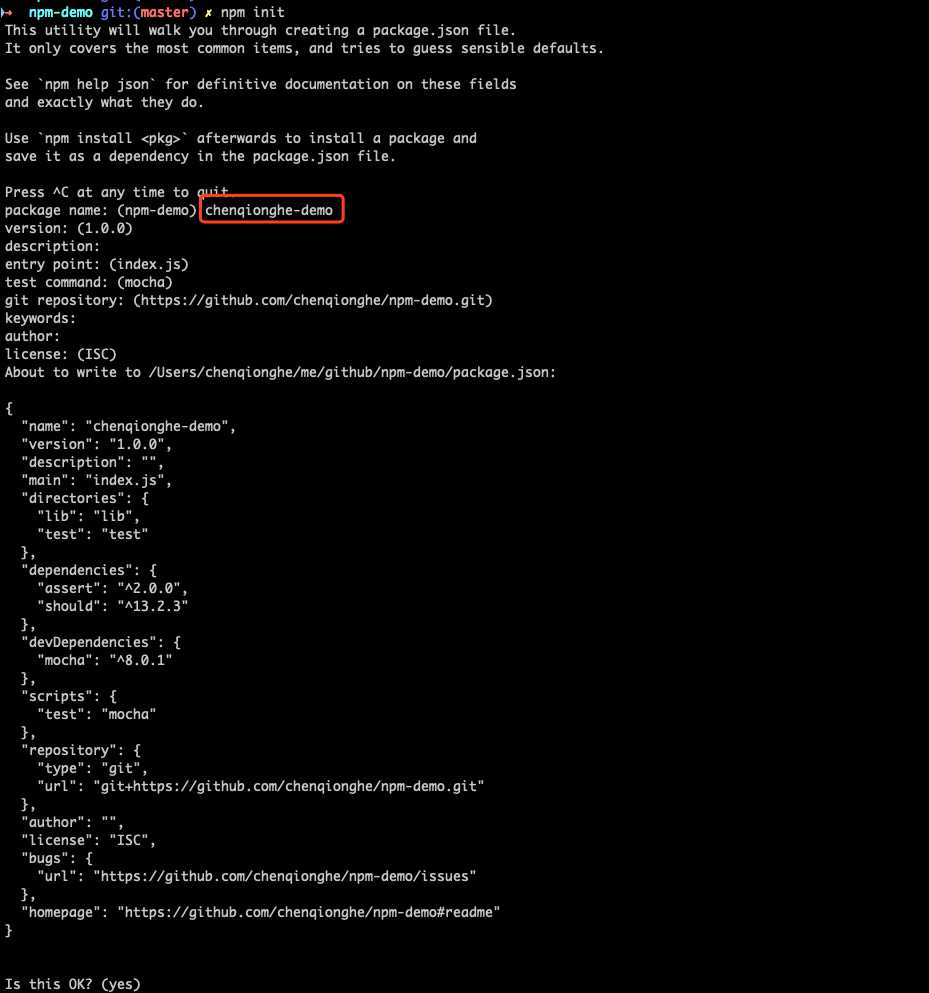
生成的文件如下
{
  "name": "chenqionghe-demo",
  "version": "1.0.0",
  "description": "",
  "main": "index.js",
  "directories": {
    "lib": "lib",
    "test": "test"
  },
  "dependencies": {
    "assert": "^2.0.0",
    "should": "^13.2.3"
  },
  "devDependencies": {
    "mocha": "^8.0.1"
  },
  "scripts": {
    "test": "mocha"
  },
  "repository": {
    "type": "git",
    "url": "git+https://github.com/chenqionghe/npm-demo.git"
  },
  "author": "",
  "license": "ISC",
  "bugs": {
    "url": "https://github.com/chenqionghe/npm-demo/issues"
  },
  "homepage": "https://github.com/chenqionghe/npm-demo#readme"
}
这里我建立了一个文件lib/cqh.js,内容如下
class Cqh {
    hello() {
        console.log(‘hello chenqionghe‘)
    }
}

module.exports = Cqh;
默认package.json中指定的入口是index.js,也就是require能用到的东西,我们在index.js里导出一下我们的工具包cqh.js就行了
const Hello = require("./lib/hello");

module.exports = {
    Hello
};
安装一下依赖包
npm install mocha assert --save-dev
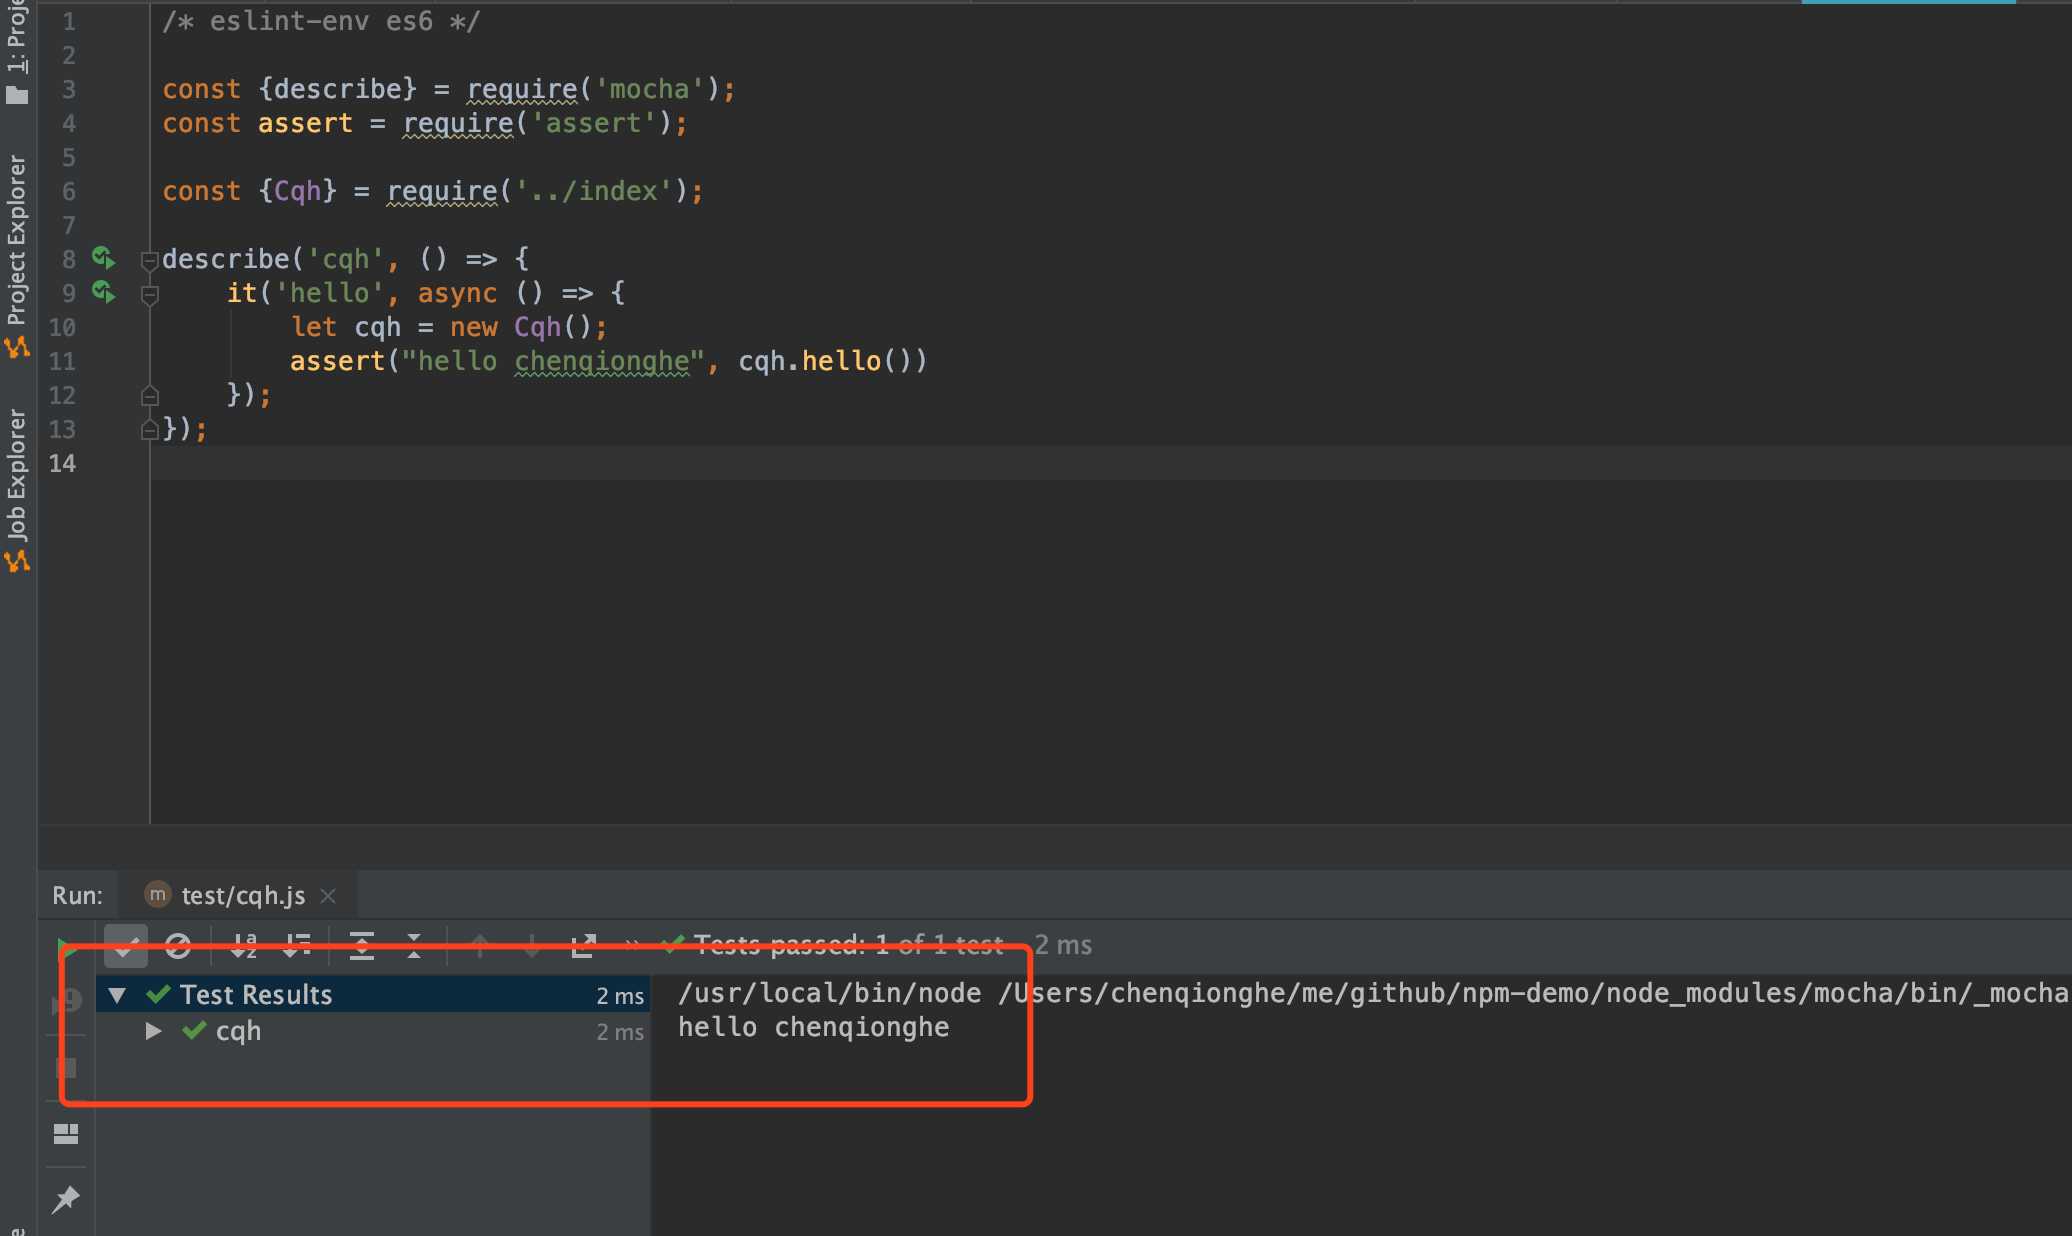
新建文件test/cqh.js,代码如下
/* eslint-env es6 */

const {describe} = require(‘mocha‘);
const assert = require(‘assert‘);

const {Cqh} = require(‘../index‘);

describe(‘cqh‘, () => {
    it(‘hello‘, async () => {
        let cqh = new Cqh();
        assert("hello chenqionghe", cqh.hello())
    });
});
我们运行一下,断言成功
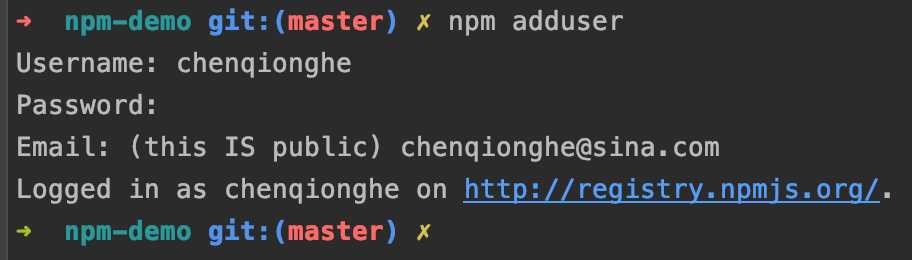
npm adduser
npm adduser --registry 仓库地址
这里我登录的是官方的
npm publish
npm publish --registry 仓库地址
发布如下
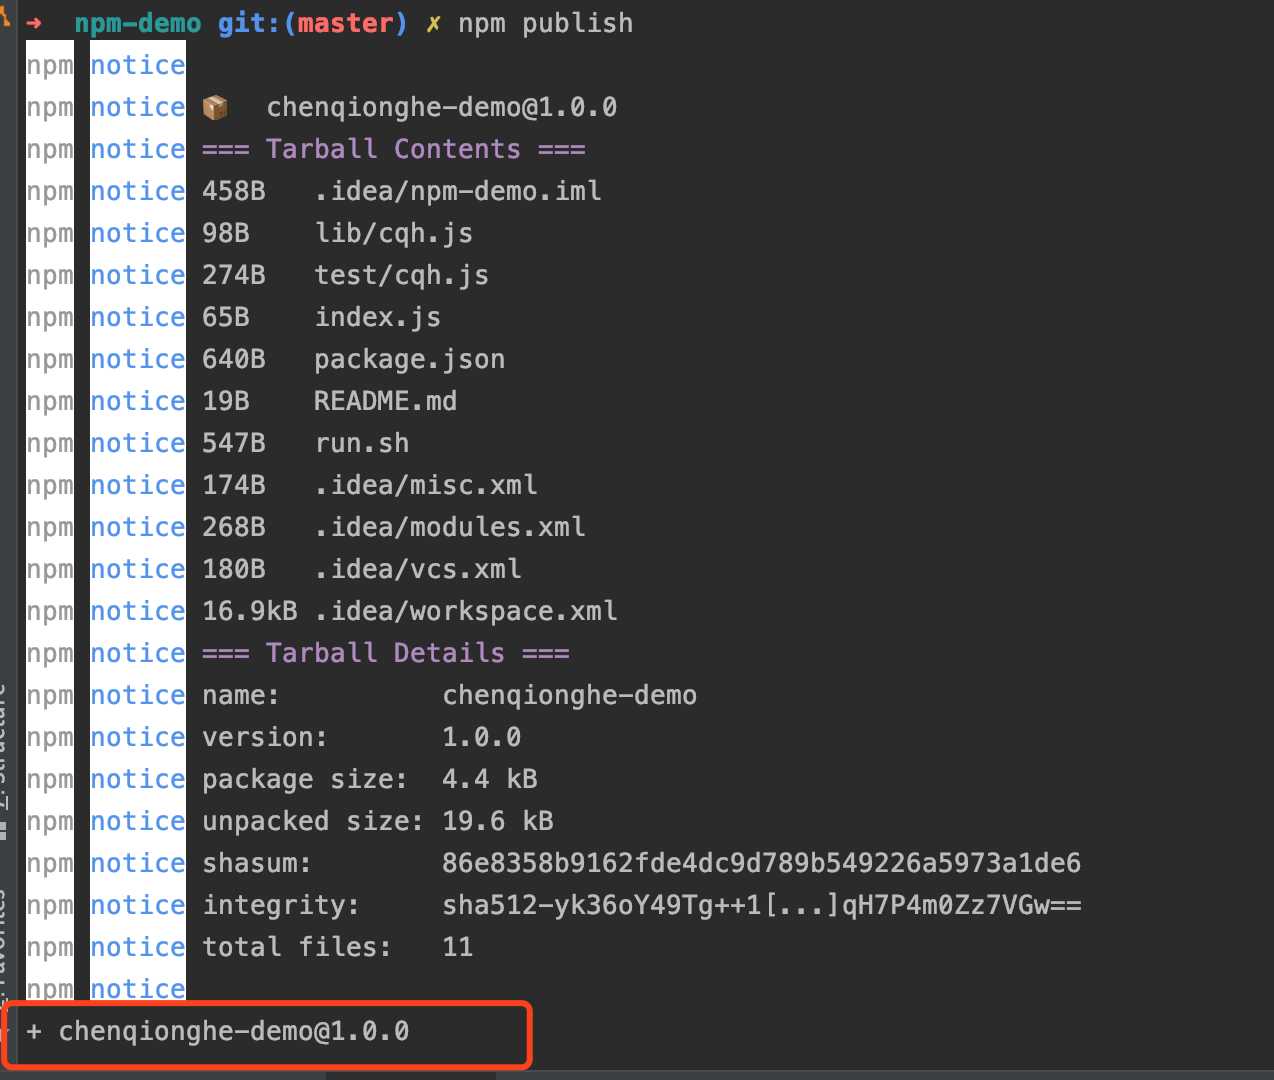
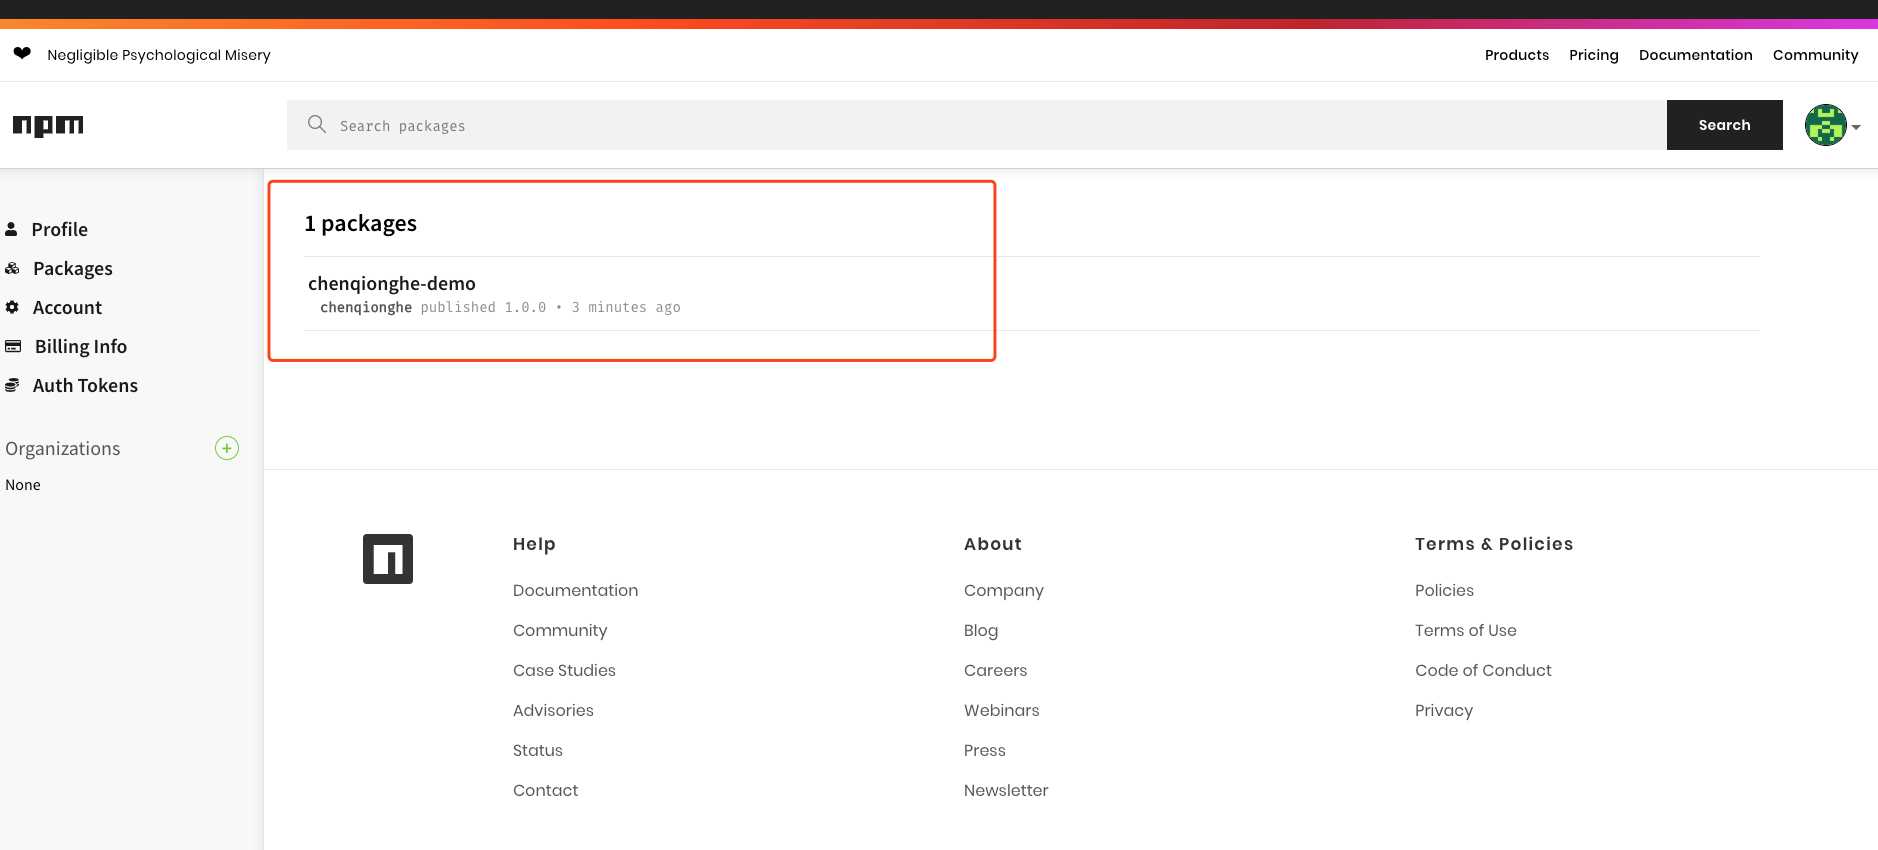
登录官网可以看到已经发布成功了
npm install chenqionghe-demo

新建index.js文件
const {Cqh} = require("chenqionghe-demo");
let cqh = new Cqh();
cqh.hello();
运行如下

npm unpublish 包名@版本号 --force
npm unpublish 包名 --force
如果是私有仓库请加上--registry 仓库地址
下面演示了删除1.0.1的版本
npm unpublish chenqionghe-demo@1.0.1

ok,就是这么简单,你学会了吗~
标签:pac log 仓库 describe 使用 ack pts info 版本
原文地址:https://www.cnblogs.com/chenqionghe/p/13143993.html