标签:com tps tomcat htm inf 文件 html figure linux
1,进入fastdfs的安装目录:

2,修改http.conf文件,详情可参考: https://www.cnblogs.com/xiaolinstudy/p/9341779.html
3,重启nginx才能重新使用http.conf
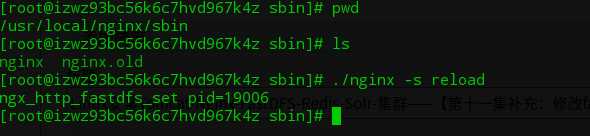
只有当出现下面的进程信息才能算是启动nginx成功:(之前看到master process ./nginx那一行还以为启动成功了,其实没有,必须下面那行worker process打印出来才算)
https://www.cnblogs.com/chenleideblog/p/10499807.html

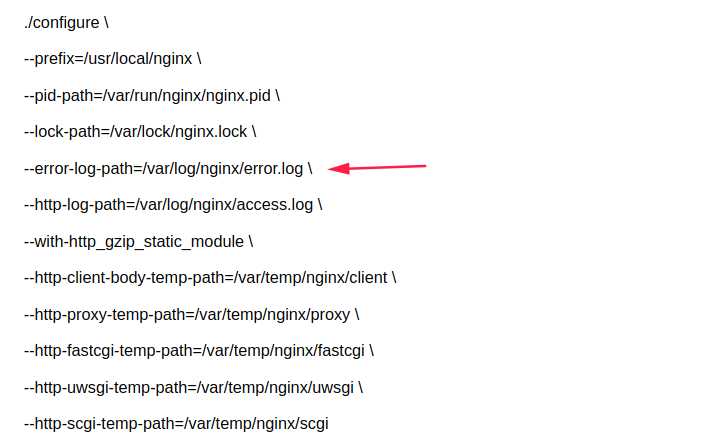
4,启动失败的解决方法:
根据之前configure命令输入的参数,找到log的输出文件:https://www.cnblogs.com/lirenhe/p/9774482.html

Linux安装Tomcat-Nginx-FastDFS-Redis-Solr-集群——【第十一集补充:修改fastdfs的http.conf文件进行防盗链,重启nginx失败】
标签:com tps tomcat htm inf 文件 html figure linux
原文地址:https://www.cnblogs.com/lirenhe/p/13225125.html