标签:缩放 type 效果 detection ngui 界面 使用 手动 sha
miniconda3, jupyter-notebook,python=3.8为了保证独立性,使用miniconda3新建python环境;
以下所有代码都在Jupyter notebook中编写、运行成功;
opencv和numpyimport cv2
import numpy as np
# read picture
img_colored = cv2.imread("opencv.png", 1) # colored image.
img_gray = cv2.imread("opencv.png", 0)    # Black and white image.

print(img_gray, ‘\n‘, type(img_gray), ‘\n‘, img_gray.shape)
[[255 255 255 ... 255 255 255]
 [255 255 255 ... 255 255 255]
 [255 255 255 ... 255 255 255]
 ...
 [255 255 255 ... 255 255 255]
 [255 255 255 ... 255 255 255]
 [255 255 255 ... 255 255 255]]
 <class ‘numpy.ndarray‘>
 (610, 570)
导入的图片显示的像素信息是:689×549,即长度689,高度549;
但是在使用.shape方法时,返回的是矩阵信息,即行×列,就要变成549×689了。
图片读取后的数据类型为np.ndarray,意味着我们可以通过操作numpy、pandas等工具,来操作图像。
print(img_colored, "\nimg_colored.shape:", img_colored.shape)
[[[255 255 255]
  [255 255 255]
  [255 255 255]
  ...
  [255 255 255]
  [255 255 255]
  [255 255 255]]

 [[255 255 255]
  [255 255 255]
  [255 255 255]
  ...
  [255 255 255]
  [255 255 255]
  [255 255 255]]

 [[255 255 255]
  [255 255 255]
  [255 255 255]
  ...
  [255 255 255]
  [255 255 255]
  [255 255 255]]

 ...

 [[255 255 255]
  [255 255 255]
  [255 255 255]
  ...
  [255 255 255]
  [255 255 255]
  [255 255 255]]

 [[255 255 255]
  [255 255 255]
  [255 255 255]
  ...
  [255 255 255]
  [255 255 255]
  [255 255 255]]

 [[255 255 255]
  [255 255 255]
  [255 255 255]
  ...
  [255 255 255]
  [255 255 255]
  [255 255 255]]]
img_colored.shape: (610, 570, 3)
如何理解610×570×3
从矩阵的形式来看,有610个"元素",每个元素是570x3维的矩阵;
从图像的角度来看,先按行分割(610),每一行有616列,每列元素都有RGB三种属性,所以是616×3;
# show image
cv2.namedWindow("opencv", cv2.WINDOW_AUTOSIZE)
cv2.imshow("opencv", img_gray) # "Penguins": title of image

cv2.waitKey(0)
cv2.destroyAllWindows() # 关闭所有窗口;

cv.namedWindow("input",cv.WINDOW_AUTOSIZE)作用:会先生成一个窗口,这个窗口的顶部栏会加上Penguins这个字样;
配合cv.imshow("Penguins", src),因为这两个的标题是一致的(都为Penguins),所以会放在同一个窗口中显示;如果这两个的标题并不一致,那么会出现两个窗口;
必须配合waitKey()和destroyAllWindows()使用!不然会卡死!
其实如果不是特别要求显示效果,namedWindow()选配。
waitKey(time_period)等待用户事件,使窗口一直保持静态,直到用户在窗口界面随便按一下键盘,窗口才会自动关闭;
time_period: 单位毫秒ms,如果没有用户操作,在time_peroid毫秒后执行下一步操作;比如这里是cv2.destroyAllWindows(),关闭所有窗口;
time_peroid=0代表一直保持窗口静态;
一定要用按键盘退出,而不是手动关闭,不然会一直卡死的;
# resize image
img_resized = cv2.resize(img_gray, (600,500))
cv2.imshow("Resized", img_resized)

# resize image to one half
img_resized_half = cv2.resize(img_gray, (int(img_gray.shape[1]/2), int(img_gray.shape[0]/2)))
cv2.imshow("Resized to half", img_resized_half)

cv2.waitKey(0)
cv2.destroyAllWindows()
Resized to half

Resized
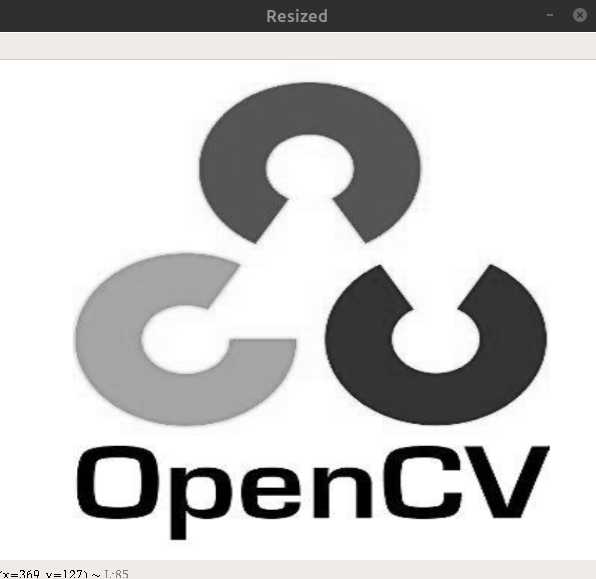
(600, 500)代表图片的长度和高度,而不是矩阵,对应矩阵应该是:500×600;
标签:缩放 type 效果 detection ngui 界面 使用 手动 sha
原文地址:https://www.cnblogs.com/rongyupan/p/13282948.html