标签:风格 ant 查询参数 获取 history index 嵌套 pre efault
我们希望在路由跳转之前执行某一些功能。。。
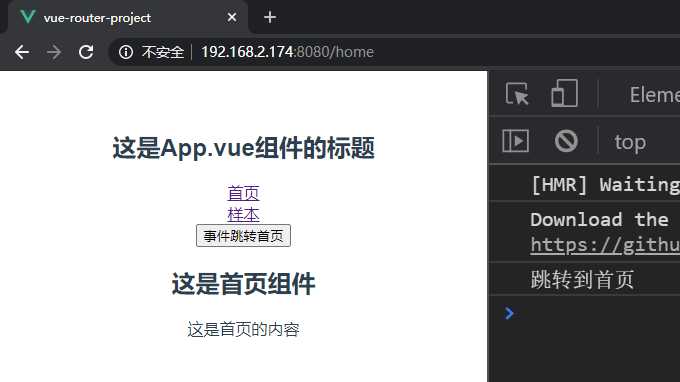
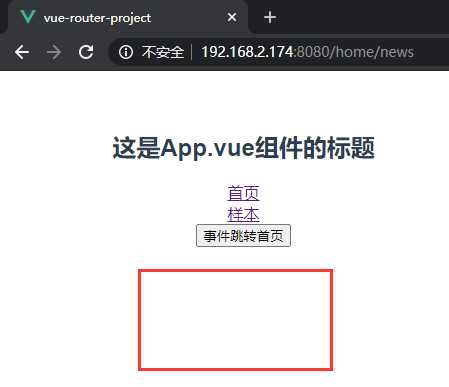
<template>
  <div id="app">
      <h2>这是App.vue组件的标题</h2>
      <router-link to="/home"> 首页 </router-link>
      <br>
      <router-link to="/sample" > 样本 </router-link>
      <br>
      <button @click="avent"> 事件跳转首页 </button>
    <router-view></router-view>
  </div>
</template>

<script>

export default {
    name: ‘App‘,
    methods : {
        avent() {
            console.log(‘跳转到首页‘);
            this.$router.push("/home");
        }
    }
}
</script>

<style lang="stylus">
#app
  font-family Avenir, Helvetica, Arial, sans-serif
  -webkit-font-smoothing antialiased
  -moz-osx-font-smoothing grayscale
  text-align center
  color #2c3e50
  margin-top 60px
</style>
效果:
打包之后JS文件会非常庞大,影响到页面的加载
如果我们能让不同的路由,对应的组件分割成不同的代码块
路由被访问的时候才能被加载组件,这样就高效了
路由懒加载的作用是由路由对应的组件打包成一个小的JS代码块
只有这个组件的路由被访问时才会加载JS代码块
index.js中配置:
import Vue from ‘vue‘;
import VueRouter from "vue-router"; // 导入路由插件

//import home from "../components/home";
//import sample from "../components/sample";

const home = () => import(‘../components/home‘); // 头部声明式 懒加载

Vue.use(VueRouter); //注入路由插件
const routes = [
    { path : ‘/home‘, component : home },
    { path : ‘/sample‘, component : () => import(‘../components/sample‘) } // 对象内直接声明 懒加载
]; // 定义路由
const router = new VueRouter({ // 创建路由实例
    routes,
    mode : ‘history‘
});
export default router; // 导出路由实例
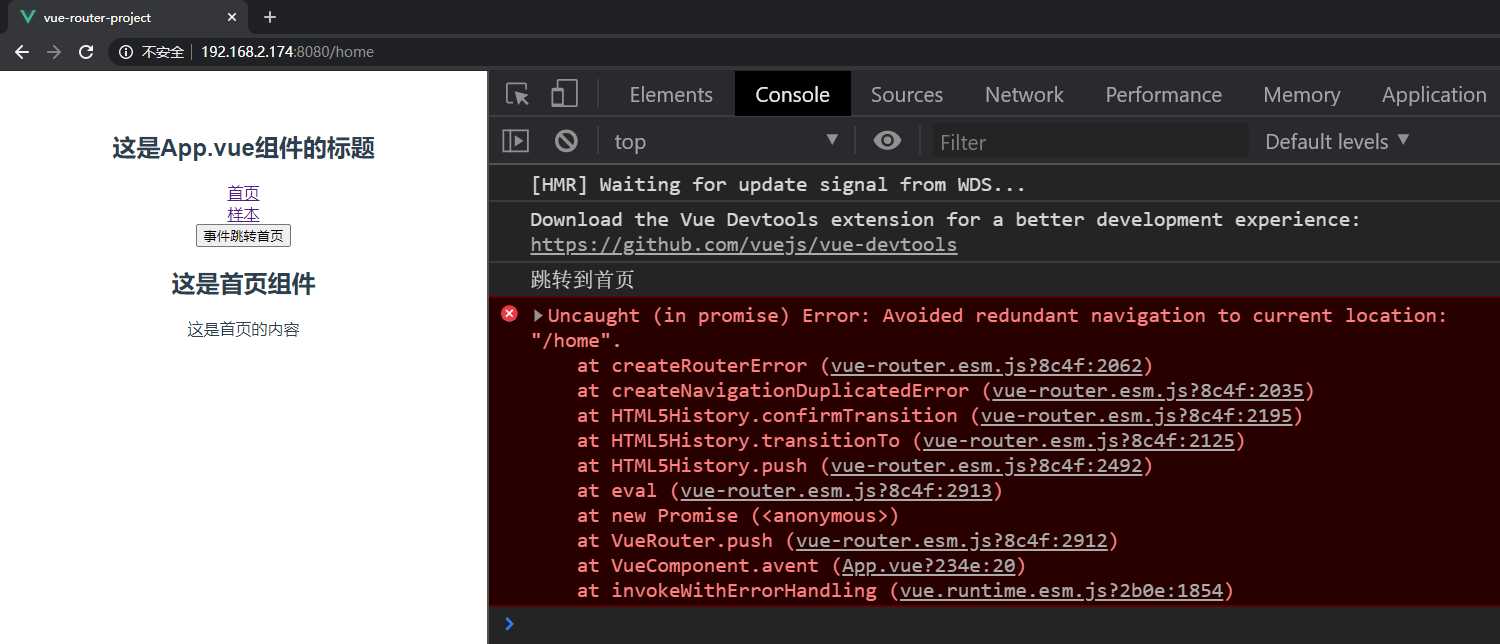
不知道啥问题。。。
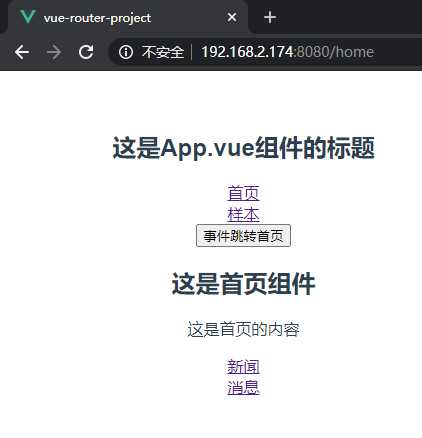
在首页组件中又设置了两个连接路由:
<template>
    <div>
        <h2>这是首页组件</h2>
        <p>这是首页的内容</p>

        <router-link to="/news"> 新闻 </router-link>
        <br>
        <router-link to="/msg"> 消息 </router-link>
    </div>
</template>

<script>
    export default {
        name: "home"
    }
</script>

<style scoped>

</style>
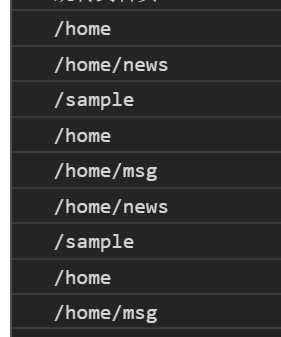
可以看到首页下面这两个组件:
然后点击新闻发现,上一级的首页组件不能保存:

所以我们需要嵌套路由,首先
首页组件页设置view标签
其次,在indexjs种设置子组件,并放入新闻和消息组件:
import Vue from ‘vue‘;
import VueRouter from "vue-router"; // 导入路由插件

import home from "../components/home";
import sample from "../components/sample";
import news from "../components/news";
import msg from "../components/msg";

Vue.use(VueRouter); //注入路由插件
const routes = [
    {
        path : ‘/home‘,
        component : home,
        children : [ // 配置子路由
            { path : ‘/news‘, component : news },
            { path : ‘/msg‘, component : msg }
        ]
    },

    { path : ‘/sample‘, component : sample },
]; // 定义路由
const router = new VueRouter({ // 创建路由实例
    routes,
    mode : ‘history‘
});
export default router; // 导出路由实例
看起来问题像是解决了

我们地址也一应该保证这样的层级关系:
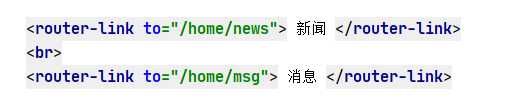
index.js路由地址:
            { path : ‘news‘, component : news },
            { path : ‘msg‘, component : msg }
路由跳转可以参数传递,参数分为两种:Params & QueryParams
配置路由格式:
/new/:id
这样就表示,我们在使用新闻组件的时候需要在后面传id参数
/news/24

如果不给予参数,则组件不会显示
加上参数访问:

配置路由方式不变,但是采用的是原生URL参数传递

我这里没用,没有那个效果。。。
控制台也没报错。。。
        <router-link
                :to="{
                    path : ‘/home/news‘,
                    query : {
                        id : 2,
                        name : ‘张三‘,
                        age : 23,
                        gender : true,
                        hobby : [1,2,3,4,5]
                    }
                }"
        > 新闻 </router-link>
url地址渲染:
http://192.168.2.174:8080/home/news?id=2&name=%E5%BC%A0%E4%B8%89&age=23&gender=true&hobby=1&hobby=2&hobby=3&hobby=4&hobby=5
<template>
  <div id="app">
      <h2>这是App.vue组件的标题</h2>
      <router-link to="/home"> 首页 </router-link>
      <br>
      <router-link to="/sample" > 样本 </router-link>
      <br>
      <button @click="avent"> 事件跳转首页 </button>
      <br>
      <button @click="toNews"> 事件跳转home2 </button>
      <router-view></router-view>

  </div>
</template>

<script>

export default {
    name: ‘App‘,
    methods : {
        avent() {
            console.log(‘跳转到首页‘);
            this.$router.push("/home");
        },
        toNews() {
            this.$router.push({
                path : "/home/news",
                query : {
                    id : 33,
                    name : "阿伟",
                    age : 32,
                    gender : true,
                    others : [1,3,5,7,9]
                }
            });

        }
    }
}
</script>

<style lang="stylus">
#app
  font-family Avenir, Helvetica, Arial, sans-serif
  -webkit-font-smoothing antialiased
  -moz-osx-font-smoothing grayscale
  text-align center
  color #2c3e50
  margin-top 60px
</style>
点击传递:
http://localhost:8080/home/news?id=33&name=%E9%98%BF%E4%BC%9F&age=32&gender=true&others=1&others=3&others=5&others=7&others=9
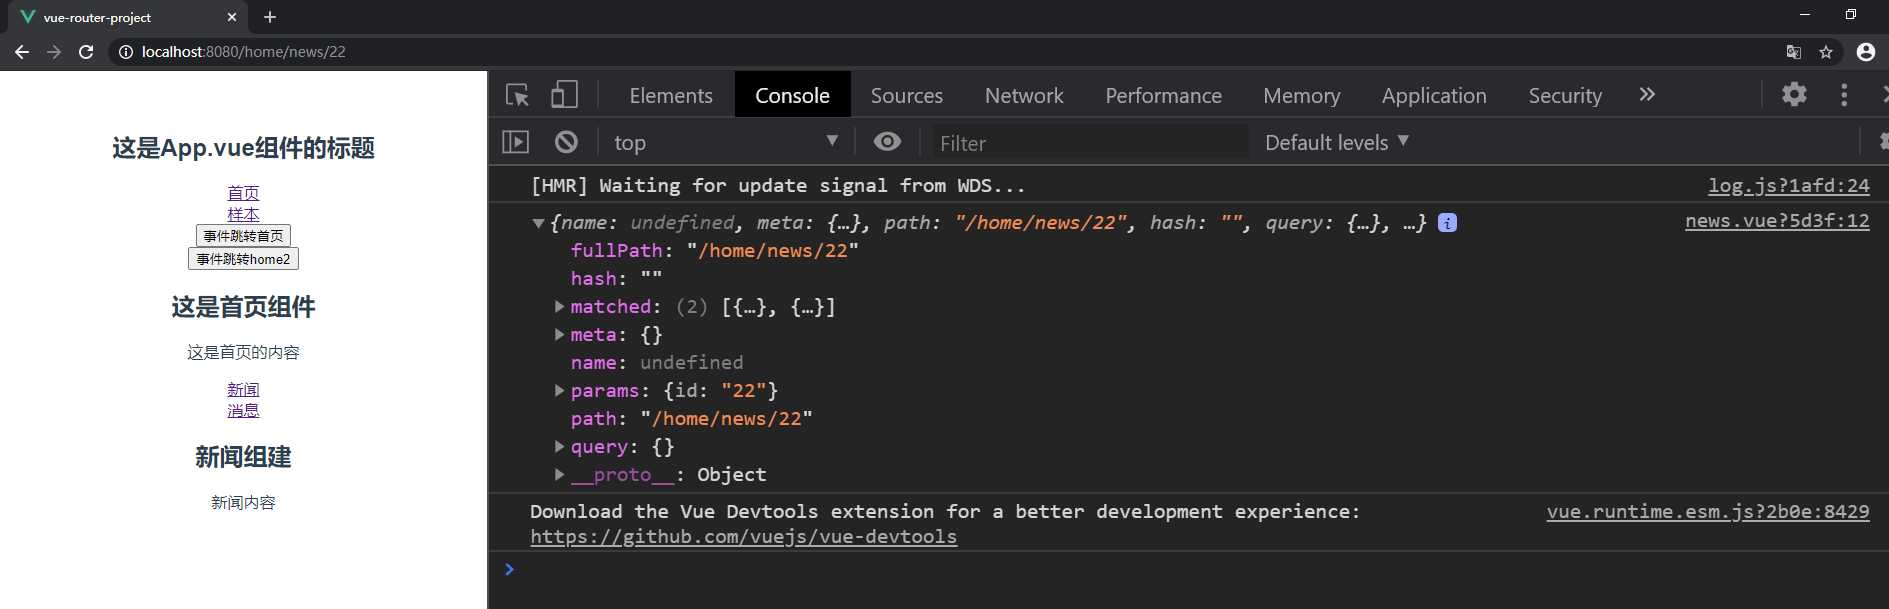
在新闻组件中增加一个控制台打印查看:
<template>
    <div>
        <h2>新闻组建</h2>
        <p>新闻内容</p>
    </div>
</template>

<script>
    export default {
        name: "news",
        created() {
            console.log(this.$route);
        }
    }
</script>

<style scoped>

</style>
访问测试:
这种方法必须要求:id赋值,然后才可以查询参数赋值
试试参数重复赋值时情况如何?
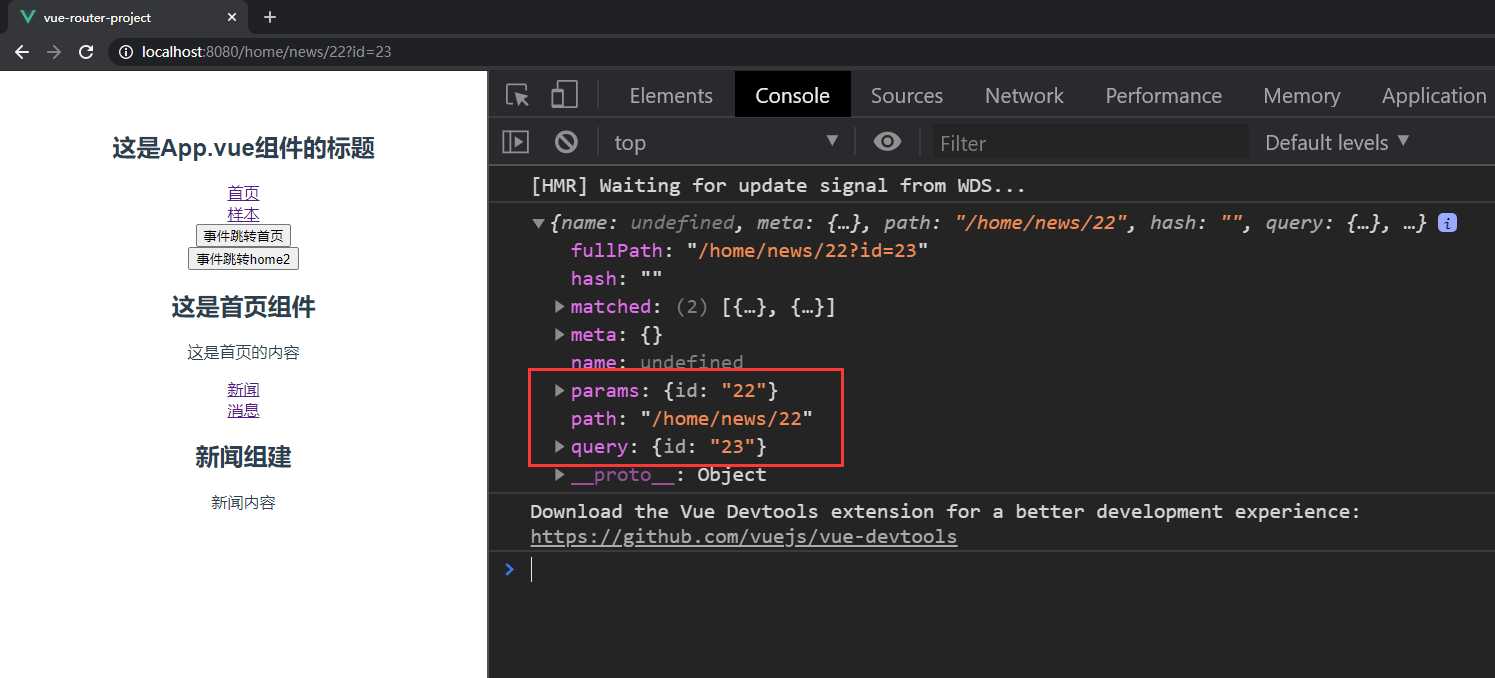
其实在这里就很明确了,params就是我们配置的格式:
改格式要求必须注入参数:RestFul风格
而query可以给也可以不给
现在打印这个参数看看:
console.log(this.$route.params.id);
效果:
每次请求访问都会被获取到
<template>
  <div id="app">
      <h2>这是App.vue组件的标题</h2>
      <router-link to="/home"> 首页 </router-link>
      <br>
      <router-link to="/sample" > 样本 </router-link>
      <br>
      <button @click="avent"> 事件跳转首页 </button>
      <br>
      <button @click="toNews"> 事件跳转home2 </button>
      <router-view></router-view>

  </div>
</template>

<script>

export default {
    name: ‘App‘,
    methods : {
        avent() {
            console.log(‘跳转到首页‘);
            this.$router.push("/home");
        },
        toNews() {
            this.$router.push({
                path : "/home/news",
                query : {
                    id : 33,
                    name : "阿伟",
                    age : 32,
                    gender : true,
                    others : [1,3,5,7,9]
                }
            });
        }
    },
    watch : {
        ‘$route.path‘ : function (newVal, oldVal) {
            console.log(newVal);
        }
    }
}
</script>

<style lang="stylus">
#app
  font-family Avenir, Helvetica, Arial, sans-serif
  -webkit-font-smoothing antialiased
  -moz-osx-font-smoothing grayscale
  text-align center
  color #2c3e50
  margin-top 60px
</style>
请求在这里都会被捕获到:
但是使用地址栏输入的方式就不会捕获
也就是说,这些都是我们在组件中使用的跳转,是由router执行的,这种方式的捕获仅限于router设置的
$router是vue-router的实例,导航到不同的URL中使用$router.push方法
$route是当前router的跳转对象,可获取name,path等等信息
标签:风格 ant 查询参数 获取 history index 嵌套 pre efault
原文地址:https://www.cnblogs.com/mindzone/p/13380343.html