标签:cat 标签 index drop line 前端 方便 struct post
GeoServer是OGC Web服务器规范的J2EE实现,利用GeoServer可以方便地发布地图数据,允许用户对特征数据进行更新、删除、插入操作,通过GeoServer可以比较容易地在用户之间迅速共享空间地理信息。GeoServer是开源软件。
GeoServer 是基于 Java 的软件服务器,允许用户查看和编辑地理空间数据。使用开放地理空间联盟(OGC)提出的开放标准,GeoServer 在地图创建和数据共享方面具有极大的灵活性。
GeoServer允许您向世界显示您的空间信息。实施Web地图服务(WMS)标准,GeoServer可以创建各种输出格式的地图。一个免费的地图库OpenLayers已集成到GeoServer中,从而使地图生成快速简便。GeoServer基于GeoTools(一种开放源Java GIS工具包)构建。
注:
博客:
https://blog.csdn.net/badao_liumang_qizhi
关注公众号
霸道的程序猿
获取编程相关电子书、教程推送与免费下载。
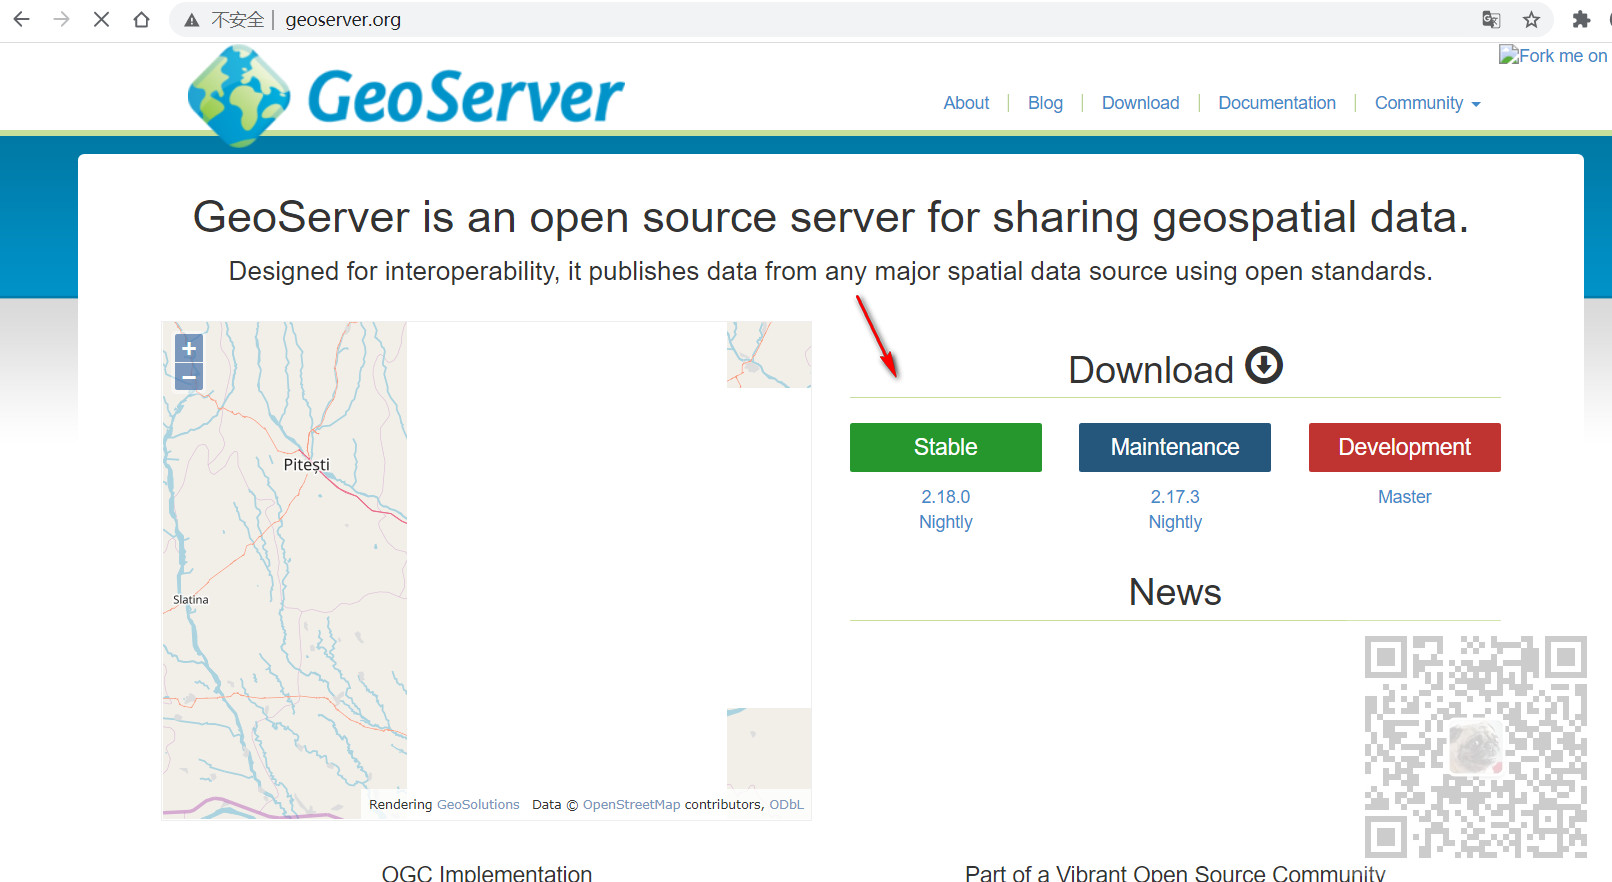
进入官网,点击Stable下版本标签进入下载页面
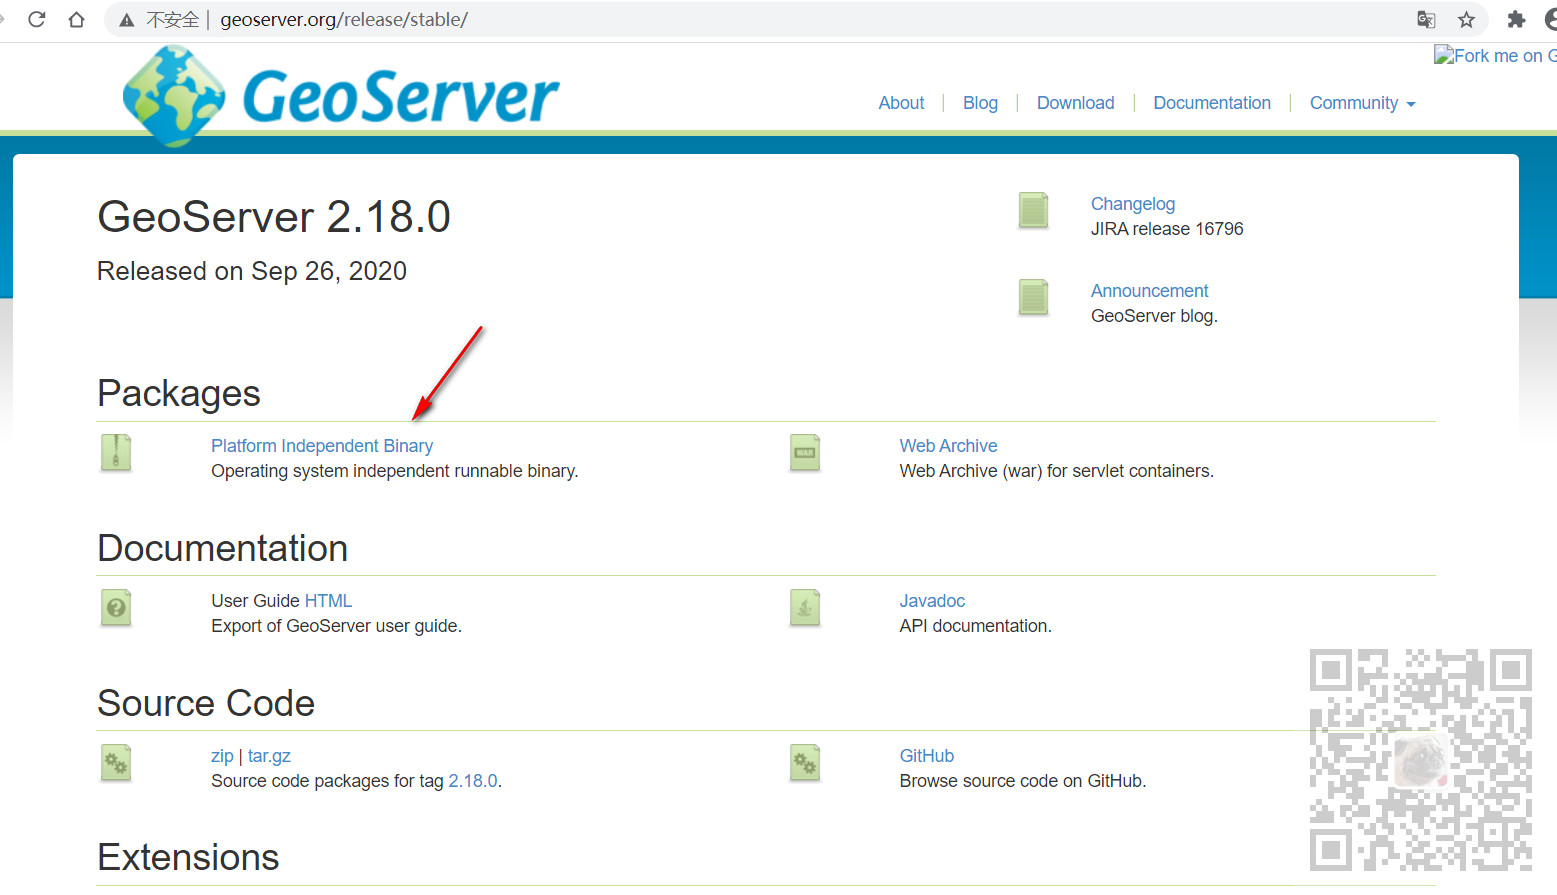
然后选择二进制文件进行下载,也可以选择后面的war包下载部署到Tomcat中运行
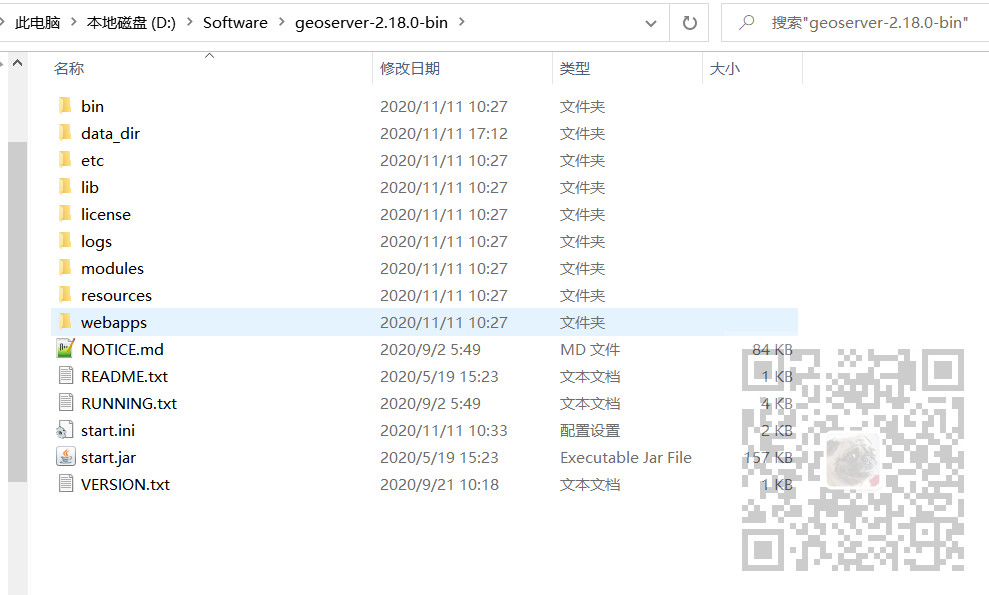
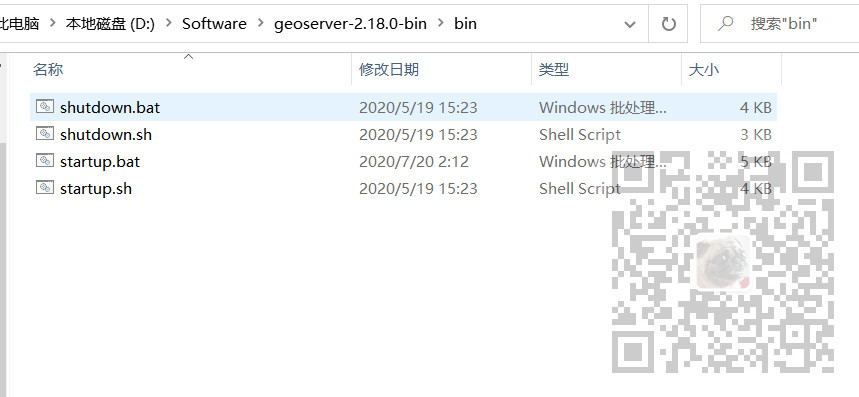
下载解压之后的目录如下
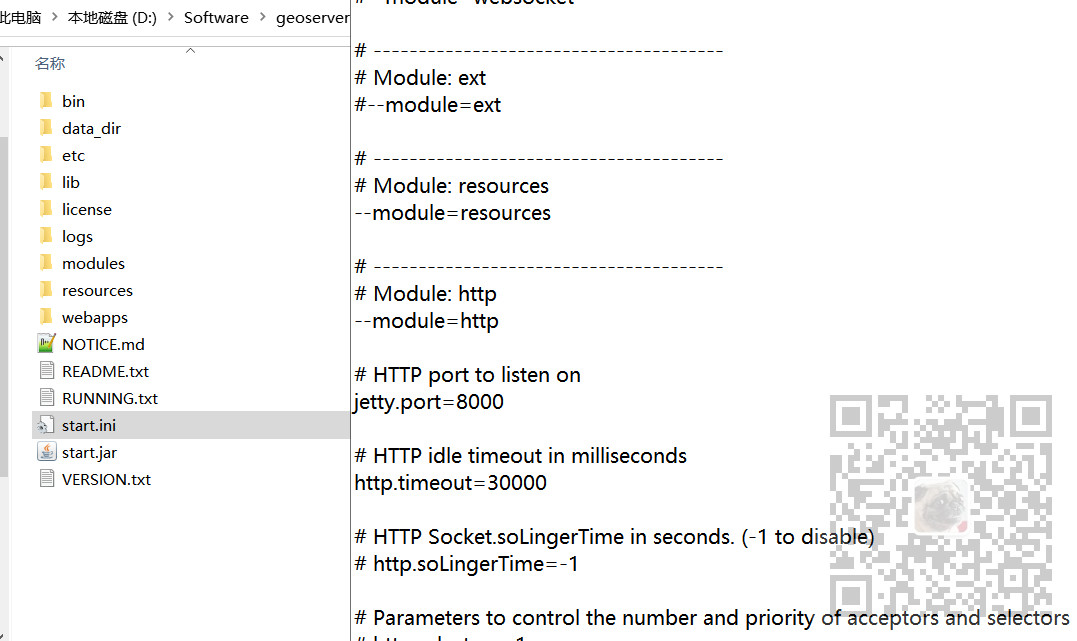
找到解压目录下start.ini,右键编辑,找到jetty.port,这里将端口号修改为8000
找到bin下的startup.bat,双击启动,如果控制台没有报错,则保持命令行开启
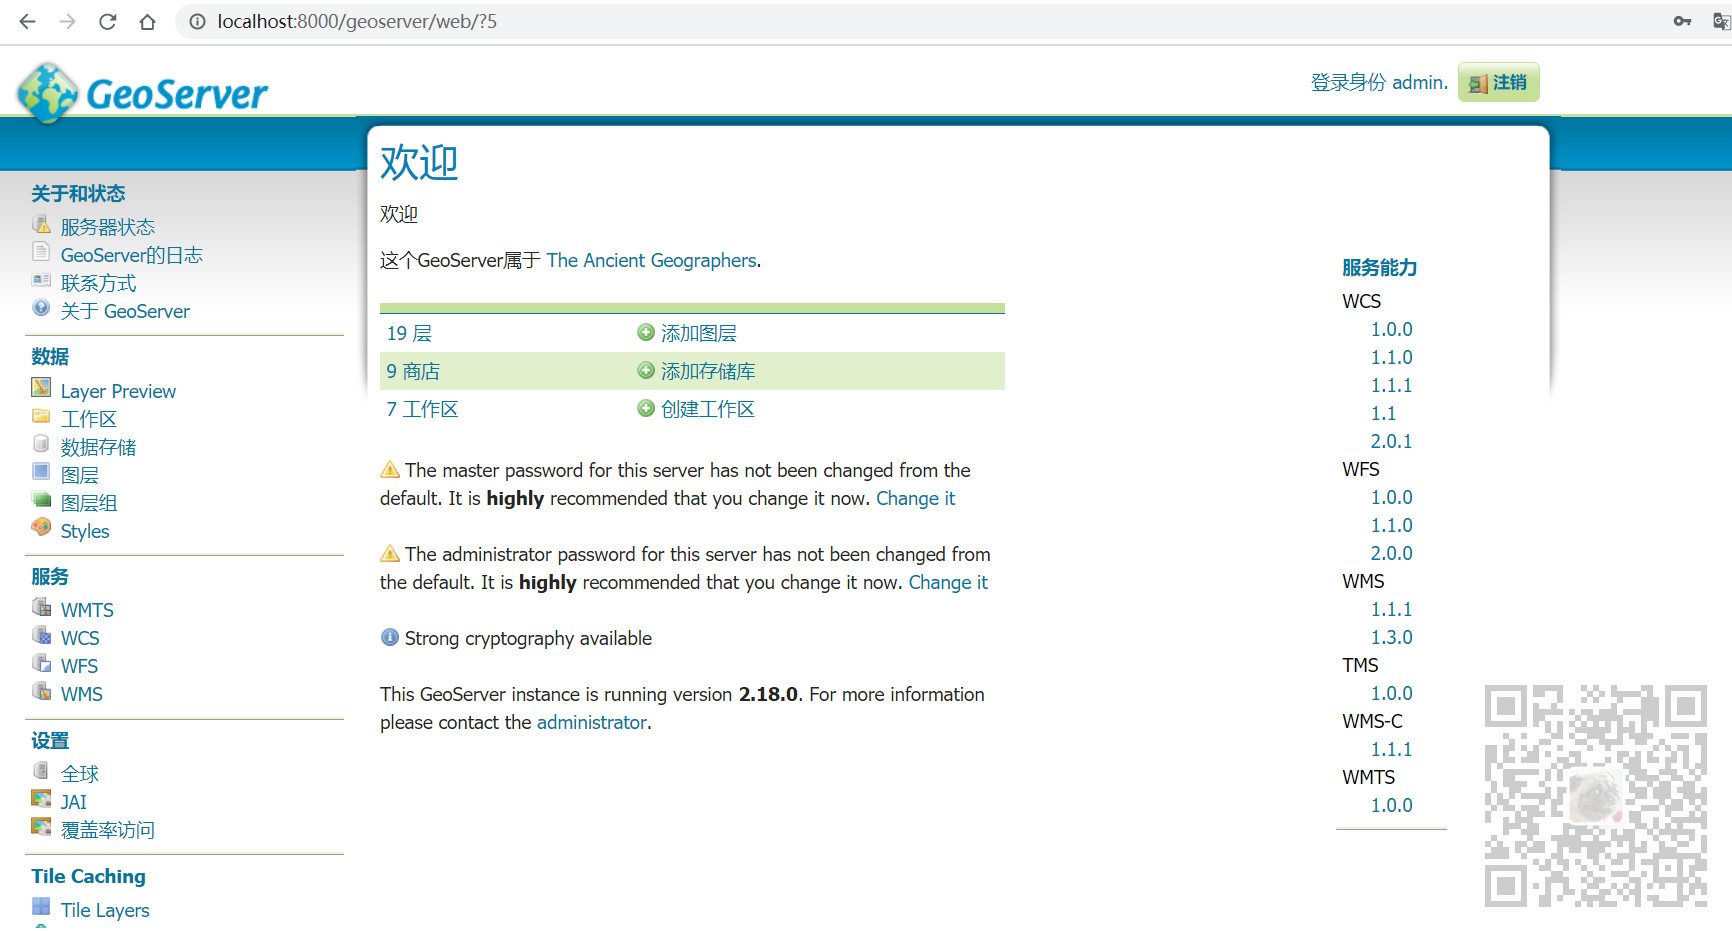
打开浏览器输入
http://localhost:8000/geoserve
登录用户名密码
admin
geoserver
在发布之前,需要有地图数据源文件,这里可以从官方示例文档中进行下载
https://docs.geoserver.org/stable/en/user/_downloads/30e405b790e068c43354367cb08e71bc/nyc_roads.zip

将数据源解压后
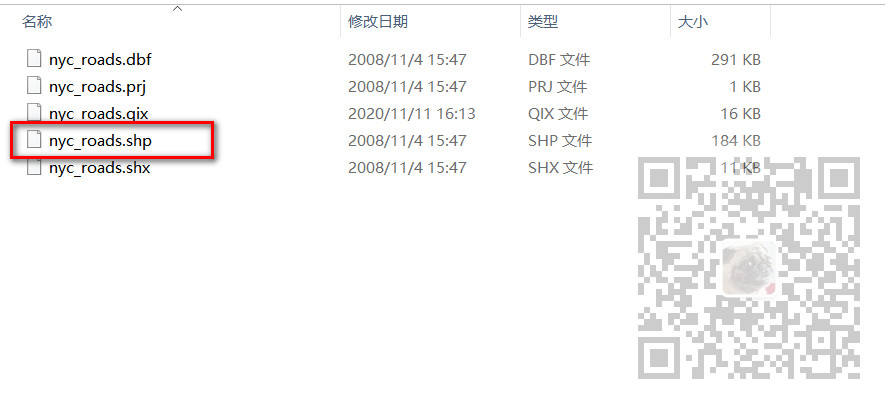
就能看到我们所需要的shp文件。
将解压后的整个目录放在前面Geoserver解压目录下data_dir/data下
完整路径
geoserver/data_dir/data/nyc_roads
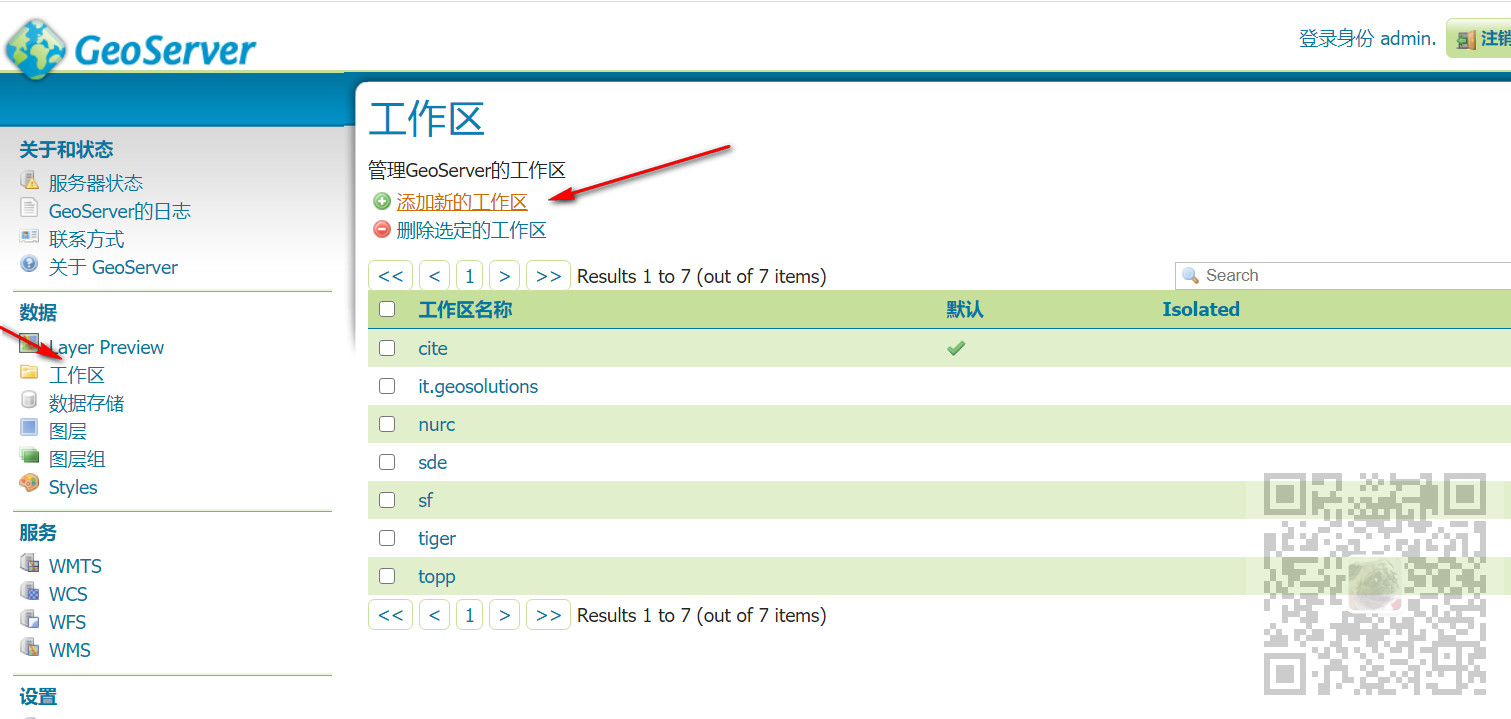
点击工作区-添加新的工作区
然后配置工作区信息
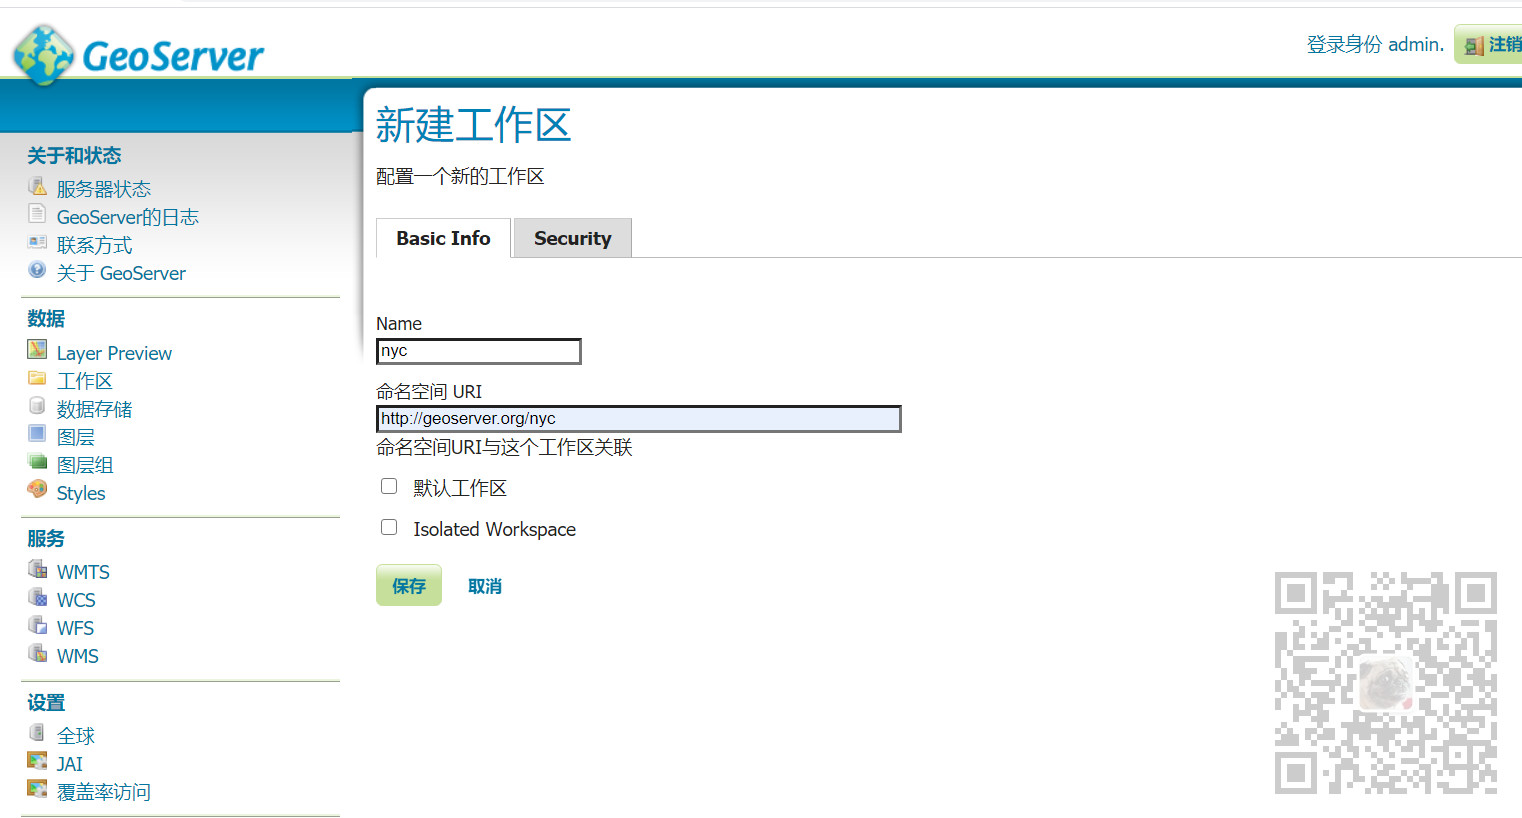
注意:
工作区名称是描述项目的标识符。它不能超过10个字符或包含空格。名称空间URI(统一资源标识符)通常可以是与项目相关联的URL,其中添加了一个表示工作区的尾随标识符。归档的名称空间URI不需要解析为实际的有效web地址。
然后勾选上将其设置为默认工作区(可选),点击保存。
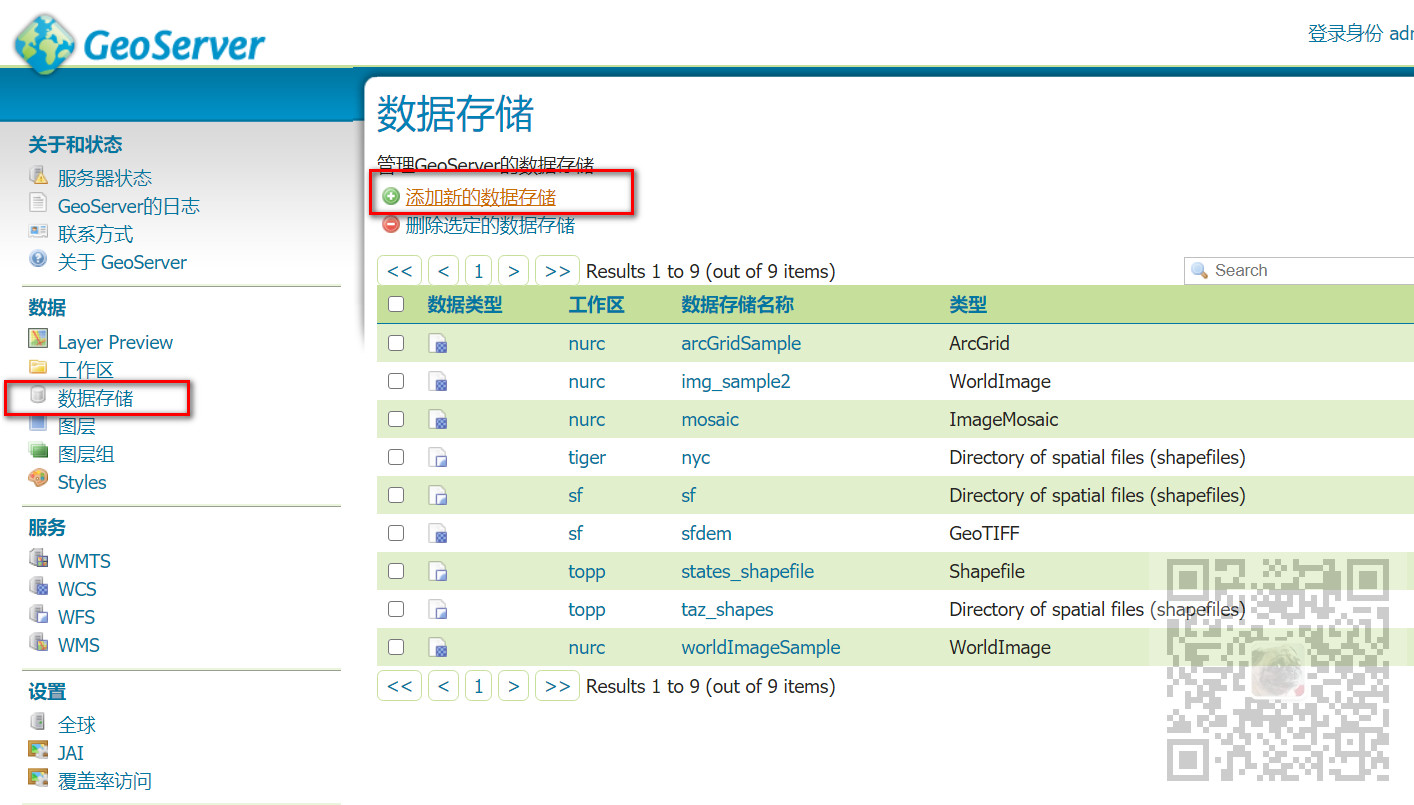
点击数据存储-添加新的数据存储
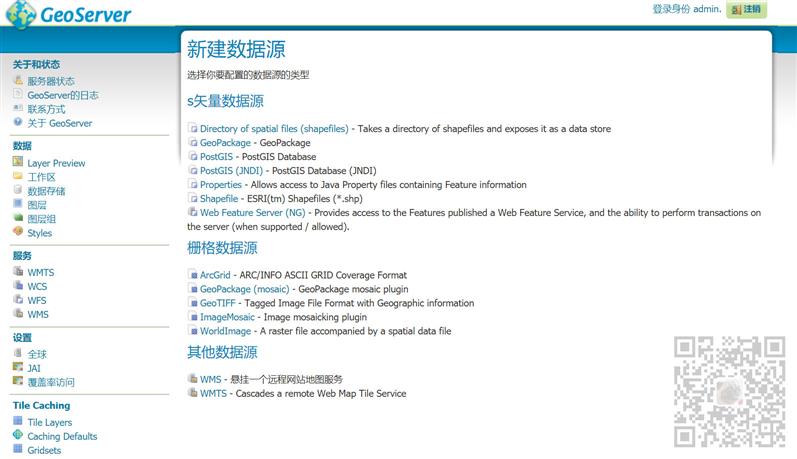
然后选择矢量数据源下的第一个Directory of spatial files(shapefiles)
选择上面新建的工作区,以及选择shapefiles文件的目录
这里的目录就是上面放在data下的shape的目录。
注意这里只能选择到shp文件所在的目录,而后面shp文件的全名称需要在选择后手动添加上
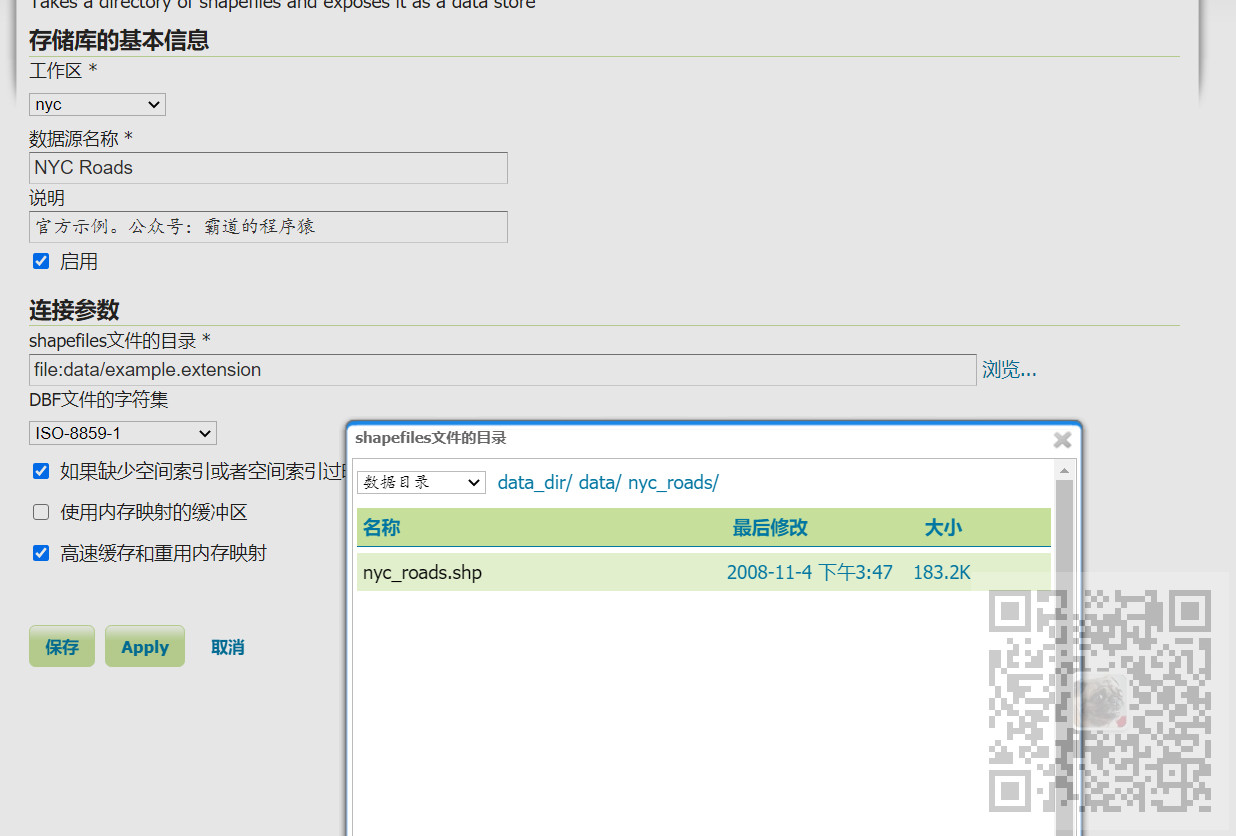
比如这里选择完成之后的路径为
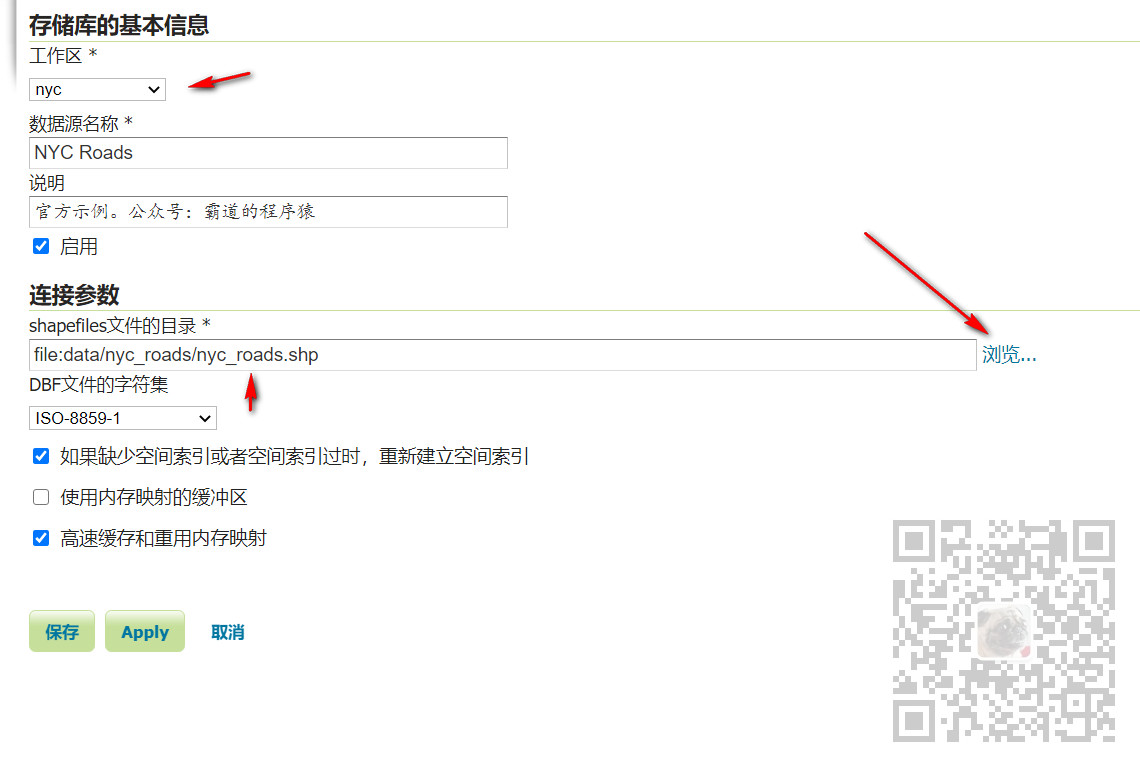
点击保存
在新建图层页面,点击上面新建图层,然后点击添加图层的下拉框,选择上面新建的数据源,然后在下面会出现图层,点击后面的发布,会进入图层发布前的编辑
然后往下拉找打计算边界的两个地方
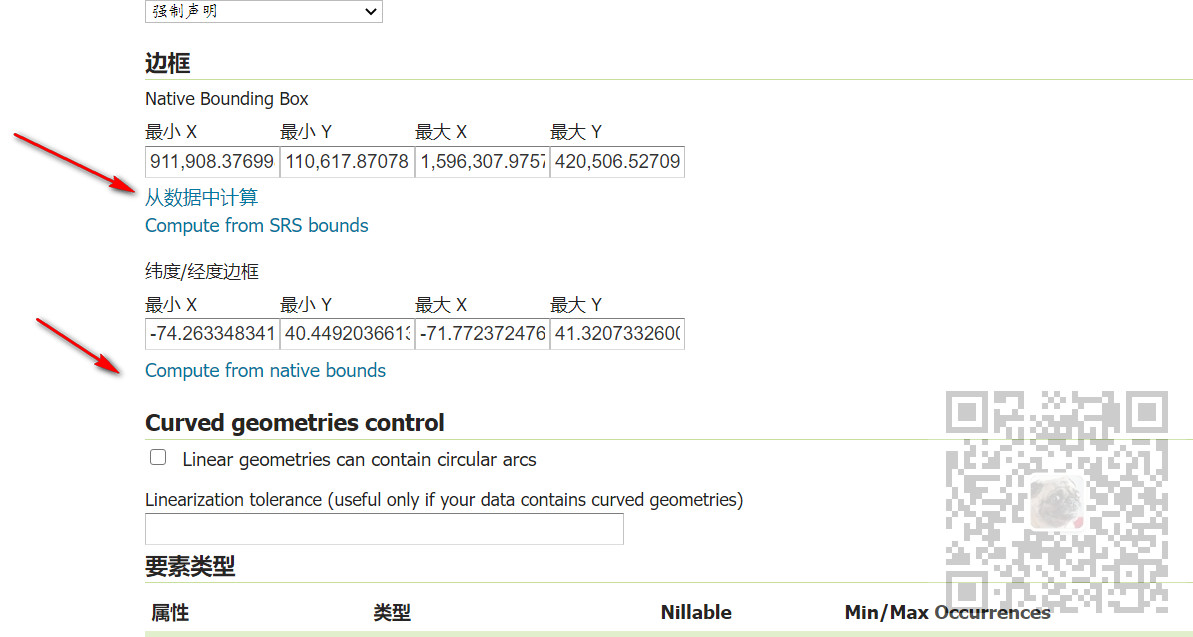
点击从数据中计算和Compute from natice bounds
然后再点击上面的发布标签下
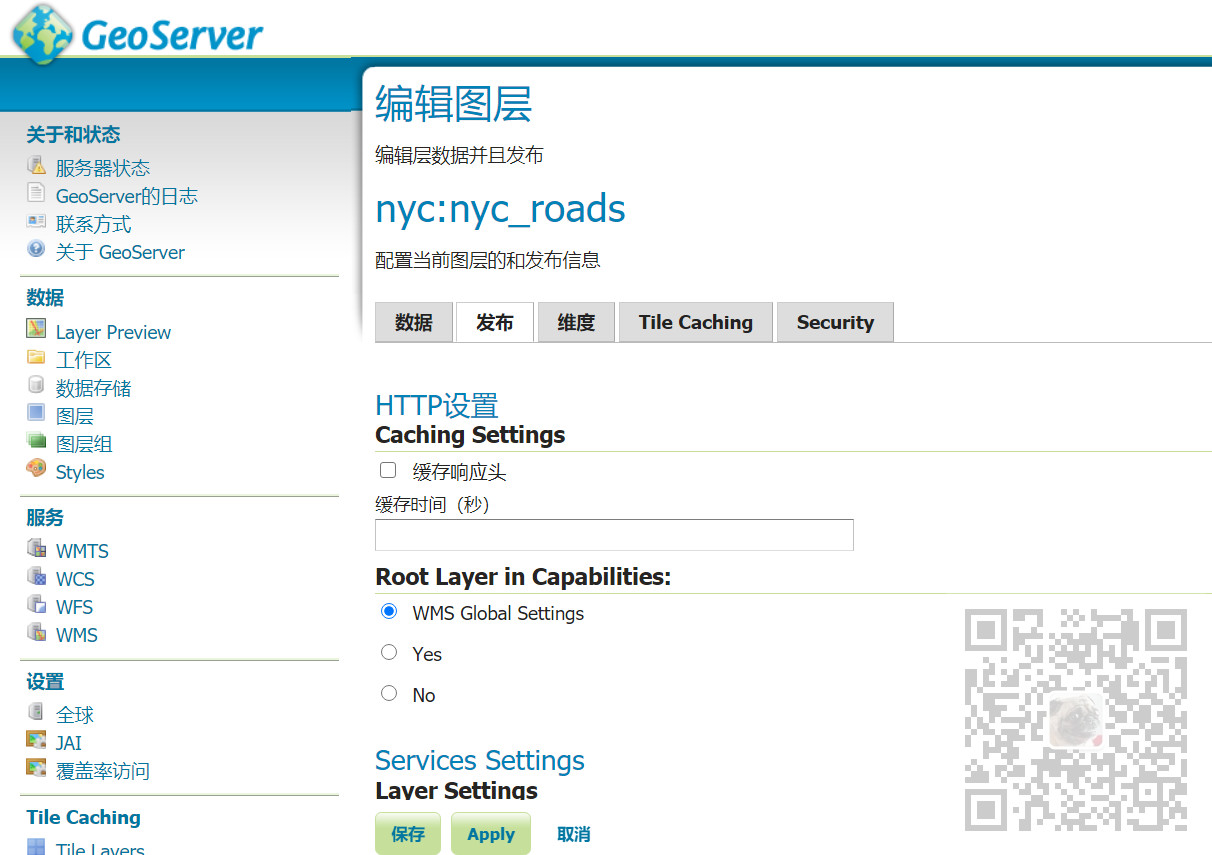
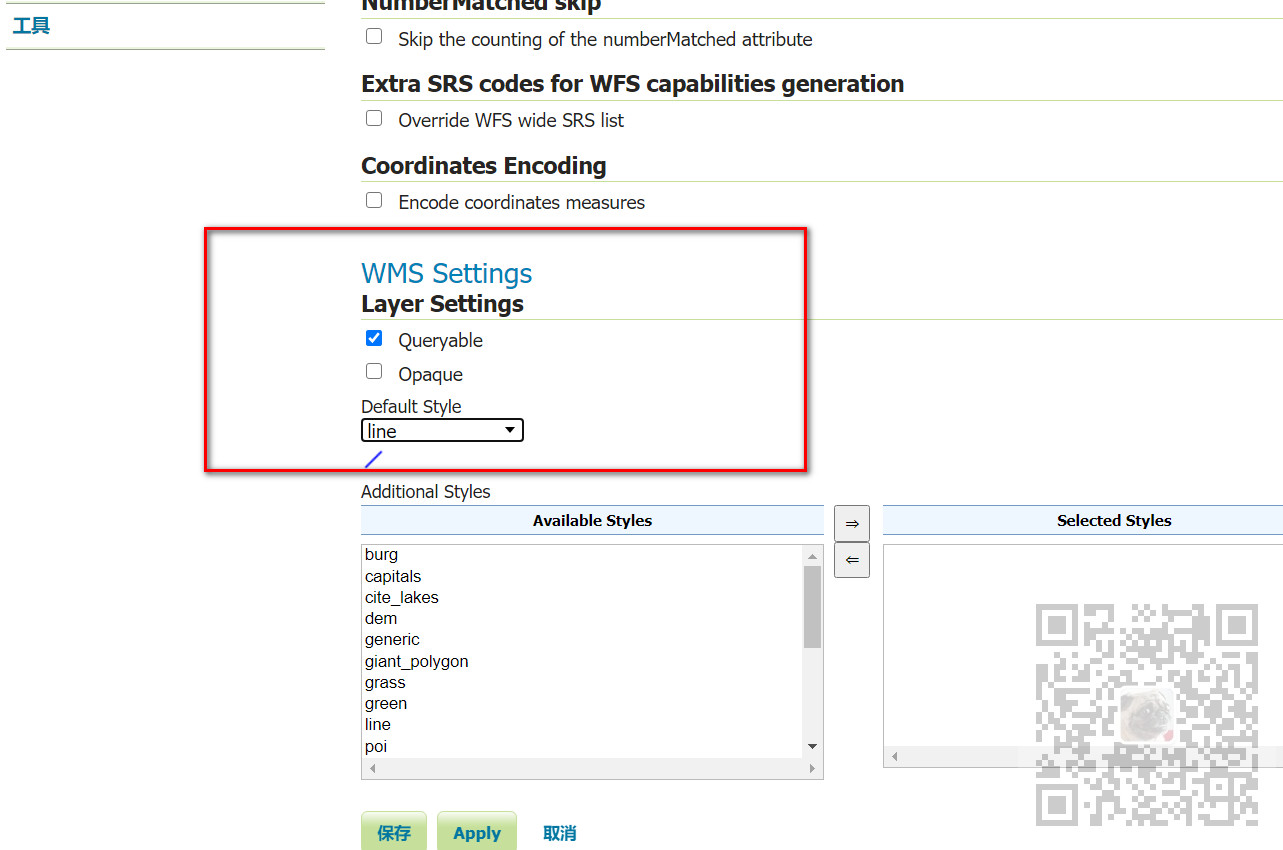
将这里的WMS Settings下的Default Style修改为Line,默认就是如此。
然后点击保存
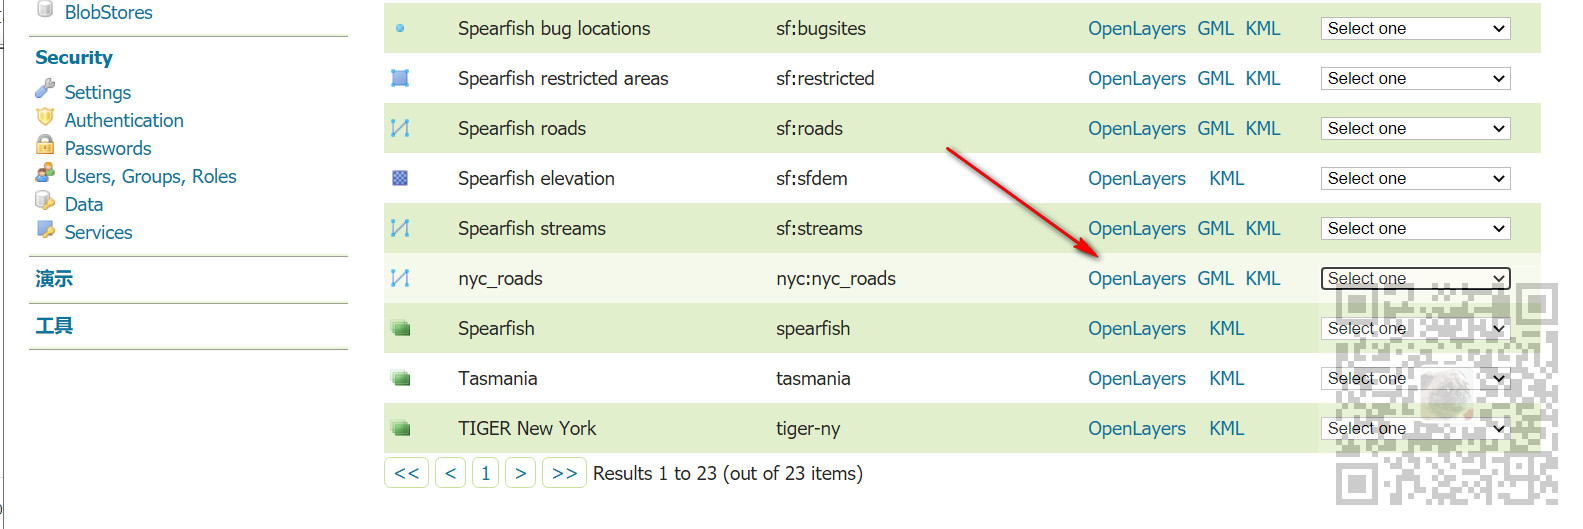
然后找到菜单中Layer Preview,找到上面刚保存的图层
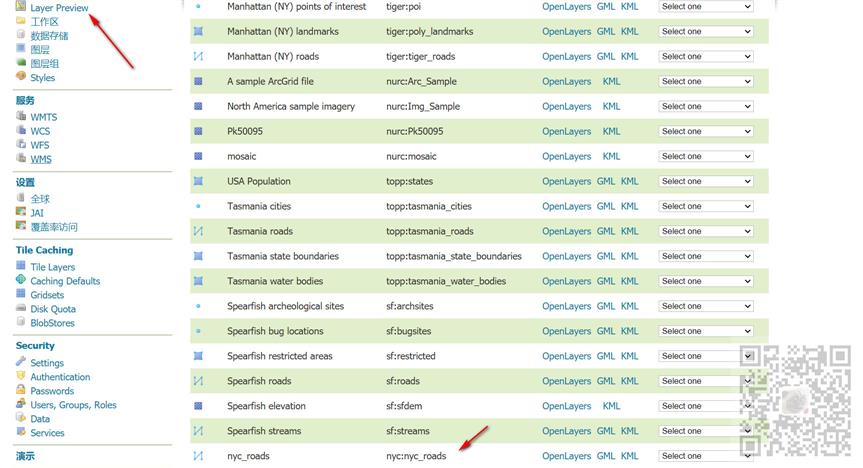
点击后面的OpenLayers
然后就会在新标签页中显示地图的预览
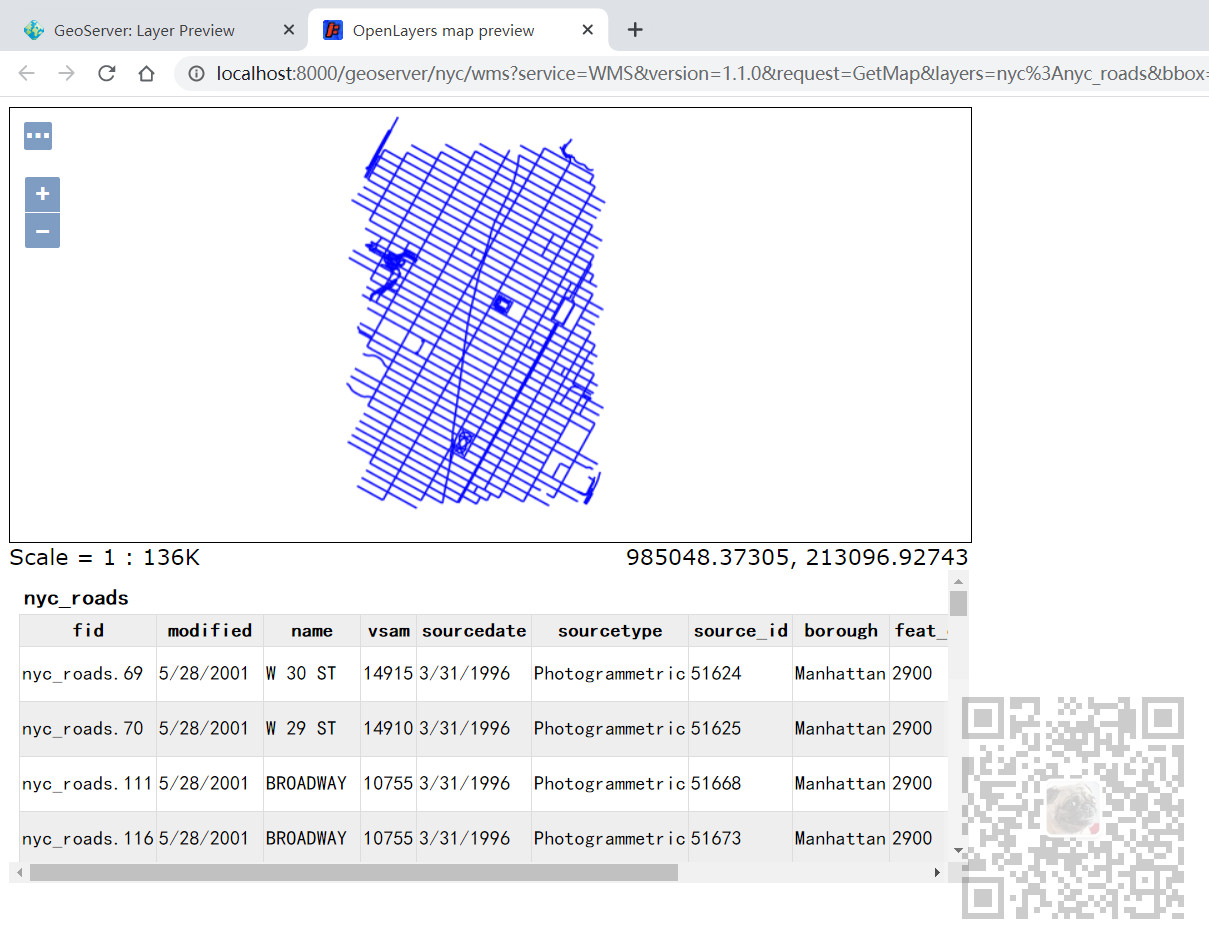
其中地址栏中的
http://localhost:8000/geoserver/nyc/wms
就可以用来给前端OpenLayers的url进行使用
以上所有发布shapefile的过程可参照官方文档
https://docs.geoserver.org/stable/en/user/gettingstarted/shapefile-quickstart/index.html
This tutorial walks through the steps of publishing a Shapefile with GeoServer.
Note
This tutorial assumes that GeoServer is running at http://localhost:8080/geoserver.
First let’s gather that the data that we’ll be publishing.
Download the file nyc_roads.zip. This archive contains a
shapefile of roads from New York City that will be used during in this
tutorial.
Unzip the nyc_roads.zip into a new directory named nyc_roads. The archive contains the following
four files:
nyc_roads.shp
nyc_roads.shx
nyc_roads.dbf
nyc_roads.prj
Move the nyc_roads directory into <GEOSERVER_DATA_DIR>/data, where <GEOSERVER_DATA_DIR> is the root of the GeoServer data directory. If no changes have been made to the GeoServer file structure, the path is geoserver/data_dir/data/nyc_roads.
The next step is to create a workspace for the shapefile. A workspace is a container used to group similar layers together.
Note
This step is optional if you’d like to use an existing workspace. Usually, a workspace is created for each project, which can include stores and layers that are related to each other.
In a web browser, navigate to http://localhost:8080/geoserver.
Log into GeoServer as described in the Logging In section.
Navigate to

Workspaces page
Click the Add new workspace button.
You will be prompted to enter a workspace Name and Namespace URI.

Configure a new workspace
Enter the Name as nyc and the Namespace URI as http://geoserver.org/nyc.
Note
A workspace name is a identifier describing your project. It must not exceed ten characters or contain spaces. A Namespace URI (Uniform Resource Identifier) can usually be a URL associated with your project with an added trailing identifier indicating the workspace. The Namespace URI filed does not need to resolve to an actual valid web address.

nyc workspace
Click the Submit button. The nyc workspace will be added to the Workspaces list.
Once the workspace is created, we are ready to add a new store. The store tells GeoServer how to connect to the shapefile.
Navigate to
You should see a list of stores, including the type of store and the workspace that the store belongs to.
In order to add the shapefile, you need to create a new store. Click the Add new Store button. You will be redirected to a list of the data sources supported by GeoServer. Note that the data sources are extensible, so your list may look slightly different.
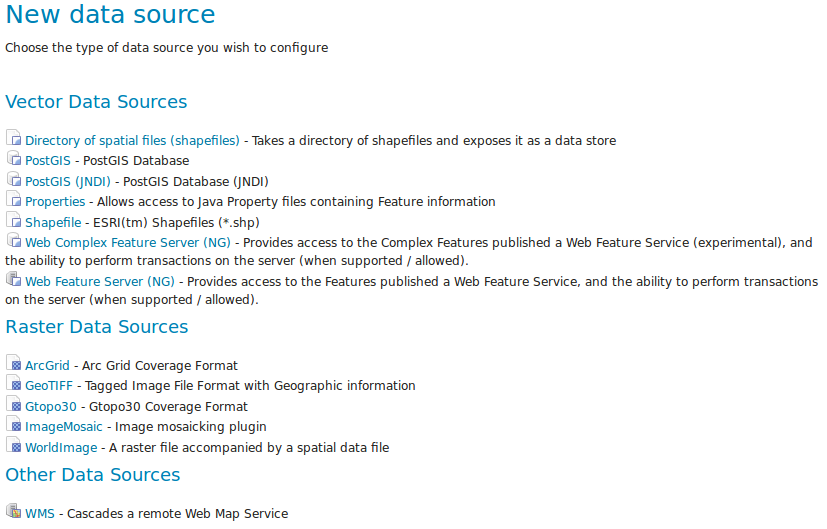
Stores
Click Shapefile. The New Vector Data Source page will display.
Begin by configuring the Basic Store Info.
Select the workspace nyc from the drop down menu.
Enter the Data Source Name as NYC Roads
Enter a brief Description (such as “Roads in New York City”).
Under Connection Parameters, browse to the location URL of the shapefile, typically nyc_roads/nyc_roads.shp.
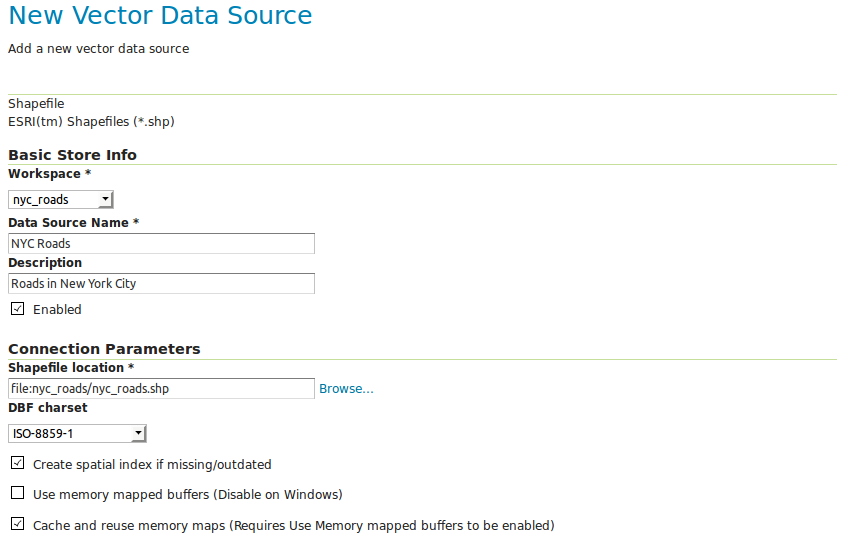
Basic Store Info and Connection Parameters
Click Save. You will be redirected to the New Layer page in order to configure the nyc_roads layer.
Now that the store is loaded, we can publish the layer.
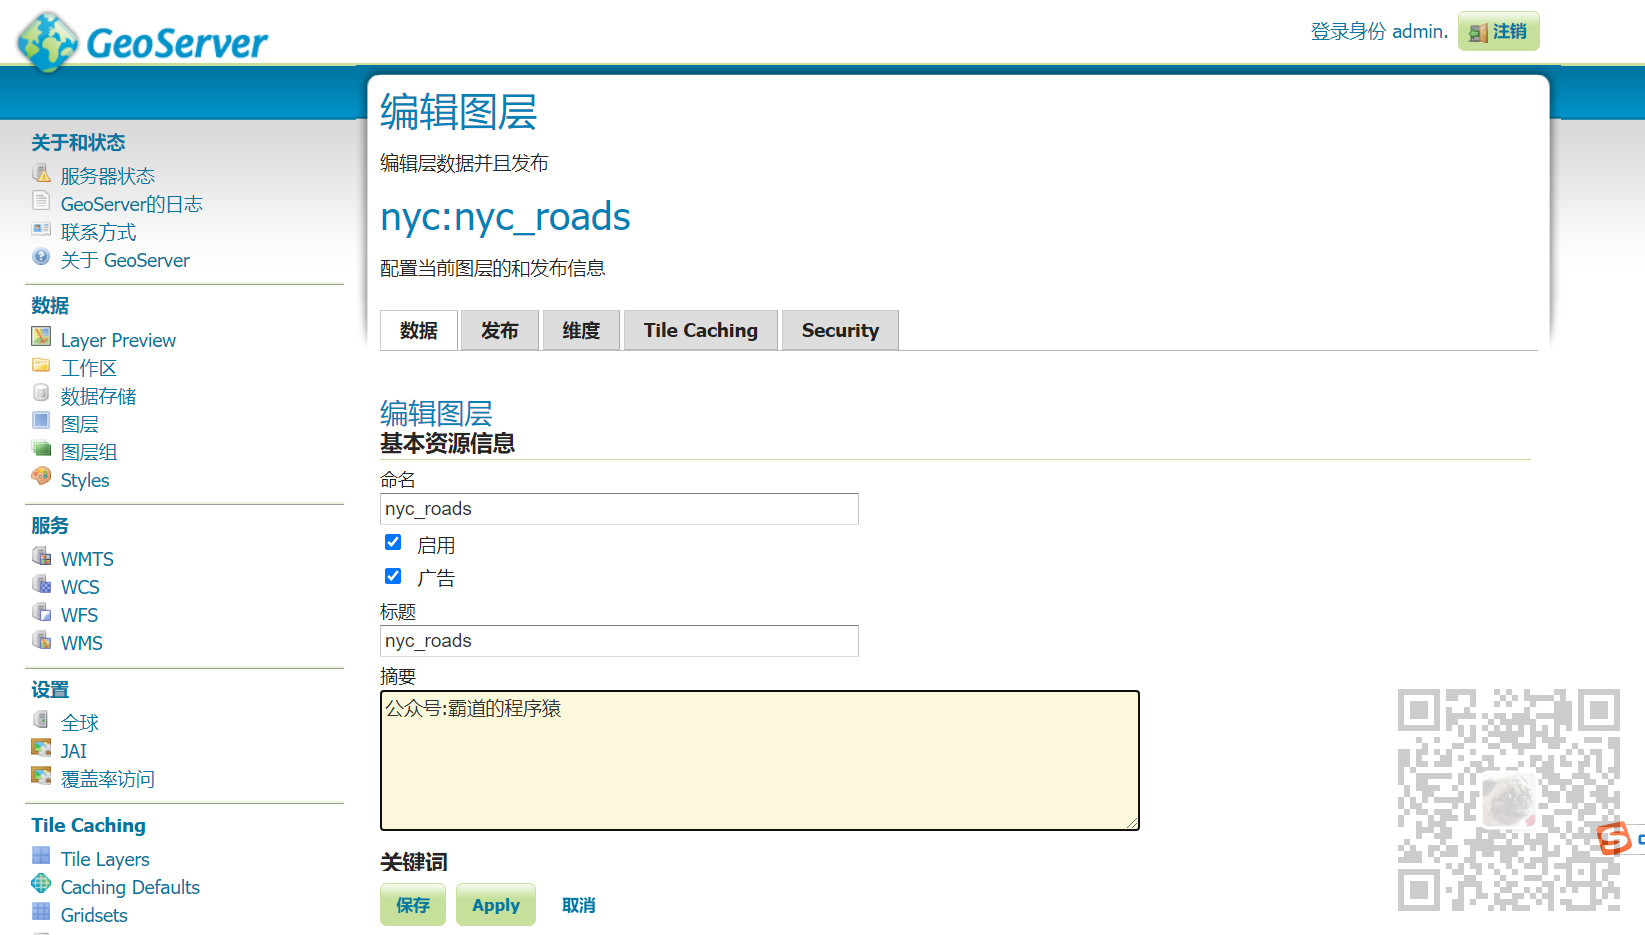
On the New Layer page, click Publish beside the nyc_roads layer name.
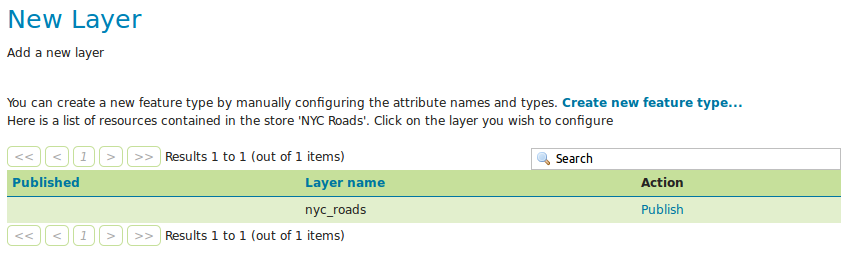
New layer
The Edit Layer page defines the data and publishing parameters for a layer. Enter a short Title and an Abstract for the nyc_roads layer.
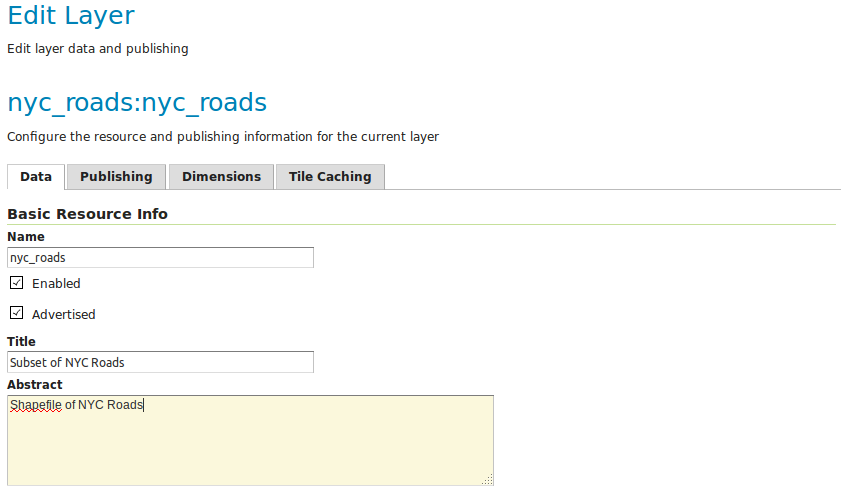
Basic Resource Information
Generate the layer’s bounding boxes by clicking the Compute from data and then Compute from native bounds links.
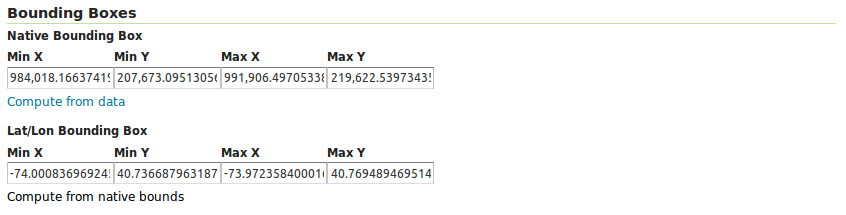
Generating bounding boxes
Click the Publishing tab at the top of the page.
We can set the layer’s style here. Under WMS Settings, ensure that the Default Style is set to line.

Select Default Style
Finalize the layer configuration by scrolling to the bottom of the page and clicking Save.
In order to verify that the nyc_roads layer is published correctly, we can preview the layer.
Navigate to the Layer Preview screen and find the nyc:nyc_roads layer.
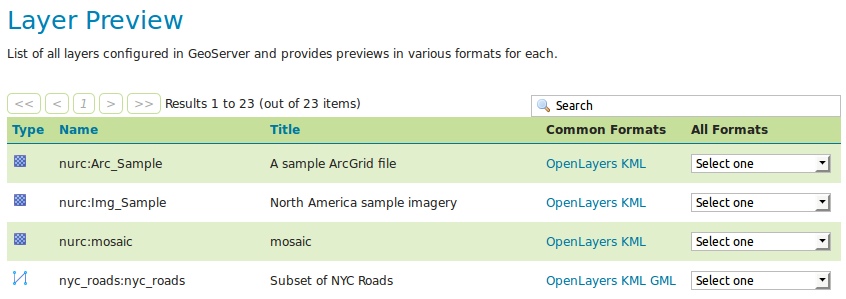
Layer Preview
Click the OpenLayers link in the Common Formats column.
An OpenLayers map will load in a new tab and display the shapefile data with the default line style. You can use this preview map to zoom and pan around the dataset, as well as display the attributes of features.
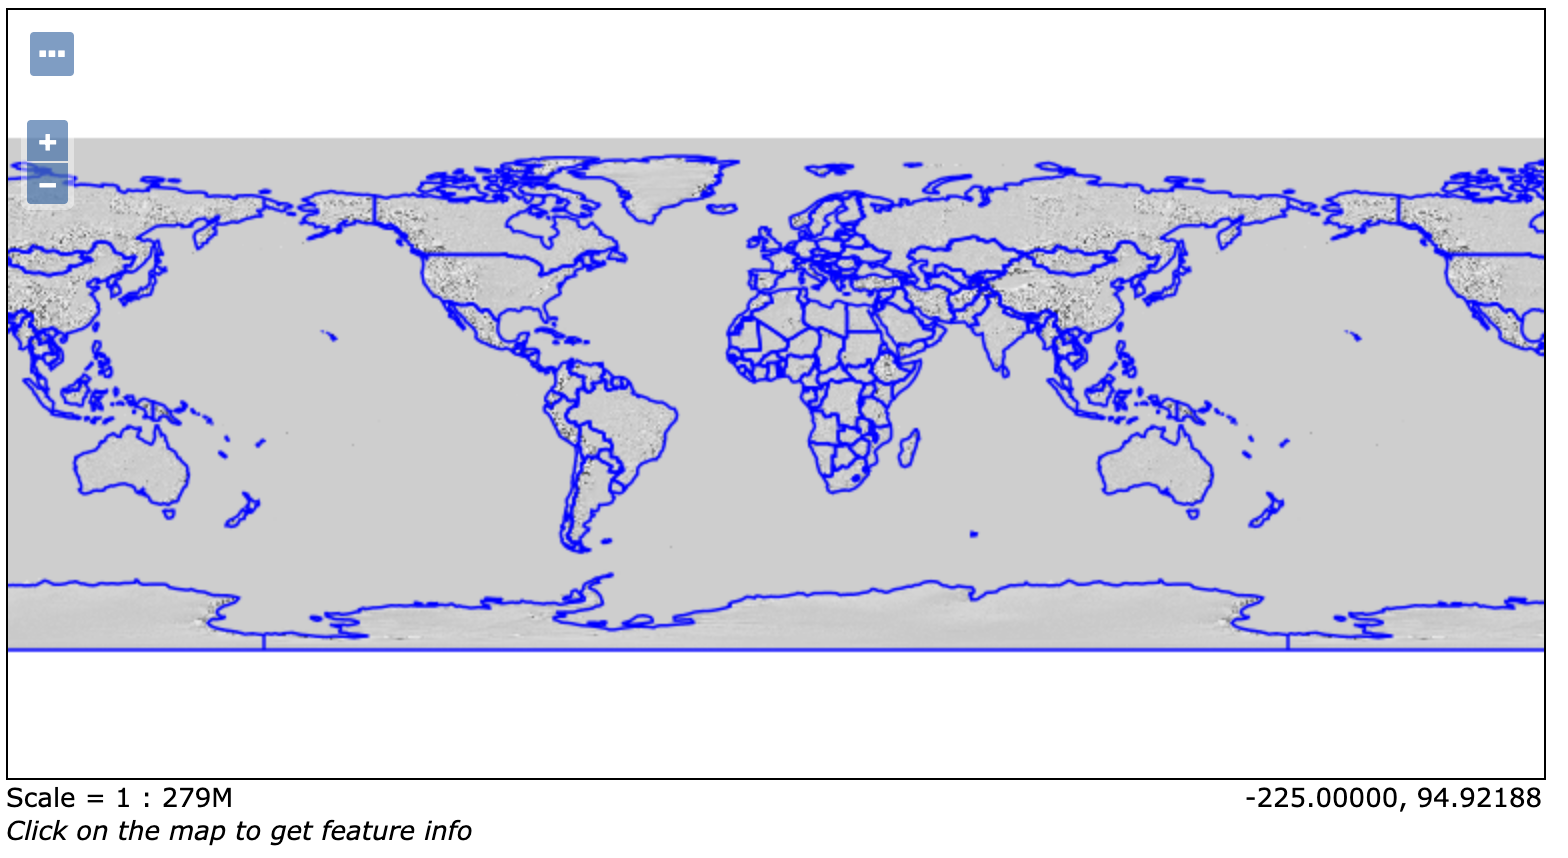
Preview map of nyc_roads
GeoServer简介、下载、配置启动、发布shapefile全流程(图文实践)
标签:cat 标签 index drop line 前端 方便 struct post
原文地址:https://www.cnblogs.com/badaoliumangqizhi/p/13962108.html