标签:源安装 add https 设备 width tun ref url 帮助
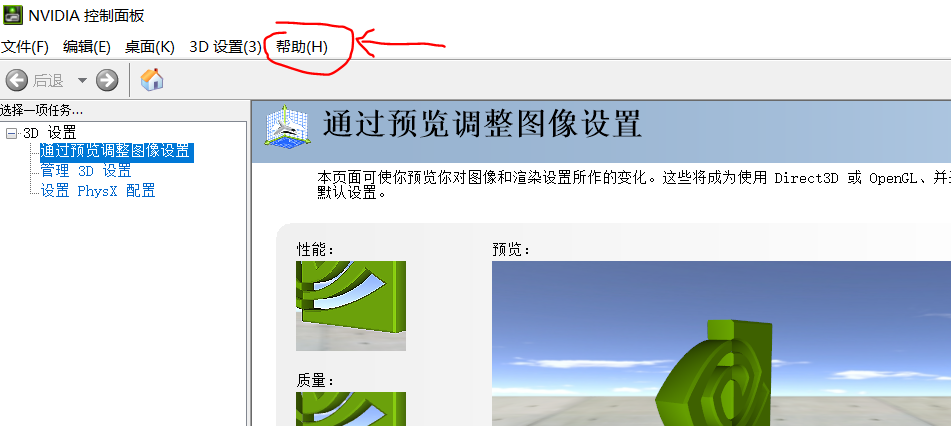
(1)打开NVIDIA控制面板
(2)点击“帮助”,如下图:
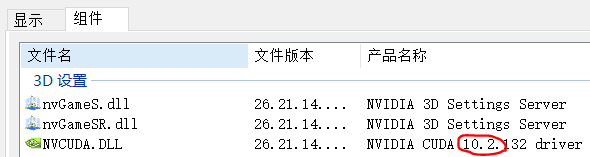
(3)点击“系统信息”--->“组件”可以看到下图,CUDA版本是10.2:
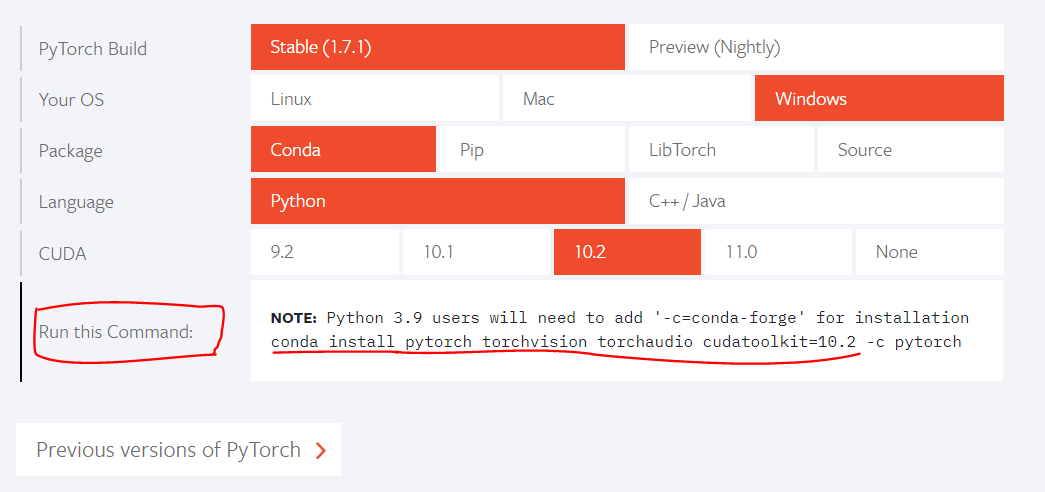
从下图可以看到红线标注的是需要运行的命令。但是,如果直接运行将会特别慢,一是文件本身比较大,二是外网安装。因此选择清华镜像源安装。
(1)更换镜像源
在命令行中输入下述命令:
conda config --add channels https://mirrors.tuna.tsinghua.edu.cn/anaconda/pkgs/free/
conda config --add channels https://mirrors.tuna.tsinghua.edu.cn/anaconda/pkgs/main/
conda config --set show_channel_urls yes
conda config --add channels https://mirrors.tuna.tsinghua.edu.cn/anaconda/cloud/pytorch/
(2)安装相应的pytorch版本
conda install pytorch torchvision cudatoolkit=9.0 (版本号从https://pytorch.org/上,查找对应版本)
win10+cuda10.2安装pytorch1.7.1(使用清华镜像源)
标签:源安装 add https 设备 width tun ref url 帮助
原文地址:https://www.cnblogs.com/liliwang/p/14213380.html