标签:img copy ssh key 代码 链接 virtual logs git clone 安装git
预备条件:
注册 heroku.com ;注册github ,新建公共或私人repository; 安装git bash;
1、复制git 链接(如果是https格式的,每次签入项目时会要求输入github的用户名和密码,如果选择SSH格式,每次签入push时不需要输入信息,但是事先在电脑上保存SSH Key)
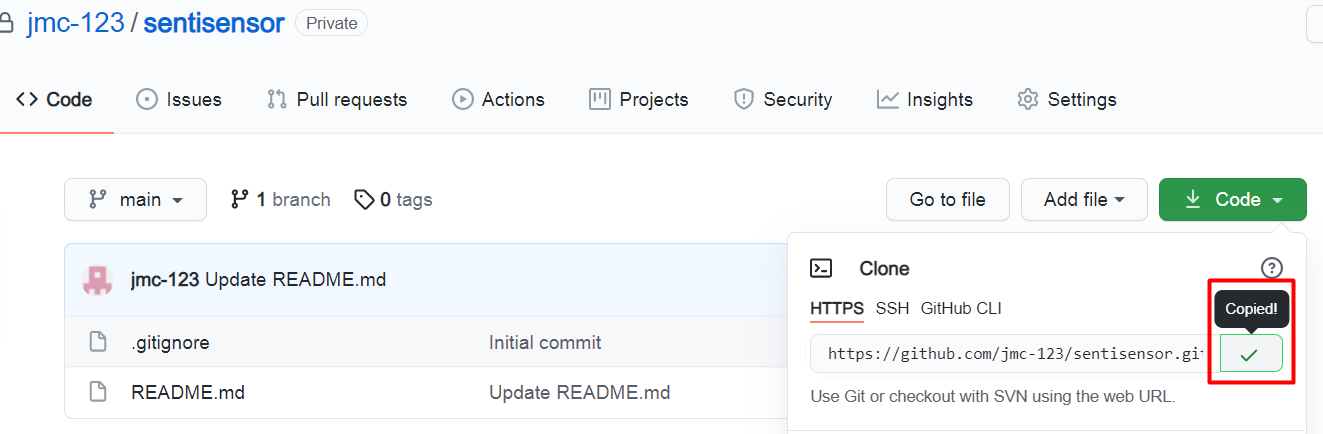
2、安装git ,在本地的目标文件夹内点击右键选择 git bash here ,弹出的窗口里输入 git clone https://github.com/jmc-123/sentisensor.git (第一步复制的git地址),回车
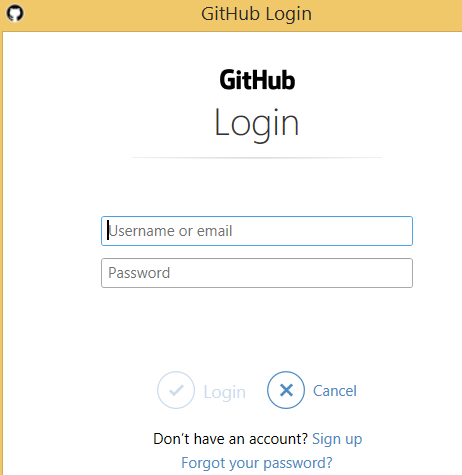
3、弹出的窗口里 输入在github注册的账号和密码
4、在git bash中 输入命令 进入 新目录 cd sentisensor 回车;virtualenv env (创建虚拟环境,事先安装virtualenv 库)
5、激活虚拟环境 source env/scripts/activate
5.1 pip install pipreqs 在项目的根目录下使用 pipreqs ./ --encoding=utf8 #pip freeze > requirements.txt
pip install -r requirements.txt
6、安装必需的库 比如 pip install dash
7、 从windows窗口打开刚才创建的文件夹 sentisensor ,新建三个文件 app.py
web: gunicorn app:app
web: gunicorn app:app --preload --workers 1
This file tells Heroku to use gunicorn (a Python HTTP server) to serve our app, which is called app and located inside app.py, and to preload a worker before serving the app. Preloading causes Heroku’s error logs to be much more informative.
8、签入到heroku(事先注册heroku账号,并绑定github的repository)
git add .
git commit -m ‘代码改动描述‘
git push origin main
9、
echo "# sentitrackor" >> README.md
git init
git add README.md
git commit -m "first commit"
git branch -M main
git remote add origin https://github.com/jmc-123/sentitrackor.git
git push -u origin main
git remote add origin https://github.com/jmc-123/sentitrackor.git
git branch -M main
git push -u origin main
标签:img copy ssh key 代码 链接 virtual logs git clone 安装git
原文地址:https://www.cnblogs.com/OnlyMeMe/p/14910989.html