标签:
6.加入Widget小部件
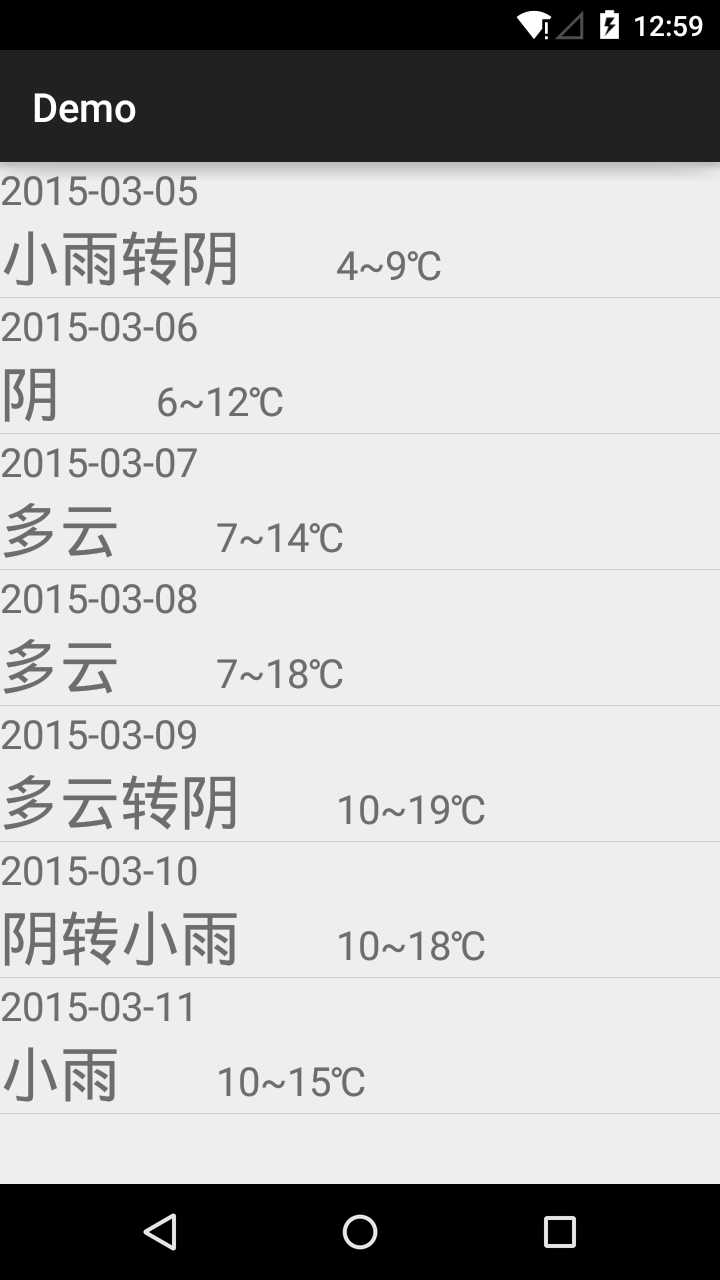
由于小部件的存在,我们可以直接在启动器上查看某些数据,下面通过一个简单布局Widget的实现学习如何与Widget的Provider类通信,和如何用外部传入的数据初始化Widget,
首先,按照编写小部件的标准步骤,定义布局文件:
<?xml version="1.0" encoding="utf-8"?>
<LinearLayout xmlns:android="http://schemas.android.com/apk/res/android"
              android:orientation="vertical"
              android:layout_width="match_parent"
              android:layout_height="match_parent">
    <TextView
        android:id="@+id/date"
        android:layout_width="match_parent"
        android:layout_height="match_parent"
        android:text="@string/temp"
        android:textSize="30sp"
        style="@style/MyTheme"
        android:gravity="center"/>
</LinearLayout>
然后是定义appwidget_info的xml文件:
<?xml version="1.0" encoding="utf-8"?>
<appwidget-provider
    android:initialLayout="@layout/widget_layout"
    android:minWidth="250dp"
    android:minHeight="40dp"
    android:resizeMode="none"
    android:updatePeriodMillis="360000"
    xmlns:android="http://schemas.android.com/apk/res/android">
</appwidget-provider>
这样就可以定义AppWidgetProvider的子类了:
 1 import android.appwidget.AppWidgetManager;
 2 import android.appwidget.AppWidgetProvider;
 3 import android.content.Context;
 4 import android.content.Intent;
 5 import android.widget.RemoteViews;
 6
 7 //管理所有Widget的类
 8 @SuppressWarnings("NullableProblems")
 9 public class WeatherWidgetProvider extends AppWidgetProvider {
10
11     private static final String TAG="WeatherWidgetProvider";
12     private static WeatherItem mItem=new WeatherItem();//这里必须使用静态成员
13
14     @Override
15     public void onReceive(Context context, Intent intent) {
16         switch (intent.getAction()){
17             case MainActivity.ACTION_SEND_DATA:
18                 if(intent.getExtras()!=null){
19                     mItem=(WeatherItem)intent.getBundleExtra(MainActivity.EXTRA).getSerializable(MainActivity.EXTRA_ITEM_DATA);
20                 }
21                 break;
22         }
23         super.onReceive(context, intent);
24     }
25
26     @Override
27     public void onUpdate(Context context, AppWidgetManager appWidgetManager, int[] appWidgetIds) {
28         RemoteViews rv = new RemoteViews(context.getPackageName(),R.layout.widget_layout);
29         rv.setTextViewText(R.id.date,mItem.getDate());
30         for(int appWidgetId : appWidgetIds){
31             appWidgetManager.updateAppWidget(appWidgetId,rv);
32         }
33         super.onUpdate(context, appWidgetManager, appWidgetIds);
34     }
35 }
在这里,由于一开始没有注意到整个类的对象问题,没有把mItem这个成员定义为静态,因此,每次在onReceive这个方法被调用的时候都无法获取应当已经被传给这个类的Weather类对象的数据。
在MainActivity中添加一些发送数据给Provider的语句:
 1 private void update(){
 2         //只有第一次加载数据还没有下载完成的时候才会有mAdapter为空的情况
 3         if(mAdapter == null){
 4             mAdapter = new ItemAdapter(mWeatherItems);
 5             listView.setAdapter(mAdapter);
 6         }
 7
 8         if(!configure.exists()){
 9             Toast.makeText(getApplicationContext(),R.string.fetching,Toast.LENGTH_SHORT).show();
10             fetchData();
11         }else{
12             try{
13                 hasNew = !(DateTools.getDate().equals(FileTools.loadConf(getApplicationContext())));
14             }catch (IOException e){
15                 e.printStackTrace();
16             }
17             if(hasNew){
18                 Toast.makeText(getApplicationContext(),R.string.fetching,Toast.LENGTH_SHORT).show();
19                 fetchData();
20             }else{
21                 try{
22                     mWeatherItems=FileTools.loadData(getApplicationContext());
23                     mAdapter = new ItemAdapter(mWeatherItems);
24                     listView.setAdapter(mAdapter);
25                     mIntent.setAction(ACTION_SEND_DATA);
26                     mBundle.putSerializable(EXTRA_ITEM_DATA,mWeatherItems.get(0));
27                     mIntent.putExtra(EXTRA,mBundle);
28                     sendBroadcast(mIntent);
29                 }catch (IOException | JSONException e){
30                     e.printStackTrace();
31                 }
32             }
33         }
34     }
还有这里:
 1 private void fetchData(){
 2         RequestQueue mQueue= Volley.newRequestQueue(getApplicationContext());
 3         mQueue.add(new JsonObjectRequest(Request.Method.GET, url, null, new Response.Listener<JSONObject>() {
 4             @Override
 5             public void onResponse(JSONObject jsonObject) {
 6                 //服务器有响应的时候才会调用此方法
 7                 try {
 8                     mWeatherItems = ParseTools.getInstance(jsonObject.toString(),ParseTools.REQUEST_RAW);
 9                     //保存数据到文件
10                     FileTools.saveData(getApplicationContext(), mWeatherItems);
11                     Toast.makeText(getApplicationContext(),"更新完毕",Toast.LENGTH_SHORT).show();
12
13                     mAdapter=new ItemAdapter(mWeatherItems);
14                     listView.setAdapter(mAdapter);
15
16                     mIntent.setAction(ACTION_SEND_DATA);
17                     mBundle.putSerializable(EXTRA_ITEM_DATA,mWeatherItems.get(0));
18                     mIntent.putExtra(EXTRA,mBundle);
19                     sendBroadcast(mIntent);
20
21                 } catch (JSONException | IOException e) {
22                     e.printStackTrace();
23                 }
24             }
25         }, new Response.ErrorListener() {
26             @Override
27             public void onErrorResponse(VolleyError volleyError) {
28                 Toast.makeText(getApplicationContext(), "获取失败", Toast.LENGTH_SHORT).show();
29             }
30         }));
31         mQueue.start();
32     }
当然,最后不能忘记在配置文件里写上receiver的节点定义:
<receiver android:name=".WeatherWidgetProvider" android:label="@string/weather">
            <intent-filter>
                <action android:name="android.appwidget.action.APPWIDGET_UPDATE"/>
                <action android:name="action.appwidget.SEND_DATA"/>
            </intent-filter>
            <meta-data android:name="android.appwidget.provider"
                android:resource="@xml/widget_info"/>
        </receiver>
(由于AppWidgetProvider是一个BroadcastReceiver的子类,看上面那个onReceive方法就知道了,因此是可以自定义action-filter的,同时,当然也可以在其他类中通过sendBroadcast类被调用,并解析数据)
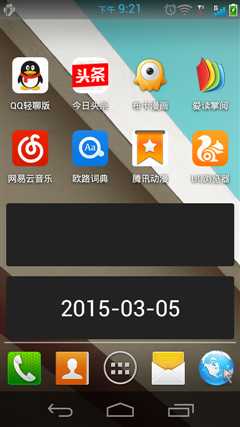
完成后的效果是:
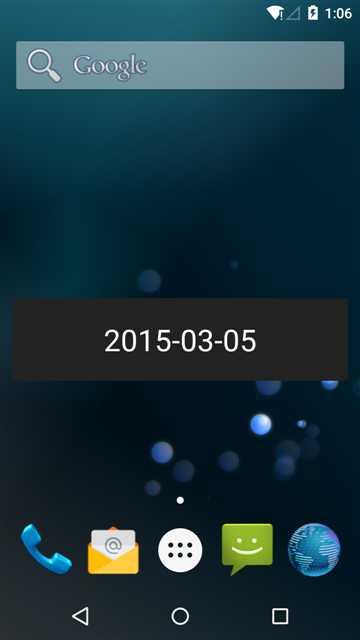
这里在测试的时候发现一个问题,当程序运行在上面的模拟器(5.0)中时,会因为后台程序没有运行(已经被销毁)而导致添加小部件的时候没有数据被显示,但是在真机(4.0.x)上测试的时候却没有这个问题。
然后刚才又发现,如果安装之后没有启动程序而直接添加小部件,那么当启动程序完成数据加载之后小部件也不会被更新,而在之后加入的小部件却可以正确初始化。
这个问题暂时没有解决,下一阶段就是思考一下如何解决这个问题。
标签:
原文地址:http://www.cnblogs.com/lhyz/p/4316701.html