标签:
最近一段时间在研究Nagios监控系统,然后网上搜索查看很多的资料,借鉴与各位大虾的经验,整理记录一下自己安装记录。
Nagios 全名为(Nagios Ain’t Goona Insist on Saintood),最初项目名字是 NetSaint。它是一款免费的开源 IT 基础设施监控系统,其功能强大,灵活性强,能有效监控 Windows 、Linux、VMware 和 Unix 主机状态,交换机、路由器等网络设置等。一旦主机或服务状态出现异常时,会发出邮件或短信报警第一时间通知 IT 运营人员,在状态恢复后发出正常的邮件或短信通知。Nagios 结构简单,可维护性强,越来越受中小企业青睐,以及运维和管理人员的使用。同时提供一个可选的基于浏览器的 Web 界面,方便管理人员查看系统的运行状态,网络状态、服务状态、日志信息,以及其他异常现象.
Nagios 结构说明
Nagios 结构上来说, 可分为核心和插件两个部分。Nagios 的核心部分只提供了很少的监控功能,因此要搭建一个完善的 IT 监控管理系统,用户还需要在 Nagios 服务器安装相应的插件,插件可以从 Nagios 官方网站下载 http://www.nagios.org/,也可以根据实际要求自己编写所需的插件。
Nagios 可实现的功能特性
Nagios 监控实现原理
Nagios 软件需安装在一台独立的服务器上运行,这台服务器称为监控中心,监控中心服务器可以采用 Linux 或 Unix 操作系统;每一台被监视的硬件主机或服务都运行一个与监控中心服务器进行通信的 Nagios 软件后台程序,也可以理解为 Agent 或插件均可。监控中心服务器读取配置文件中的指令与远程的守护程序进行通信,并且指示远程的守护程序进行必要的检查。虽然 Nagios 软件必须在 Linux 或 Unix 操作系统上运行,但是远程被监控的机器可以是任何能够与其进行通信的主机,根据远程主机返回的应答,Naigos 将依据配置进行回应;接着 Nagios 将通过本地的机器进行测试,如果检测返回值不正确,Nagios 将通过一种或多种方式报警;具体原理如下图所示:

Nagios 安装
# wget ftp://rpmfind.net/linux/dag/redhat/el7/en/x86_64/dag/RPMS/rpmforge-release-0.5.3-1.el7.rf.x86_64.rpm
# rpm --import http://dag.wieers.com/rpm/packages/RPM-GPG-KEY.dag.txt
# rpm -Uvh rpmforge-release-0.5.3-1.el7.rf.x86_64.rpm
#yum install gd libjpeg-devel gd-devel perl* openssl-devel gcc gcc-c++ httpd php
[root@Learn ~]# groupadd -g 6000 nagios
[root@Learn ~]# groupadd -g 6001 nagcmd
[root@Learn ~]# useradd -u 6000 -g nagios -G nagcmd -d /home/nagios nagios
[root@Learn opt]# mkdir /usr/local/nagios
[root@Learn opt]# tar zxvf nagios-4.0.8.tar.gz
[root@Learn opt]# cd nagios-4.0.8
[root@Learn nagios-4.0.8]# ./configure --prefix=/usr/local/nagios --with-nagios-user=nagios --with-nagios-group=nagios --with-command-user=nagios --with-command-group=nagcmd
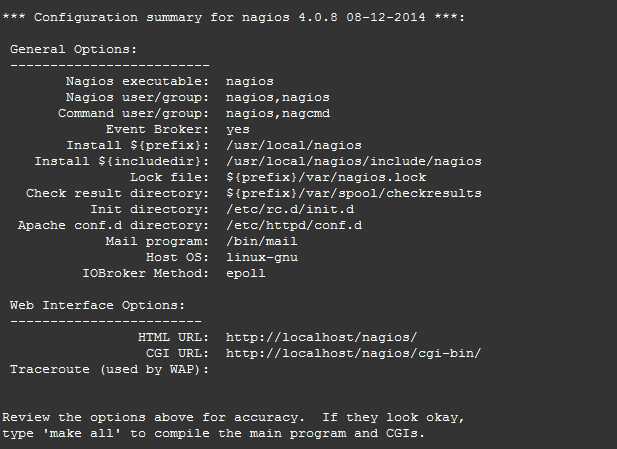
[root@Learn nagios-4.0.8]# make all
[root@Learn nagios-4.0.8]# make install
[root@Learn nagios-4.0.8]# make install-init
[root@Learn nagios-4.0.8]# make install-commandmode
[root@Learn nagios-4.0.8]# make install-config
[root@Learn nagios-4.0.8]# make install-webconf
[root@Learn nagios-4.0.8]# vim /etc/httpd/conf/httpd.conf
DirectoryIndex index.html index.html.var
改为:
DirectoryIndex index.html index.php
再添加一行:
AddType application/x-httpd-php .php
以上两处主要用于增加 php 格式的支持。
同时为了安全,需要经过授权才能访问 Nagios 的 Web 监控界面,所以需要在配置文件/etc/httpd/conf/httpd.conf 或 /etc/httpd/conf.d/nagios.conf 增加访问控制配置,若定义在 httpd.conf 文件中,将下图的语句加入到 httpd.conf 文件最后面即可.
ScriptAlias /nagios/cgi-bin /usr/local/nagios/sbin
<Directory "/usr/local/nagios/sbin">
    Options ExecCGI
    AllowOverride None
    Order allow,deny
    Allow from all
    AuthName "Nagios Access"
    AuthType Basic
AuthUserFile /usr/local/nagios/etc/htpasswd.user
//用于此目录访问身份验证的文件
    Require valid-user
</Directory>
Alias /nagios /usr/local/nagios/share
<Directory "/usr/local/nagios/share">
    Options None
    AllowOverride None
    Order allow,deny
    Allow from all
    AuthName "Nagios Access"
    AuthType Basic
AuthUserFile /usr/local/nagios/etc/htpasswd.user
//用于此目录访问身份验证的文件
    Require valid-user
</Directory>
[root@Learn nagios-4.0.8]# htpasswd -c /usr/local/nagios/etc/htpasswd.user nagiosadmin //Enter之后,输入设置一个密码
[root@Learn ~]# chown nagios.nagcmd /usr/local/nagios/etc/htpasswd.user
[root@Learn ~]# usermod -a -G nagios,nagcmd apache
[root@Learn ~]# /etc/init.d/httpd restart
安装 Nagios 插件
Naigos 提供的各种监控功能基本上是通过插件来完成的,而 Nagios 的核心指提供了很少的功能,因此安装插件是非常有必要的。Nagios 官网提供了很多不同版块的插件应用,同时插件版本与 Nagios 版本也没有什么关联,如果支持汉化功能,则需要找到与之匹配的汉化软件包,否则会导致部分功能不能完成运行,这里保持默认英文,如下面的安装细节:
[root@Learn opt]# tar zxvf nagios-plugins-2.0.3.tar.gz
[root@Learn opt]# cd nagios-plugins-2.0.3
[root@Learn nagios-plugins-2.0.3]# ./configure --prefix=/usr/local/nagios --with-nagios-user=nagios --with-nagios-group=nagios --with-command-user=nagios --with-command-group=nagcmd
[root@Learn nagios-plugins-2.0.3]# make all
[root@Learn nagios-plugins-2.0.3]# make install
[root@Learn nagios-plugins-2.0.3]# chmod 755 /usr/local/nagios
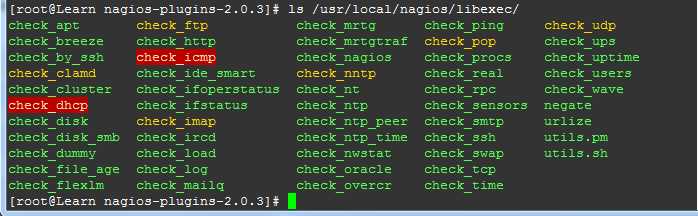
这样 Nagios 的插件就安装完成了,通过查看 Nagios 主程序目录,/usr/local/nagios/linexec 目录下可以看到很多的外部插件执行文件,如下图:
[root@Learn ~]# /etc/init.d/httpd restart
[root@Learn ~]# /etc/init.d/nagios restart
[root@Learn ~]# chkconfig nagios on
[root@Learn ~]# chkconfig httpd on
[root@Learn ~]#  setenforce 0    //临时关闭
//或者修改/etc/selinux/config文件,将 SELINUX=enforcing 改为 SELINUX=disabled    重启机器OK
[root@Learn ~]# /etc/init.d/iptables stop    //关闭iptables
或
[root@Learn ~]# service iptables stop

[root@Learn ~]# chkconfig iptables off    //永久关闭,重启生效.
Nagios 监控平台访问
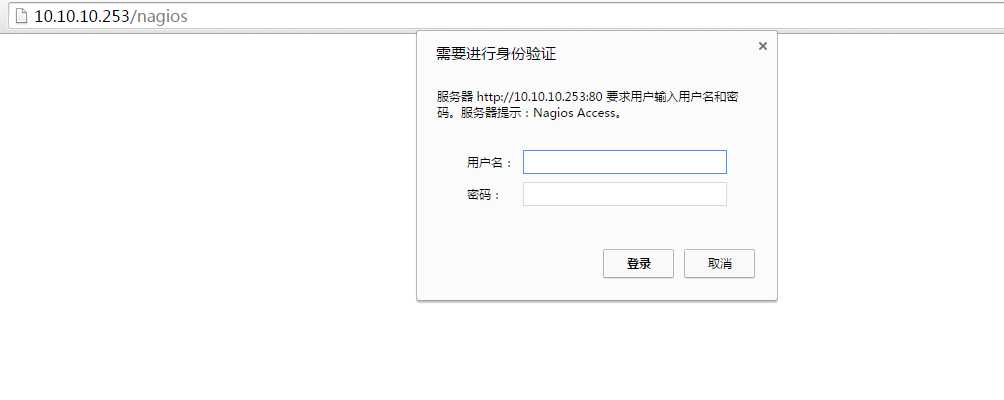
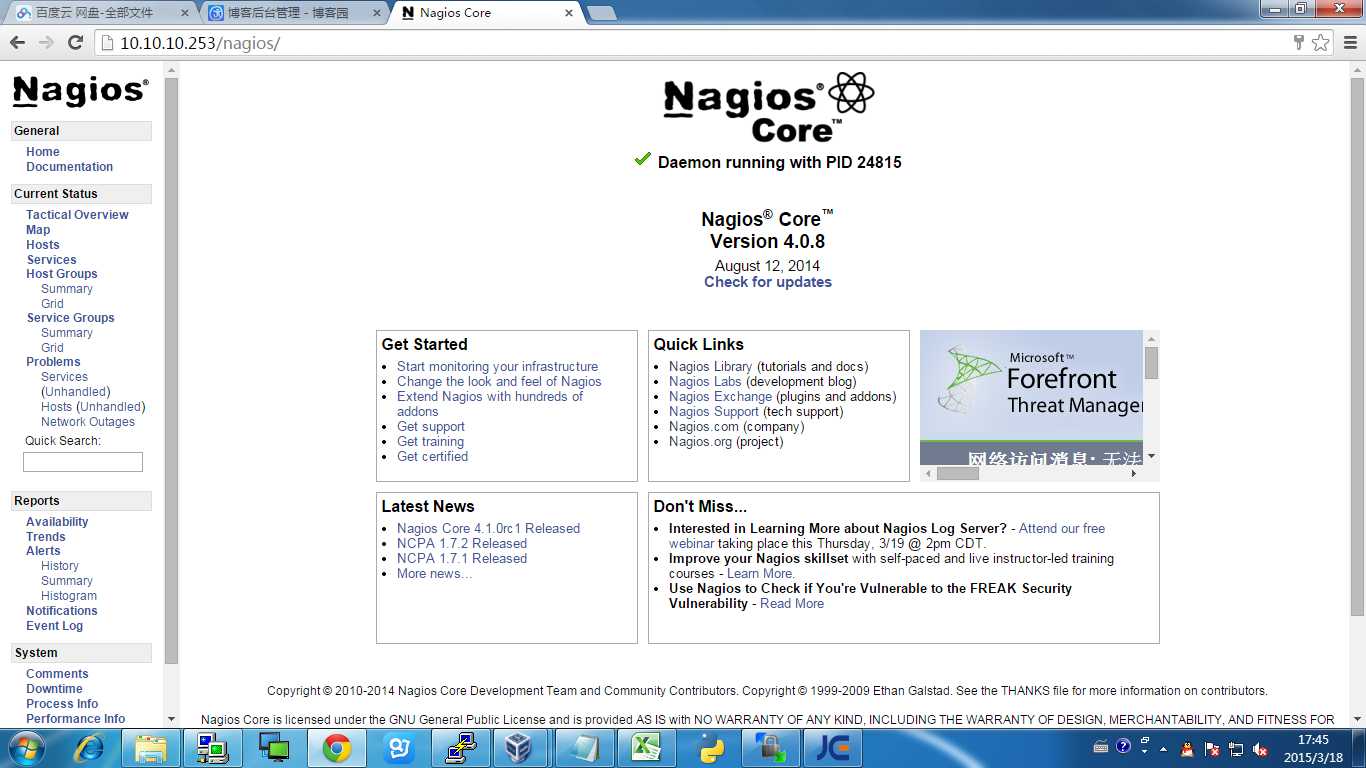
通过浏览器,在地址栏输入: http://IPAddress/nagios, 输入用户名及密码即可访问 Naigos 登录界面。
标签:
原文地址:http://www.cnblogs.com/ilearn/p/4347925.html