标签:
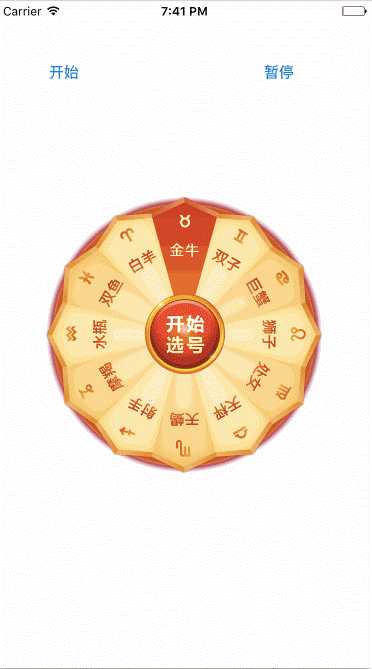
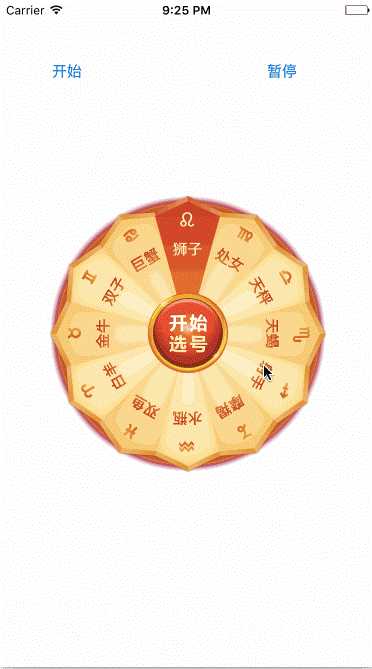
一、转盘(裁剪图片、自定义按钮、旋转)
1、裁剪图片
将一张大图片裁剪为多张

// CGImageCreateWithImageInRect:用来裁剪图片
        // image:需要裁剪的图片
        // rect:裁剪图片的尺寸,传递是像素
        CGImageRef norImage = CGImageCreateWithImageInRect(norBigImage.CGImage, clipRect);
2、每次点击按钮立马变为选中状态,并且取消上次的按钮的选中状态
当然还要重写- (void)setHighlighted:(BOOL)highlighted
        // 点击按钮的时候调用
- (void)btnClick:(UIButton *)btn
{
    // 1.取消上一次按钮选中状态
    _selectedBtn.selected = NO;

    // 2.让当前按钮选中
    btn.selected = YES;

    // 3.记录当前选中的按钮
    _selectedBtn = btn;
}
3、自定义按钮
由于裁剪出来的照片太大,导致达不到理想效果,这时需要对图片做一些调整就可以用自定义按钮
为什么要自定义按钮:因为我想要修改按钮的内部子控件的frame
以后只要想修改系统自带控件内部子控件的位置,第一反应就是自定义控件
#import "WheelButton.h"
@implementation WheelButton
// 想要修改按钮内部UIImageView
// contentRect:按钮的bounds
// 什么时候调用:每次使用按钮内部UIImageView的时候就会调用这个方法判断下尺寸
// 作用:设置按钮内部UIImageView的frame
- (CGRect)imageRectForContentRect:(CGRect)contentRect
{
    CGFloat imageW = 40;
    CGFloat imageH = 46;
    CGFloat imageX = (contentRect.size.width - imageW) * 0.5;
    CGFloat imageY = 20;

    return CGRectMake(imageX, imageY, imageW, imageH);
}
// 设置按钮内部UILabel的frame
//- (CGRect)titleRectForContentRect:(CGRect)contentRect

// 重写按钮的高亮的方法
// 目的:取消高亮状态时候做的事情,比如:让按钮暂时达不到选中状态
- (void)setHighlighted:(BOOL)highlighted
{
//    [super setHighlighted:highlighted];
}
@end
4、旋转
// 点击开始选号的时候调用
- (IBAction)startPickerNum:(id)sender {

    // 快速的旋转,不需要与用户交互
    CABasicAnimation *anim = [CABasicAnimation animation];

    anim.keyPath = @"transform.rotation";

    anim.toValue = @(M_PI * 2 * 5);
    anim.duration = 0.5;

    anim.delegate = self;

    [_centerView.layer addAnimation:anim forKey:nil];
}
由于用这种方式做出来的动画实际上位置并没有改变,呈现出来的知识一个假象而已,所以在点击按钮时,并不能准确的选中按钮
为了解决这个问题
添加一个定时器
@property (nonatomic, strong) CADisplayLink *link;
- (CADisplayLink *)link
{
    if (_link == nil) {
        _link = [CADisplayLink displayLinkWithTarget:self selector:@selector(timeChange)];
        // 添加主运行循环
        [_link addToRunLoop:[NSRunLoop mainRunLoop] forMode:NSDefaultRunLoopMode];
    }
    return _link;
}


// 1秒调用60次, 假设1秒转45° 45 / 60.0
- (void)timeChange
{
    _centerView.transform = CGAffineTransformRotate(_centerView.transform, 45 / 60.0 * M_PI / 180.0);
}
只要开启定时器那么转盘就在慢慢的转动(假设1秒转45°)
// 开始旋转按钮
- (void)startRotation
{
    // 需要与用户交互,真实旋转
    // 是否停止定时器旋转
    self.link.paused = NO;
}
// 暂停旋转按钮
- (void)pauseRotation
{
    self.link.paused = YES;
}
那么点击选号按钮时只要停止定时器旋转就可以
// 点击开始选号的时候调用
- (IBAction)startPickerNum:(id)sender {

    // 停止定时器旋转
    self.link.paused = YES;


    // 快速的旋转,不需要与用户交互
    CABasicAnimation *anim = [CABasicAnimation animation];

    anim.keyPath = @"transform.rotation";

    anim.toValue = @(M_PI * 2 * 5);
    anim.duration = 0.5;

    anim.delegate = self;

    [_centerView.layer addAnimation:anim forKey:nil];
}
5、根据之前的旋转的形变计算之前旋转的弧度
实现CAAnimationDelegate方法(分类:非正式协议)
- (void)animationDidStop:(CAAnimation *)anim finished:(BOOL)flag
{
    // 恢复选中按钮之前位置

    // 旋转度数:之前选中按钮旋转了多少度就反向旋转多少度

    // 之前通过修改transform,之前的角度保存到按钮的transform属性里面
    CGAffineTransform transform = self.selectedBtn.transform;

    // 计算下之前旋转的弧度
    // 根据之前的旋转的形变计算之前旋转的弧度
    CGFloat angle = atan2(transform.b, transform.a);

    // 反向旋转整个centerView
    _centerView.transform = CGAffineTransformMakeRotation(-angle);
}
二、图片折叠
1、添加阴影效果
// 阴影效果,添加到底部
    CAGradientLayer *layer = [CAGradientLayer layer];
    _layer = layer;

    layer.frame = _bottomView.bounds;

    // 设置渐变颜色
    layer.colors = @[(id)[UIColor clearColor].CGColor,(id)[UIColor blackColor].CGColor];

    layer.opacity = 0;

//    // 设置渐变的方向
//    layer.startPoint = CGPointMake(0, 0);
//    layer.endPoint = CGPointMake(1, 0);
//
//    // 设置颜色渐变的开始位置
//    layer.locations = @[@0.5];

    [_bottomView.layer addSublayer:layer];
2、增加立体感
    CATransform3D transform = CATransform3DIdentity;
    // d:人的眼睛和屏幕的垂直距离
    CGFloat d = 300;

    // 设置形变的m34就可以增加立体感,立体感(近大远小)
    transform.m34 = -1 / d;

    // 描述形变的旋转的度数
    transform = CATransform3DRotate(transform, angle, 1, 0, 0);

    // 开始旋转
    _topView.layer.transform = transform;
3、还原形变动画
    if (pan.state == UIGestureRecognizerStateEnded) {

        // 还原
        // Damping:值越小,弹簧效果越明显
        // options:描述动画执行过程,匀速,快入快出
        [UIView animateWithDuration:1 delay:0 usingSpringWithDamping:0.2 initialSpringVelocity:1 options:UIViewAnimationOptionCurveEaseInOut animations:^{
            _topView.layer.transform = CATransform3DIdentity;

        } completion:^(BOOL finished) {

        }];
        // 弹簧效果
        // 上部分形变清空
        // 阴影透明
        _layer.opacity = 0;

    }
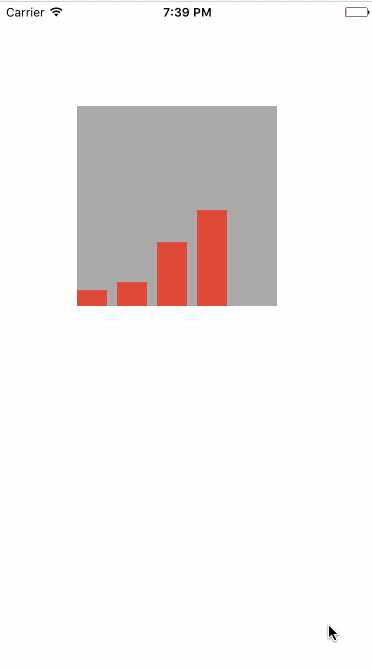
三、音量振动条
知识点:
复制层 CAReplicatorLayer
    // 复制层:复制里面的子层
    CAReplicatorLayer *repL = [CAReplicatorLayer layer];
    repL.frame = _contentView.bounds;

    // instanceCount:表示复制层中有多少份子层,拷贝是instanceCount - 1份
    repL.instanceCount = 4;

    // 设置复制子层偏移量,每个子层都会相对上一次偏移
    repL.instanceTransform = CATransform3DMakeTranslation(40, 0, 0);

    // 延迟每个子层的动画,相对于上一个子层延迟
    repL.instanceDelay = 0.2;

    // 设置子层的颜色
    repL.instanceColor = [UIColor colorWithWhite:1 alpha:0.8].CGColor;

    [_contentView.layer addSublayer:repL];

    // 红色的图层
    CALayer *layer = [CALayer layer];

    layer.backgroundColor = [UIColor redColor].CGColor;

//    layer.frame = CGRectMake(0, 100, 30, 100);

    layer.anchorPoint = CGPointMake(0, 1);
    layer.position = CGPointMake(0, 200);
    layer.bounds = CGRectMake(0, 0, 30, 100);

    // 把红色图层添加到复制层中
    [repL addSublayer:layer];

    CABasicAnimation *anim = [CABasicAnimation animation];

    anim.keyPath = @"transform.scale.y";

    anim.toValue = @0;

    anim.duration = 0.5;

    // 设置动画反转
    anim.autoreverses = YES;

    anim.repeatCount = MAXFLOAT;

    [layer addAnimation:anim forKey:nil];
四、倒影
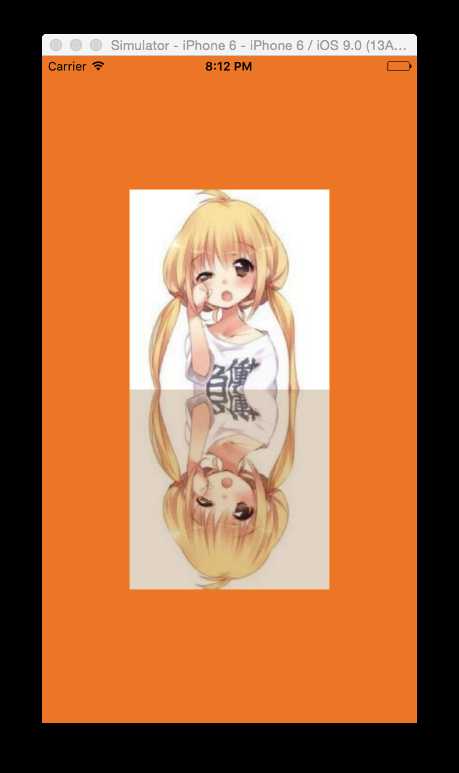
    CAReplicatorLayer *repL = (CAReplicatorLayer *)self.view.layer;

    repL.instanceCount = 2;

    repL.instanceTransform = CATransform3DMakeRotation(M_PI, 1, 0, 0);


    // 倒影效果
    repL.instanceRedOffset -= 0.1;
    repL.instanceBlueOffset -= 0.1;
    repL.instanceGreenOffset -= 0.1;
    repL.instanceAlphaOffset -= 0.1;
但是要自定义view 设置view里面根层的类型为CAReplicatorLayer
// 设置view里面根层的类型
+ (Class)layerClass
{
    return [CAReplicatorLayer class];
}
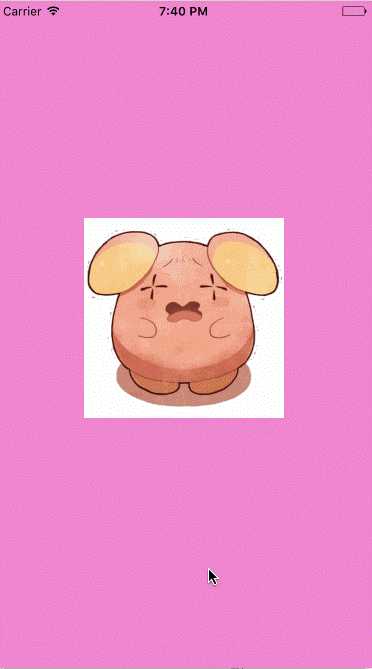
五、粒子效果
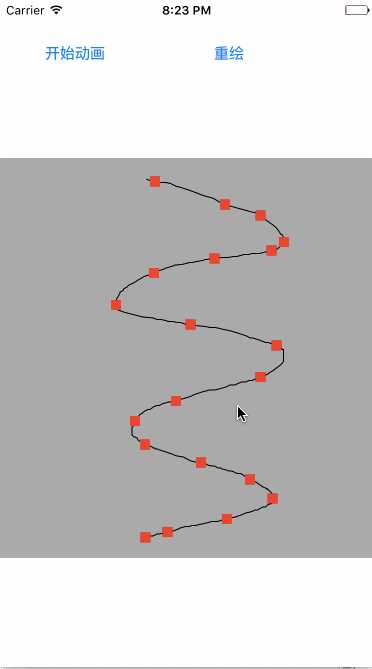
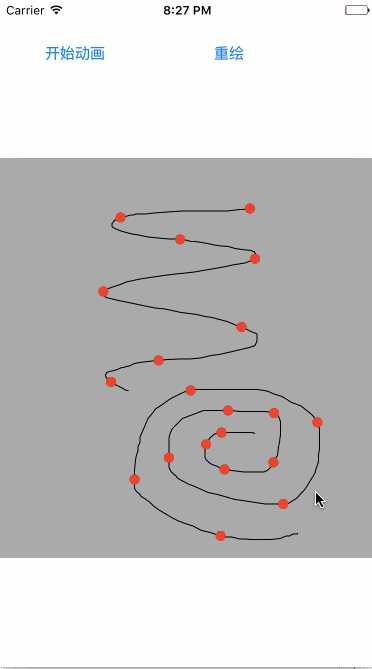
注意点:
1、创建复制层
2、手动创建图层,将图层添加到复制层
3、创建帧动画,并给图层添加动画
#import "DrawView.h"

@interface DrawView ()

@property (nonatomic, strong) UIBezierPath *path;

@property (nonatomic, weak) CALayer *dotL;

@end

@implementation DrawView

- (void)awakeFromNib
{
    // 1、创建复制层
    CAReplicatorLayer *repL = [CAReplicatorLayer layer];

    repL.frame = self.bounds;

    repL.instanceCount = 20;

    repL.instanceDelay = 0.3;

    [self.layer addSublayer:repL];

    // 2、手动创建图层
    CALayer *dotL = [CALayer layer];

    _dotL = dotL;

    dotL.backgroundColor = [UIColor redColor].CGColor;

    dotL.frame = CGRectMake(-100, 0, 10, 10);

    dotL.cornerRadius = 5;

    // 3、将图层添加到复制层
    [repL addSublayer:dotL];

     UIBezierPath *path = [UIBezierPath bezierPath];

    _path = path;
}


- (void)touchesBegan:(NSSet *)touches withEvent:(UIEvent *)event
{

    // 获取UITouch
    UITouch *touch = [touches anyObject];

    // 获取当前的触摸点
    CGPoint curP = [touch locationInView:self];

    [_path moveToPoint:curP];

}

- (void)touchesMoved:(NSSet *)touches withEvent:(UIEvent *)event
{
    // 获取UITouch
    UITouch *touch = [touches anyObject];

    // 获取当前的触摸点
    CGPoint curP = [touch locationInView:self];

    // 只是保存点路径
    [_path addLineToPoint:curP];

    // 重绘
    [self setNeedsDisplay];
}

- (void)drawRect:(CGRect)rect {
    // Drawing code

    [_path stroke];
}

// 开始动画的时候调用
- (void)startAnim
{
    // 创建帧动画
    CAKeyframeAnimation *anim = [CAKeyframeAnimation animation];

    anim.keyPath = @"position";

    anim.duration = 5;

    anim.path = _path.CGPath;

    anim.repeatCount = MAXFLOAT;

    // 给图层添加动画
    [_dotL addAnimation:anim forKey:nil];
}

// 重绘
- (void)reDraw
{
    // 清除界面上的所有线,都是通过路径的点连接,移除路径中所有点
    [_path removeAllPoints];

    [self setNeedsDisplay];

    // 移除图层中所有动画
    [_dotL removeAllAnimations];
}

@end
IOS开发——UI进阶篇(十八)核心动画小例子,转盘(裁剪图片、自定义按钮、旋转)图片折叠、音量震动条、倒影、粒子效果
标签:
原文地址:http://www.cnblogs.com/chglog/p/4713978.html