标签:tle strong string pytho imp tmp 循环 str tran
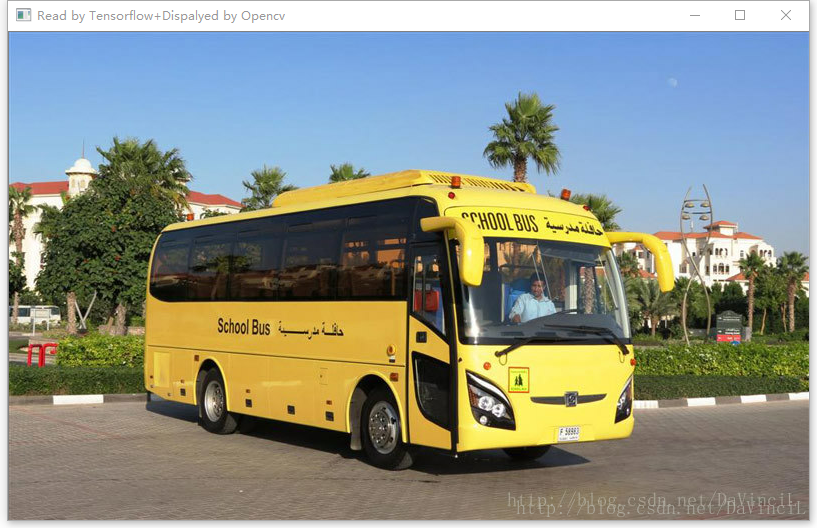
首先放出原始图像:
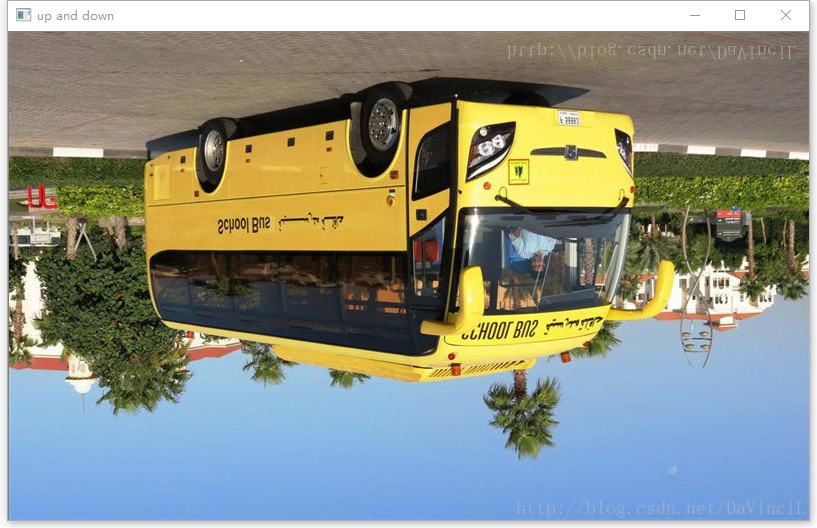
1、图像的翻转
import tensorflow as tf
import cv2
# 这里定义一个tensorflow读取的图片格式转换为opencv读取的图片格式的函数
# 请注意:
# 在tensorflow中,一个像素点的颜色顺序是R,G,B。
# 在opencv中,一个像素点的颜色顺序是B,G,R。
# 因此,我们循环遍历每一个像素点,将第0位的颜色和第2位的颜色数值换一下即可。
# 第一个参数name:将要显示的窗口名称。
# 第二个参数image:储存图片信息的一个tensor。
def cv2Show(name="", image=None):
# 获取矩阵信息
np = image.eval()
# 获取行数列数
row, col = len(np),len(np[1])
# 两重循环遍历
for i in range(row):
for j in range(col):
# 交换数值
tmp = np[i][j][0]
np[i][j][0] = np[i][j][2]
np[i][j][2] = tmp
# 显示图片
cv2.imshow(name,np)
pass
# tensorflow会话
with tf.Session() as sess:
# 以二进制的方式读取图片。
image_raw_data = tf.gfile.FastGFile("bus.jpg", "rb").read()
# 按照jpeg的格式解码图片。
image_data = tf.image.decode_jpeg(image_raw_data)
# 显示原图片。
cv2Show("Read by Tensorflow+Dispalyed by Opencv",image_data)
# 上下翻转图像
up_and_down = tf.image.flip_up_down(image_data)
cv2Show("up and down",up_and_down)
# 左右翻转图像
left_and_right = tf.image.flip_left_right(image_data)
cv2Show("left and right", left_and_right)
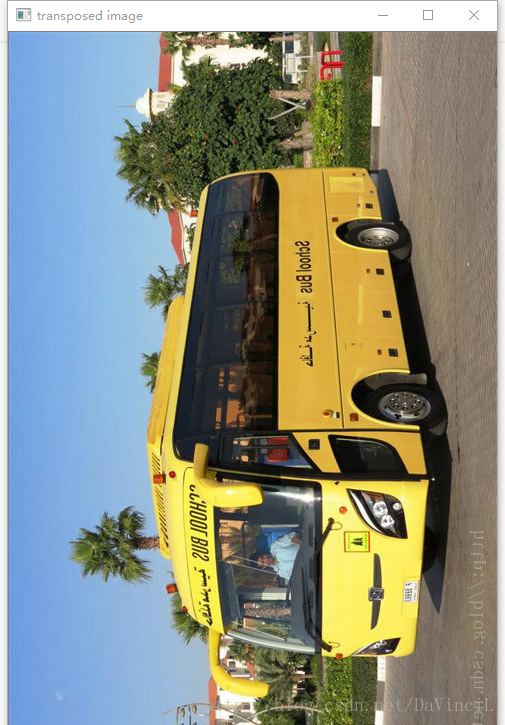
# 沿对角线翻转图像
transposed = tf.image.transpose_image(image_data)
cv2Show("transposed image", transposed)
# 以一定概率上下翻转图像
random_up_and_down = tf.image.random_flip_up_down(image_data)
cv2Show("random up and down", random_up_and_down)
# 以一定概率左右翻转图像
random_left_and_right = tf.image.random_flip_left_right(image_data)
cv2Show("random left and right", random_left_and_right)
cv2.waitKey()程序运行结果如下:
注:由于个人的显示器限制,这里只截取了部分的对角线翻转的图像。
注:可以看到这里按照一定的概率翻转,只有上下进行了翻转,而左右并没有翻转。
2、图像的亮度调整
import tensorflow as tf
import cv2

# 这里定义一个tensorflow读取的图片格式转换为opencv读取的图片格式的函数
# 请注意:
# 在tensorflow中,一个像素点的颜色顺序是R,G,B。
# 在opencv中,一个像素点的颜色顺序是B,G,R。
# 因此,我们循环遍历每一个像素点,将第0位的颜色和第2位的颜色数值换一下即可。
# 第一个参数name:将要显示的窗口名称。
# 第二个参数image:储存图片信息的一个tensor。
def cv2Show(name="", image=None):
    # 获取矩阵信息
    np = image.eval()
    # 获取行数列数
    row, col = len(np),len(np[1])

    # 两重循环遍历
    for i in range(row):
        for j in range(col):
            # 交换数值
            tmp = np[i][j][0]
            np[i][j][0] = np[i][j][2]
            np[i][j][2] = tmp

    # 显示图片
    cv2.imshow(name,np)
    pass

# tensorflow会话
with tf.Session() as sess:
    # 以二进制的方式读取图片。
    image_raw_data = tf.gfile.FastGFile("bus.jpg", "rb").read()

    # 按照jpeg的格式解码图片。
    image_data = tf.image.decode_jpeg(image_raw_data)

    # 显示原图片。
    cv2Show("Read by Tensorflow+Dispalyed by Opencv",image_data)

    # 将图片的亮度-0.5
    adjusted1 = tf.image.adjust_brightness(image_data, -0.5)
    cv2Show("brightness -0.5", adjusted1)

    # 将图片的亮度+0.5
    adjusted2 = tf.image.adjust_brightness(image_data, 0.5)
    cv2Show("brightness +0.5",adjusted2)

    # 随机调整图像的亮度:
    # random_brightness(image, max_delta, seed=None)
    # image:待调整的图像
    # max_delta:在[-max_delte,max_delte)的范围随机调整图像的亮度
    # seed:随机数种子
    adjusted3 = tf.image.random_brightness(image_data, 0.3)
    cv2Show("random brightness", adjusted3)

cv2.waitKey()程序运行如下:
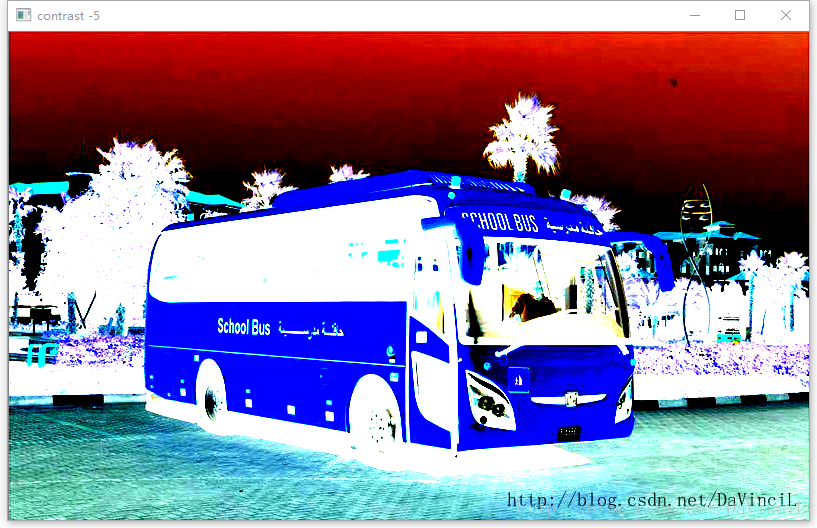
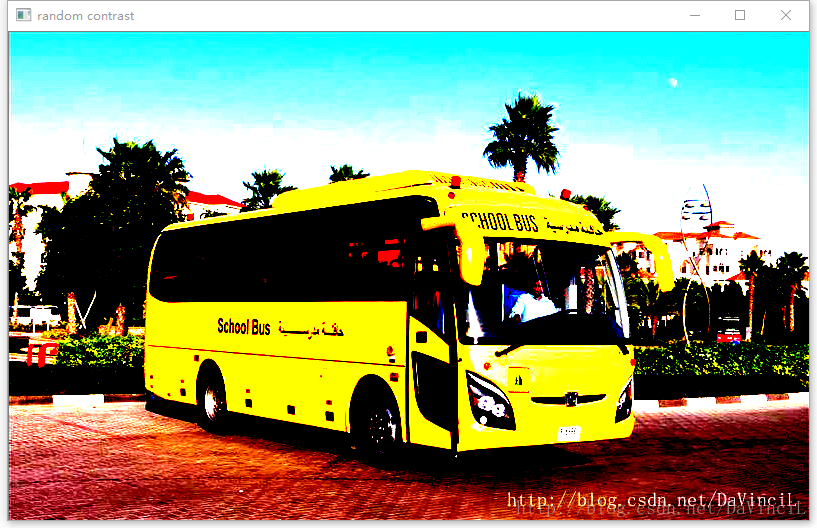
3、调整图像的对比度
import tensorflow as tf
import cv2

# 这里定义一个tensorflow读取的图片格式转换为opencv读取的图片格式的函数
# 请注意:
# 在tensorflow中,一个像素点的颜色顺序是R,G,B。
# 在opencv中,一个像素点的颜色顺序是B,G,R。
# 因此,我们循环遍历每一个像素点,将第0位的颜色和第2位的颜色数值换一下即可。
# 第一个参数name:将要显示的窗口名称。
# 第二个参数image:储存图片信息的一个tensor。
def cv2Show(name="", image=None):
    # 获取矩阵信息
    np = image.eval()
    # 获取行数列数
    row, col = len(np),len(np[1])

    # 两重循环遍历
    for i in range(row):
        for j in range(col):
            # 交换数值
            tmp = np[i][j][0]
            np[i][j][0] = np[i][j][2]
            np[i][j][2] = tmp

    # 显示图片
    cv2.imshow(name,np)
    pass

# tensorflow会话
with tf.Session() as sess:
    # 以二进制的方式读取图片。
    image_raw_data = tf.gfile.FastGFile("bus.jpg", "rb").read()

    # 按照jpeg的格式解码图片。
    image_data = tf.image.decode_jpeg(image_raw_data)

    # 显示原图片。
    cv2Show("Read by Tensorflow+Dispalyed by Opencv",image_data)

    # 将图片的对比度-5
    adjusted1 = tf.image.adjust_contrast(image_data, -5)
    cv2Show("contrast -5", adjusted1)

    # 将图片的对比度+5
    adjusted2 = tf.image.adjust_contrast(image_data, 5)
    cv2Show("contrast +5",adjusted2)

    # 随机调整图像的对比度:
    # random_contrast(image, lower, upper, seed=None)
    # image:待调整的图像
    # lower,upper:在[lower,upper]的范围随机调整图像的对比度。lower非负。
    # seed:随机数种子
    adjusted3 = tf.image.random_contrast(image_data, 1, 9)
    cv2Show("random contrast", adjusted3)

cv2.waitKey()程序运行如下:
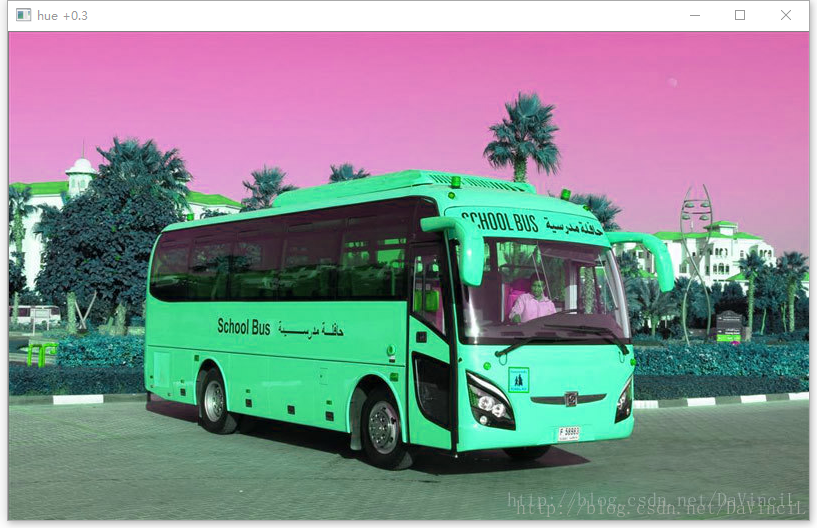
4、调整图像的色相
import tensorflow as tf
import cv2
# 这里定义一个tensorflow读取的图片格式转换为opencv读取的图片格式的函数
# 请注意:
# 在tensorflow中,一个像素点的颜色顺序是R,G,B。
# 在opencv中,一个像素点的颜色顺序是B,G,R。
# 因此,我们循环遍历每一个像素点,将第0位的颜色和第2位的颜色数值换一下即可。
# 第一个参数name:将要显示的窗口名称。
# 第二个参数image:储存图片信息的一个tensor。
def cv2Show(name="", image=None):
# 获取矩阵信息
np = image.eval()
# 获取行数列数
row, col = len(np),len(np[1])
# 两重循环遍历
for i in range(row):
for j in range(col):
# 交换数值
tmp = np[i][j][0]
np[i][j][0] = np[i][j][2]
np[i][j][2] = tmp
# 显示图片
cv2.imshow(name,np)
pass
# tensorflow会话
with tf.Session() as sess:
# 以二进制的方式读取图片。
image_raw_data = tf.gfile.FastGFile("bus.jpg", "rb").read()
# 按照jpeg的格式解码图片。
image_data = tf.image.decode_jpeg(image_raw_data)
# 显示原图片。
cv2Show("Read by Tensorflow+Dispalyed by Opencv",image_data)
# adjust_hue(image, delta, name=None)
# delte的范围:[-1,1]
# 将图片的色相+0.1
adjusted1 = tf.image.adjust_hue(image_data, 0.1)
cv2Show("hue +0.1", adjusted1)
# 将图片的色相+0.3
adjusted2 = tf.image.adjust_hue(image_data, 0.3)
cv2Show("hue +0.3", adjusted2)
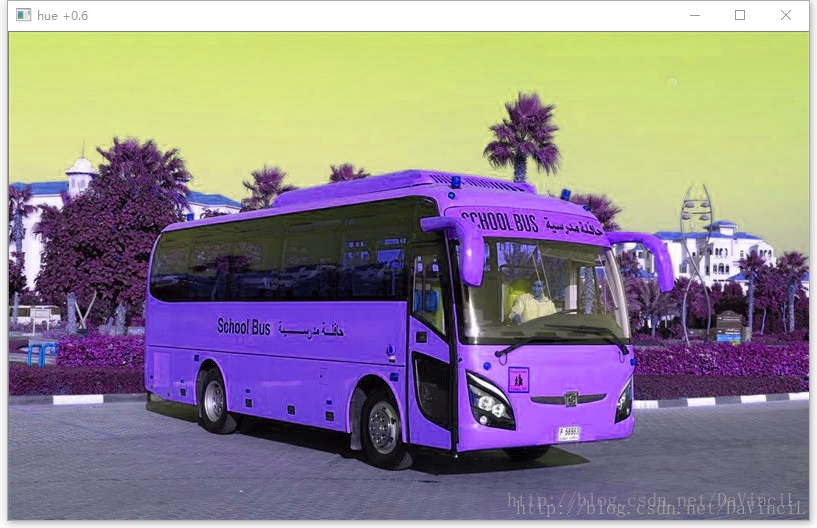
# 将图片的色相+0.6
adjusted3 = tf.image.adjust_hue(image_data, 0.6)
cv2Show("hue +0.6", adjusted3)
# 将图片的色相+0.9
adjusted4 = tf.image.adjust_hue(image_data, 0.9)
cv2Show("hue +0.9", adjusted4)
# 随机调整图像的色相:
# random_hue(image, max_delta, seed=None)
# image:待调整的图像
# max_delta:在[-max_delta,max_delta]的范围随机调整图像的色相。max_delta的范围[0,0.5]。
# seed:随机数种子
adjusted5 = tf.image.random_hue(image_data,0.4)
cv2Show("random hue", adjusted5)
cv2.waitKey()程序运行结果如下:
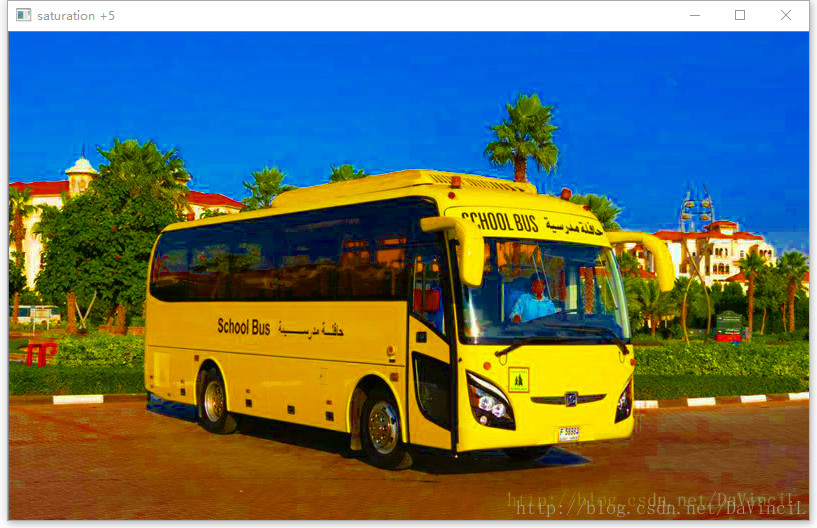
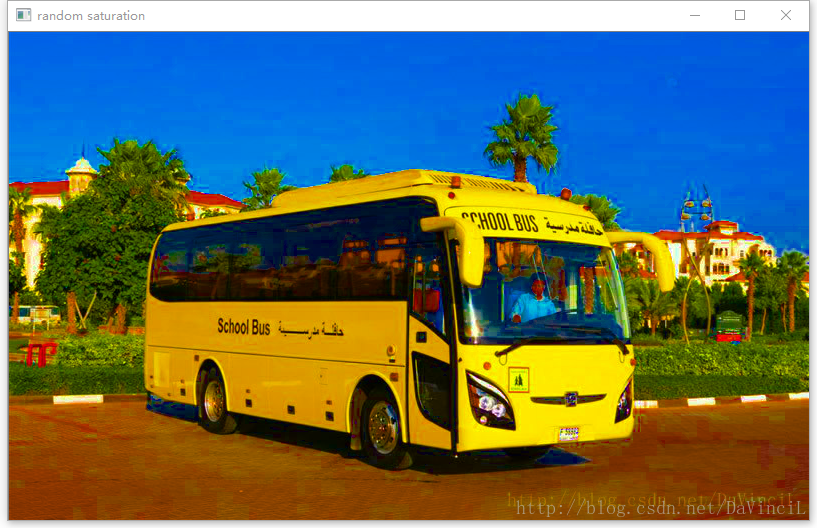
5、调整图像的饱和度
import tensorflow as tf
import cv2

# 这里定义一个tensorflow读取的图片格式转换为opencv读取的图片格式的函数
# 请注意:
# 在tensorflow中,一个像素点的颜色顺序是R,G,B。
# 在opencv中,一个像素点的颜色顺序是B,G,R。
# 因此,我们循环遍历每一个像素点,将第0位的颜色和第2位的颜色数值换一下即可。
# 第一个参数name:将要显示的窗口名称。
# 第二个参数image:储存图片信息的一个tensor。
def cv2Show(name="", image=None):
    # 获取矩阵信息
    np = image.eval()
    # 获取行数列数
    row, col = len(np),len(np[1])

    # 两重循环遍历
    for i in range(row):
        for j in range(col):
            # 交换数值
            tmp = np[i][j][0]
            np[i][j][0] = np[i][j][2]
            np[i][j][2] = tmp

    # 显示图片
    cv2.imshow(name,np)
    pass

# tensorflow会话
with tf.Session() as sess:
    # 以二进制的方式读取图片。
    image_raw_data = tf.gfile.FastGFile("bus.jpg", "rb").read()

    # 按照jpeg的格式解码图片。
    image_data = tf.image.decode_jpeg(image_raw_data)

    # 显示原图片。
    cv2Show("Read by Tensorflow+Dispalyed by Opencv",image_data)

    # 将图片的饱和度-5
    adjusted1 = tf.image.adjust_saturation(image_data, -5)
    cv2Show("saturation -5", adjusted1)

    # 将图片的饱和度+5
    adjusted2 = tf.image.adjust_saturation(image_data, 5)
    cv2Show("saturation +5", adjusted2)

    # 随机调整图像的饱和度:
    # random_saturation(image, lower, upper, seed=None)
    # image:待调整的图像
    # lower,upper:在[lower,upper]的范围随机调整图像的饱和度。lower非负。
    # seed:随机数种子
    adjusted3 = tf.image.random_saturation(image_data, 1, 9)
    cv2Show("random saturation", adjusted3)

cv2.waitKey()程序运行结果如下:
6、图像的标准化
import tensorflow as tf
import cv2

# 这里定义一个tensorflow读取的图片格式转换为opencv读取的图片格式的函数
# 请注意:
# 在tensorflow中,一个像素点的颜色顺序是R,G,B。
# 在opencv中,一个像素点的颜色顺序是B,G,R。
# 因此,我们循环遍历每一个像素点,将第0位的颜色和第2位的颜色数值换一下即可。
# 第一个参数name:将要显示的窗口名称。
# 第二个参数image:储存图片信息的一个tensor。
def cv2Show(name="", image=None):
    # 获取矩阵信息
    np = image.eval()
    # 获取行数列数
    row, col = len(np),len(np[1])

    # 两重循环遍历
    for i in range(row):
        for j in range(col):
            # 交换数值
            tmp = np[i][j][0]
            np[i][j][0] = np[i][j][2]
            np[i][j][2] = tmp

    # 显示图片
    cv2.imshow(name,np)
    pass

# tensorflow会话
with tf.Session() as sess:
    # 以二进制的方式读取图片。
    image_raw_data = tf.gfile.FastGFile("bus.jpg", "rb").read()

    # 按照jpeg的格式解码图片。
    image_data = tf.image.decode_jpeg(image_raw_data)

    # 显示原图片。
    cv2Show("Read by Tensorflow+Dispalyed by Opencv",image_data)

    # 将代表一张图像的三维矩阵中的数字均值变成0,方差变为1。
    adjusted = tf.image.per_image_standardization(image_data)
    cv2Show("image_standardization", adjusted)

cv2.waitKey()程序运行结果如下:
标签:tle strong string pytho imp tmp 循环 str tran
原文地址:https://www.cnblogs.com/bonelee/p/8953597.html