标签:ext local div base work data 结构 date install
今天主要讲解一下,activiti 工作流的插件安装,以及用代码、配置文件的方式实现工作流所需要用的25张表。
这是activiti 官方文档:https://www.activiti.org/userguide/index.html#eclipseDesignerInstallation ,有兴趣的朋友可以参考一下 。
先讲一下插件安装:
打开Eclipse ,help------Install new software 如下图所示:
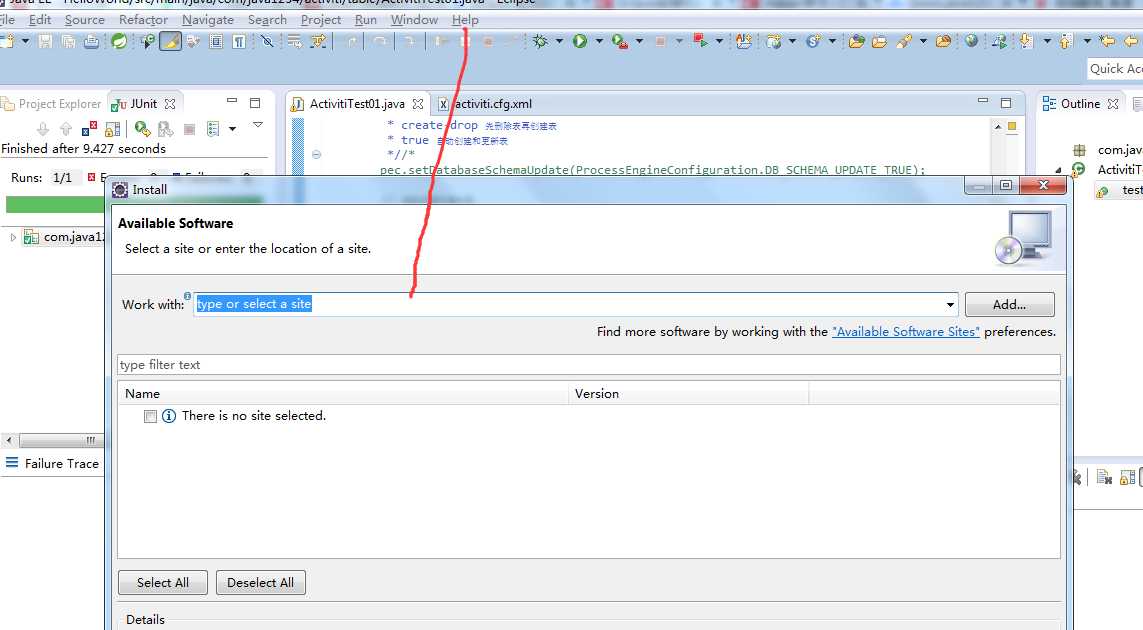
点击Add:
name:*Activiti BPMN 2.0 designer
location:http://activiti.org/designer/update/
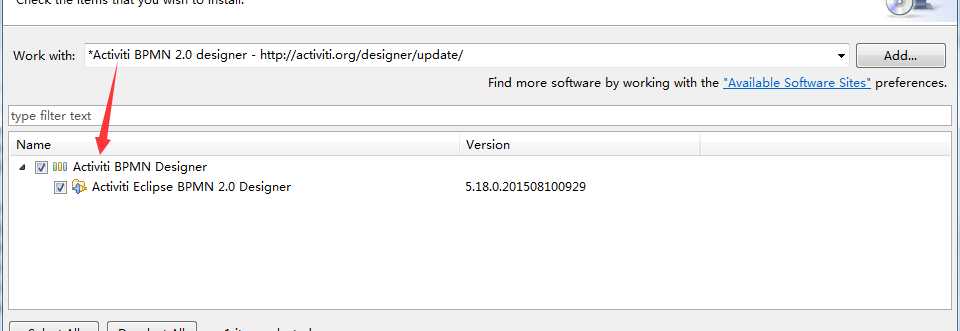
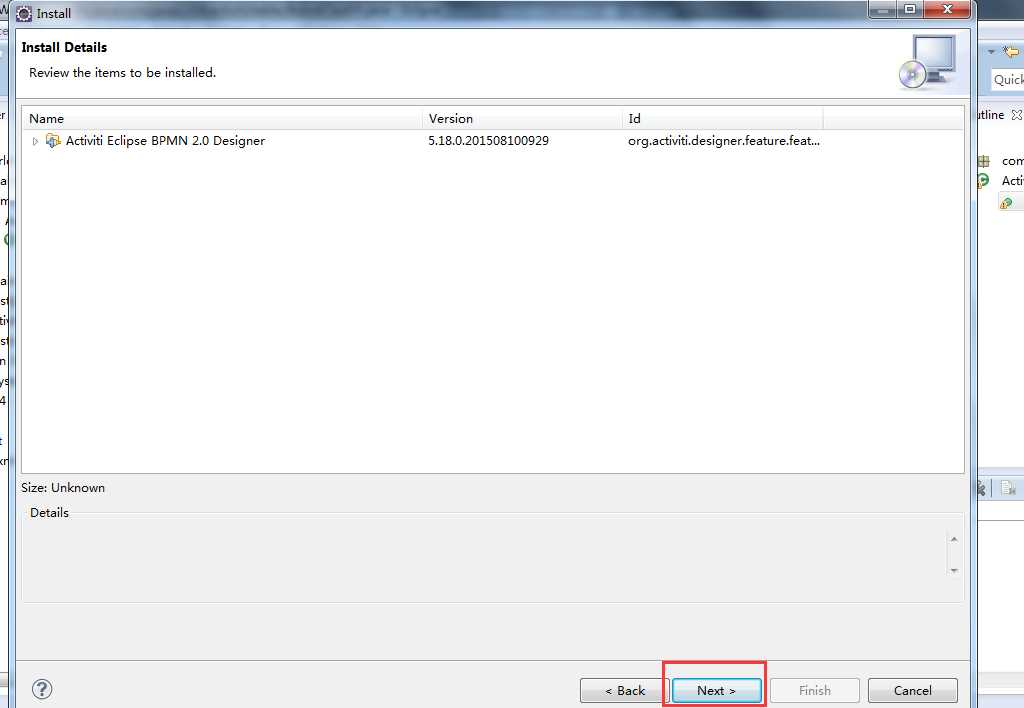
next:
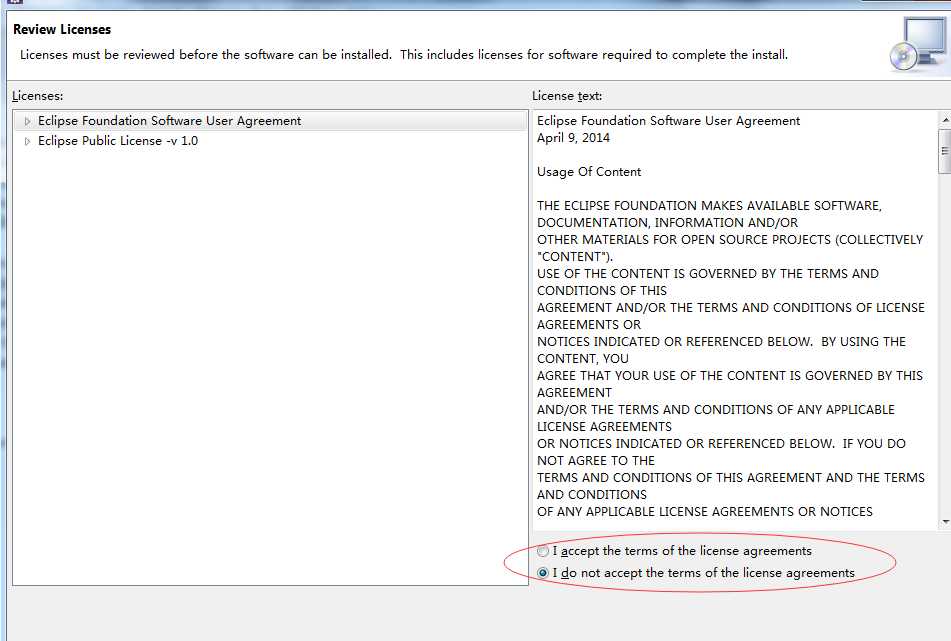
点击我同意:
在漫长的等待中:
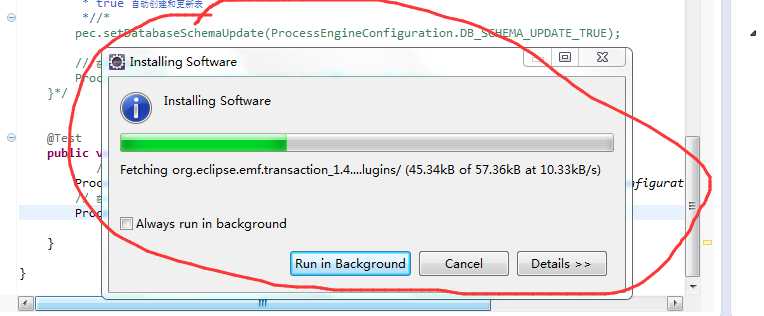
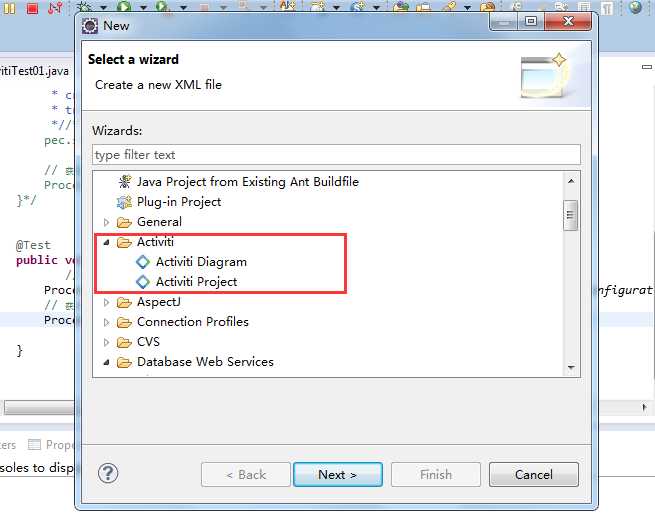
中间会有一个警告,不要紧,直接Next ,插件安装成功之后会有相应的提示:
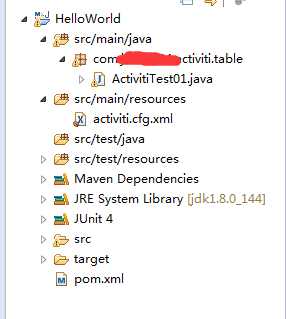
目录机构如下:
 1     @Test
 2     public void testCreateTable(){
 3
 4          // 引擎配置
 5         ProcessEngineConfiguration pec=ProcessEngineConfiguration.createStandaloneProcessEngineConfiguration();
 6         pec.setJdbcDriver("com.mysql.jdbc.Driver");
 7         pec.setJdbcUrl("jdbc:mysql://localhost:3306/db_activiti");
 8         pec.setJdbcUsername("root");
 9         pec.setJdbcPassword("123");
10
11
12        /*  false 不能自动创建表
13          create-drop 先删除表再创建表
14          true 自动创建和更新表  */
15
16         pec.setDatabaseSchemaUpdate(ProcessEngineConfiguration.DB_SCHEMA_UPDATE_TRUE);
17
18         // 获取流程引擎对象
19         ProcessEngine processEngine=pec.buildProcessEngine();
20     }
21
1     @Test
2     public void testCreateTable(){
3            // 引擎配置
4         ProcessEngineConfiguration pec=ProcessEngineConfiguration.createProcessEngineConfigurationFromResource("activiti.cfg.xml");
5         // 获取流程引擎对象
6         ProcessEngine processEngine=pec.buildProcessEngine();
7
8     }
根据官方文档:配置文件的名字必须为:activiti.cfg.xml ,否则不认识。
 1 <?xml version="1.0" encoding="UTF-8"?>
 2 <beans xmlns="http://www.springframework.org/schema/beans"
 3        xmlns:xsi="http://www.w3.org/2001/XMLSchema-instance"
 4        xsi:schemaLocation="http://www.springframework.org/schema/beans   http://www.springframework.org/schema/beans/spring-beans.xsd">
 5
 6   <bean id="processEngineConfiguration" class="org.activiti.engine.impl.cfg.StandaloneProcessEngineConfiguration">
 7
 8     <property name="jdbcUrl" value="jdbc:mysql://localhost:3306/db_activiti" />
 9     <property name="jdbcDriver" value="com.mysql.jdbc.Driver" />
10     <property name="jdbcUsername" value="root" />
11     <property name="jdbcPassword" value="123" />
12
13     <property name="databaseSchemaUpdate" value="true" />
14
15   </bean>
16
17 </beans>
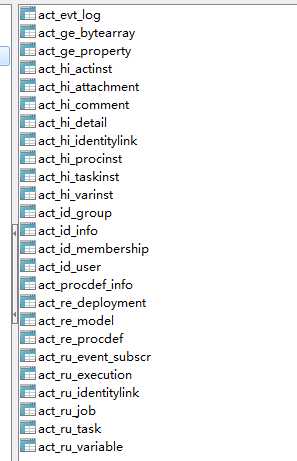
工作流生成的25张表:
 1   <dependencies>
 2      <dependency>
 3         <groupId>org.activiti</groupId>
 4         <artifactId>activiti-engine</artifactId>
 5         <version>5.19.0.2</version>
 6     </dependency>
 7
 8     <dependency>
 9         <groupId>org.activiti</groupId>
10         <artifactId>activiti-spring</artifactId>
11         <version>5.19.0.2</version>
12     </dependency>
13
14     <dependency>
15         <groupId>org.activiti</groupId>
16         <artifactId>activiti-bpmn-model</artifactId>
17         <version>5.19.0.2</version>
18     </dependency>
19
20     <dependency>
21         <groupId>mysql</groupId>
22         <artifactId>mysql-connector-java</artifactId>
23         <version>5.1.38</version>
24     </dependency>
25
26 </dependencies>
后面会继续讲解表的结构,以及工作流插件的使用方式,
标签:ext local div base work data 结构 date install
原文地址:https://www.cnblogs.com/shandouji1121/p/9352101.html