标签:地址 lin 主机 _id cti ati inux nod yun
部署mysql,memcache,RabbitMQ[root@linux-host1 ~]# mv /etc/yum.repo.d/* /tmp/
[root@linux-host1 ~]# wget -O /etc/yum.repos.d/CentOS-Base.repo http://mirrors.aliyun.com/repo/Centos-7.repo
[root@linux-host1 ~]# yum -y install centos-release-openstack-ocata
[root@linux-host1 ~]# yum install python-openstackclient openstack-selinux安装mariadb
[root@linux-host4 ~]# yum install -y mariadb-server修改mariadb配置文件
[root@linux-host4 ~]# vim /etc/my.cnf
[client-server]

[mysqld]

socket=/var/lib/mysql/mysql.sock
symbolic-links=0
innodb_file_per_table=1
server_id=1
skip_name_resolve

[client]
port=3306
socket=/var/lib/mysql/mysql.sock

!includedir /etc/my.cnf.d

[root@linux-host4 ~]# vim /etc/my.cnf.d/openstack.cnf
[mysqld]
bind-address = 0.0.0.0 #监听在本机的所有IP地址上
default-storage-engine = innodb
innodb_file_per_table = on
max_connections = 4096
collation-server = utf8_general_ci
character-set-server = utf8
启动服务
[root@linux-host4 ~]# systemctl start mariadb
[root@linux-host4 ~]# systemctl enable mariadb
安全加固
[root@linux-host4 ~]# mysql_secure_installation安装memcache
[root@linux-host4 ~]# yum -y install memcached更改配置文件
[root@linux-host4 ~]# vim /etc/sysconfig/memcached
#监听端口
PORT="11211"
USER="memcached"
#最大使用内存
MAXCONN="1024"
CACHESIZE="1024"
OPTIONS="-l 0.0.0.0,::1"
启动服务
[root@linux-host4 ~]# systemctl start memcached.service
[root@linux-host4 ~]# systemctl enable memcached.service配置主机名解析
[root@linux-host4 ~]# vim /etc/hosts
192.168.8.203 master
安装RabbitMQ
[root@linux-host4 ~]# yum -y install rabbitmq-server启动服务
[root@linux-host4 ~]# systemctl enable rabbitmq-server.service
[root@linux-host4 ~]# systemctl start rabbitmq-server.service
添加 rabbitMQ 客户端用户并设置密码
[root@linux-host4 ~]# rabbitmqctl add_user openstack 123赋予 openstack 用户读写权限
[root@linux-host4 ~]# rabbitmqctl set_permissions openstack ".*" ".*" ".*"打开 rabbitMQ 的 web 插件
[root@linux-host4 ~]# rabbitmq-plugins enable rabbitmq_management查看插件
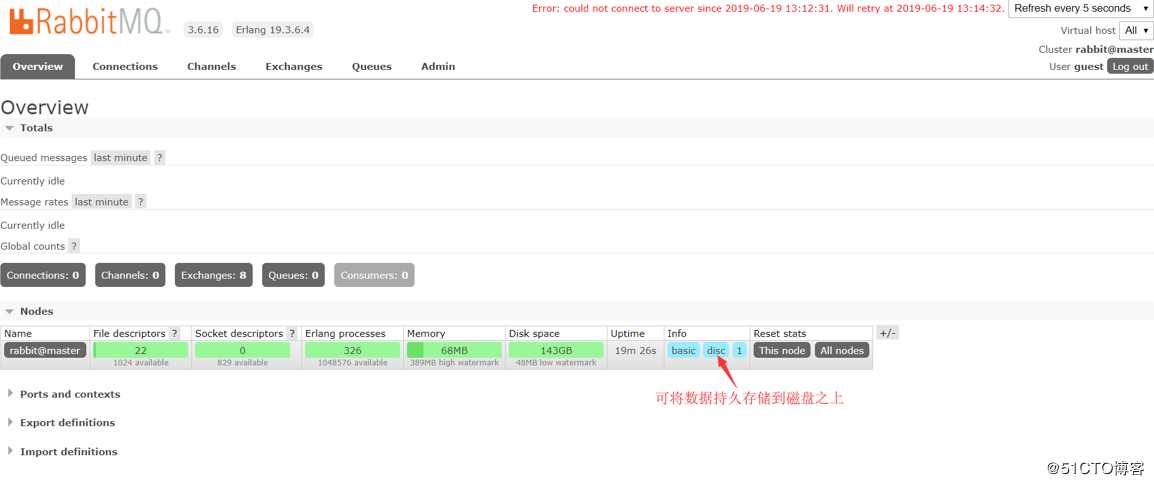
[root@linux-host4 ~]# rabbitmq-plugins list用浏览器访问
http:192.168.8.230:15672
标签:地址 lin 主机 _id cti ati inux nod yun
原文地址:https://blog.51cto.com/14163901/2413524