标签:idt enc 连接 raw 不规则 gradient nal open max
1、高通滤波器:高通滤波器会根据像素与周边像素的亮度差值来提升该像素的亮度的滤波器。
低通滤波器:在像素与周围像素的亮度差小于一个特定值时,平滑该像素的亮度。
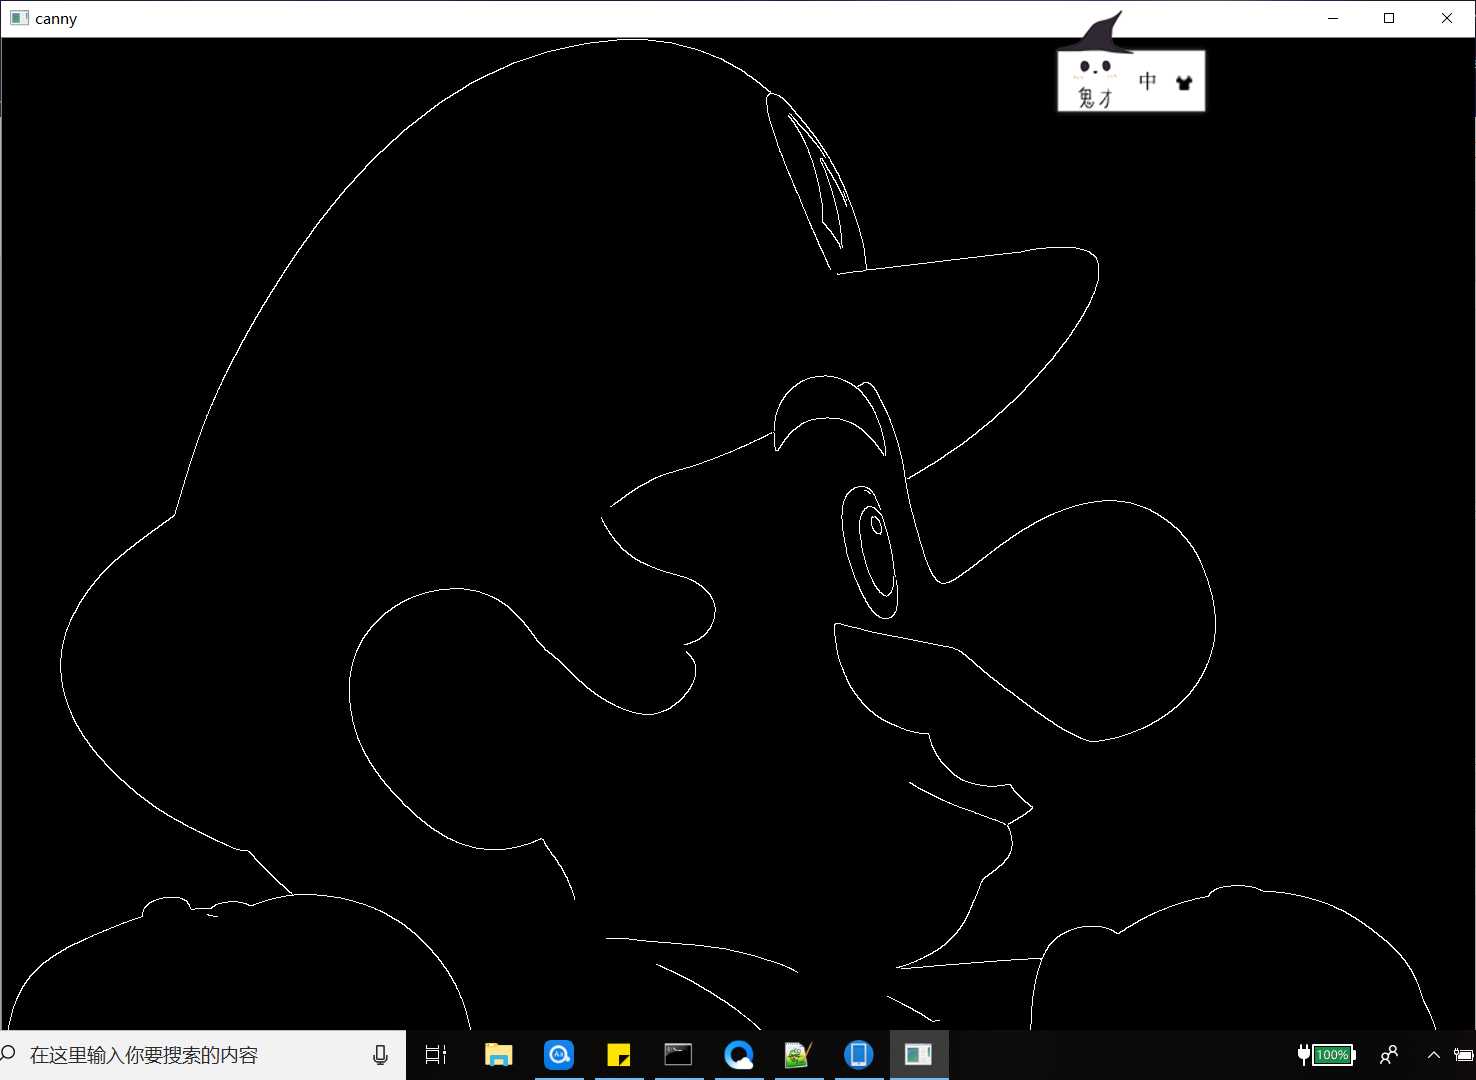
canny算子:5个步骤;使用高斯滤波器对图像进行去噪、计算梯度、在边缘上使用非最大抑制(NMS)、在检测到的边缘上使用双阈值去除假阳性(false positive),最后还会分析所有的边缘及其之间的连接,以保留真正的边缘并消除不明显的边缘。
import cv2
import numpy as np
import os
img = cv2.imread(‘1.jpg‘,0)
cv2.imwrite(‘1_canny.jpg‘,cv2.Canny(img,200,300))
cv2.imshow(‘canny‘,cv2.imread(‘1_canny.jpg‘))
cv2.waitKey()
cv2.destroyAllWindows()
2做轮廓检测时,根据书中代码会出现以下错误,findContours()函数出现错误,查找资料发现这是因为python3的这个函数只返回两个参数,所以去掉image这个参数后,程序正常运行。
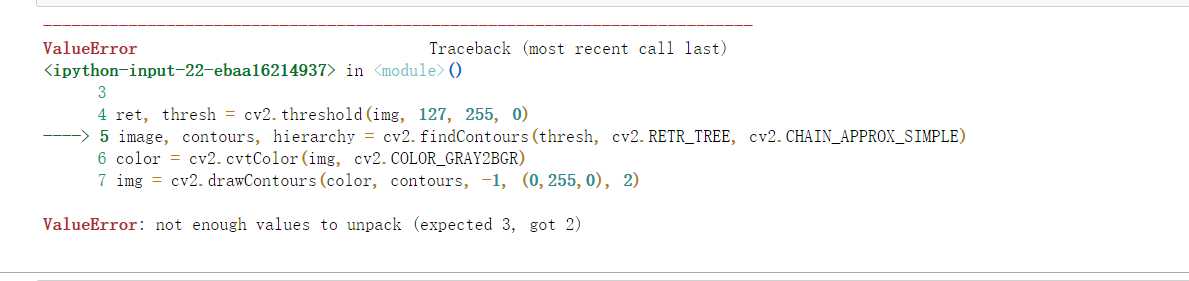
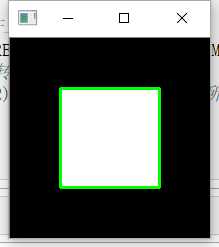
img = np.zeros((200, 200), dtype=np.uint8)
img[50:150, 50:150] = 255

ret, thresh = cv2.threshold(img, 127, 255, 0)
contours, hierarchy = cv2.findContours(thresh, cv2.RETR_TREE, cv2.CHAIN_APPROX_SIMPLE)
color = cv2.cvtColor(img, cv2.COLOR_GRAY2BGR)
img = cv2.drawContours(color, contours, -1, (0,255,0), 2)
cv2.imshow("contours", color)
cv2.waitKey()
cv2.destroyAllWindows()
3、找一个正方形轮廓很简单,但是要找不规则的、歪斜的以及旋转的形状可用cv2.finContours()函数:
img = cv2.pyrDown(cv2.imread("1.jpg", cv2.IMREAD_UNCHANGED))

ret, thresh = cv2.threshold(cv2.cvtColor(img.copy(), cv2.COLOR_BGR2GRAY) , 127, 255, cv2.THRESH_BINARY)
contours, hier = cv2.findContours(thresh, cv2.RETR_EXTERNAL, cv2.CHAIN_APPROX_SIMPLE)

for c in contours:
  x,y,w,h = cv2.boundingRect(c)
  cv2.rectangle(img, (x,y), (x+w, y+h), (0, 255, 0), 2)
  rect = cv2.minAreaRect(c)
  box = cv2.boxPoints(rect)
  box = np.int0(box)
  cv2.drawContours(img, [box], 0, (0,0, 255), 3)
  (x,y),radius = cv2.minEnclosingCircle(c)
  center = (int(x),int(y))
  radius = int(radius)
  img = cv2.circle(img,center,radius,(0,255,0),2)

cv2.drawContours(img, contours, -1, (255, 0, 0), 1)
cv2.imshow("contours", img)

cv2.waitKey()
cv2.destroyAllWindows()
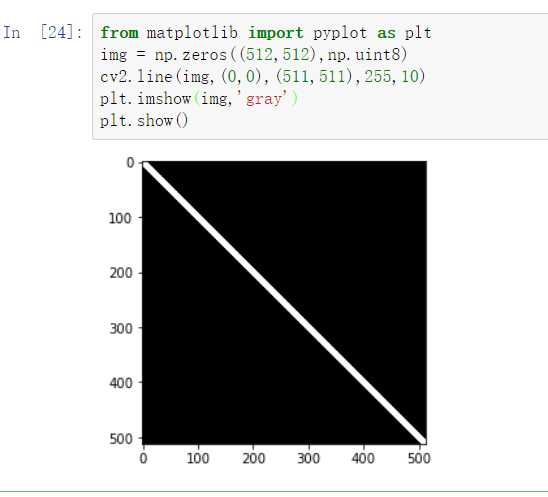
4、绘制直线函数为:cv2.line(img,Point pt1,Point pt2,color,thickness=1,line_type=8 shift=0)
from matplotlib import pyplot as plt
img = np.zeros((512,512),np.uint8)
cv2.line(img,(0,0),(511,511),255,10)
plt.imshow(img,‘gray‘)
plt.show()
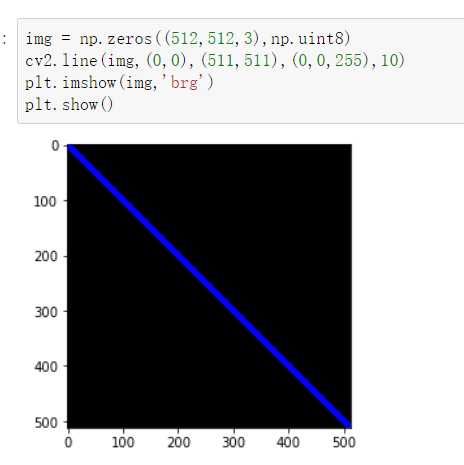
img = np.zeros((512,512,3),np.uint8)
cv2.line(img,(0,0),(511,511),(0,0,255),10)
plt.imshow(img,‘brg‘)
plt.show()
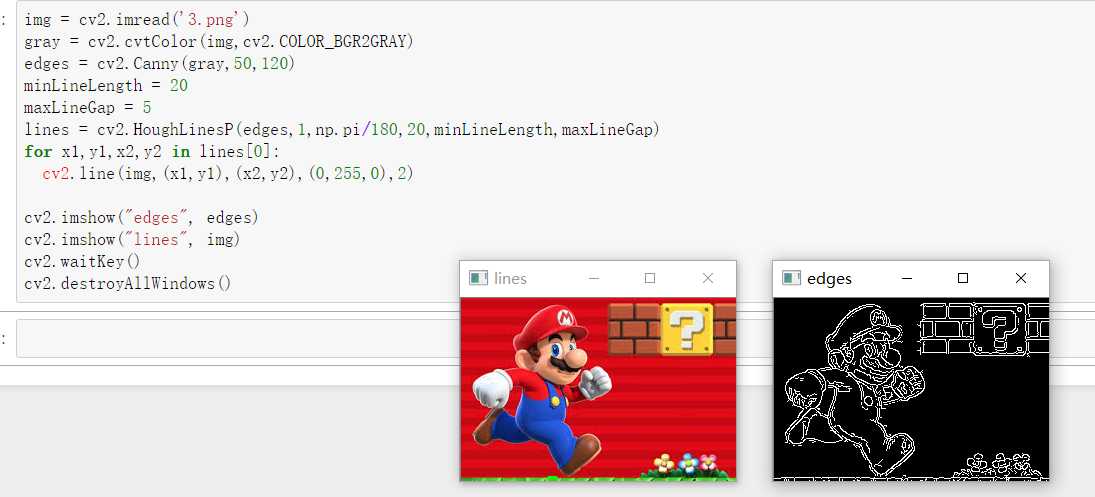
5、HoughLinesP函数之所以成为概率版本的Hough变换是因为它只通过分析点的子集并估计这些点都属于一条直线的概率,这是标准Hough变换的优化版本,该函数的计算代价会少一些,执行会变得更快。
img = cv2.imread(‘3.png‘)
gray = cv2.cvtColor(img,cv2.COLOR_BGR2GRAY)
edges = cv2.Canny(gray,50,120)
minLineLength = 20
maxLineGap = 5
lines = cv2.HoughLinesP(edges,1,np.pi/180,20,minLineLength,maxLineGap)
for x1,y1,x2,y2 in lines[0]:
cv2.line(img,(x1,y1),(x2,y2),(0,255,0),2)
cv2.imshow("edges", edges)
cv2.imshow("lines", img)
cv2.waitKey()
cv2.destroyAllWindows()
6、绘制圆
img = np.zeros((512,512,3),np.uint8)
cv2.circle(img,(300,300),50,(0,255,0),5)
plt.imshow(img,‘brg‘)
plt.show()

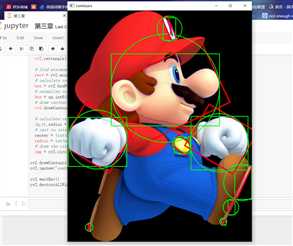
7、圆检测,HoughCircles函数可用来检测圆,它与使用HoughLines函数类似。像用来决定删除或保留直线的两个参数minLineLength和maxLineGap一样,HoughCircles有一个圆心间的最小距离和圆的最小及最大半径。
mario = cv2.imread(‘4.png‘)
gray_img = cv2.cvtColor(mario, cv2.COLOR_BGR2GRAY)
img = cv2.medianBlur(gray_img, 5)
cimg = cv2.cvtColor(img,cv2.COLOR_GRAY2BGR)

circles = cv2.HoughCircles(img,cv2.HOUGH_GRADIENT,1,120,
                            param1=100,param2=30,minRadius=0,maxRadius=0)

circles = np.uint16(np.around(circles))

for i in circles[0,:]:
    # draw the outer circle
    cv2.circle(mario,(i[0],i[1]),i[2],(0,255,0),2)
    # draw the center of the circle
    cv2.circle(mario,(i[0],i[1]),2,(0,0,255),3)

cv2.imwrite("4_1.jpg", mario)
cv2.imshow("HoughCirlces", mario)
cv2.waitKey()
cv2.destroyAllWindows()

标签:idt enc 连接 raw 不规则 gradient nal open max
原文地址:https://www.cnblogs.com/roscangjie/p/10807732.html